When I first began shooting film, it was in order to learn about an aspect of the camera shop I was working for. I needed to be able to help people choose film stocks, teach how to load film, and most of all - sell some cameras! I would shoot rolls here and there, then ask our lab to develop and scan them for me. This was usually satisfactory, resulting in some images that came out better than expected and others that left me scratching my head, asking "what happened here"?
As my interest in shooting and processing film grew, scanning and converting the images myself was the next logical step. After scanning some fresh rolls and being pleased with the results, I went back and re-scanned all of my old negatives that were lab-scanned and converted them to see just how well I was doing. I found that converting by hand was not only a feasible option compared to the lab scans, but often times superior. After converting hundreds of images and comparing them directly with previously made lab scans, this post is a sort of culmination or synthesis of my efforts taken and the insights gained.
Method
The following comparisons will be 12 images, each from rolls that were developed by a professional lab. Each image will be shown with its respective lab scan (from a Noritsu scanner), my own conversion done via Photoshop, and a conversion via Negative Lab Pro. Of course, the lab results are not representative of every lab out there. Each lab differs in their scanning and a more detailed comparison would consist of various labs' results. However, the lab used is a popular, professional lab with a good reputation.
My scanning set-up makes use of my Fuji GFX 50R and an adapted Micro-Nikkor 55mm f/3.5 AI lens (along with a Nikkor M2 Extension Tube to allow for full 1:1 reproduction while scanning). The GFX to F Mount adapter I use is from K&F Concept and was chosen based off its low price and metal construction. The light I use is a Cinestill CS-Lite panel, which offers high color accuracy (95+ CRI). In tandem with the light, I use Valoi's 35mm film holder to keep the film flat and level with the light. To maintain optimal sharpness and quality, the scans are captured with the minimum ISO (100), an aperture of f/8, and the lens focused as close as possible at 1:1 reproduction to avoid cropping as much as is possible. The camera is on a tripod and is remotely triggered to avoid any shake.
The RAW images are then brought into Photoshop (making sure they remain as 16 bit images) and converted in an adapted process based off of Alex Burke's Manual Inversion of Color Negative Film. I then bring the images into Lightroom for any final healing of marks or dust, final tone corrections, and basic exposure adjustments beyond what was done in Photoshop.
Images and Comparisons
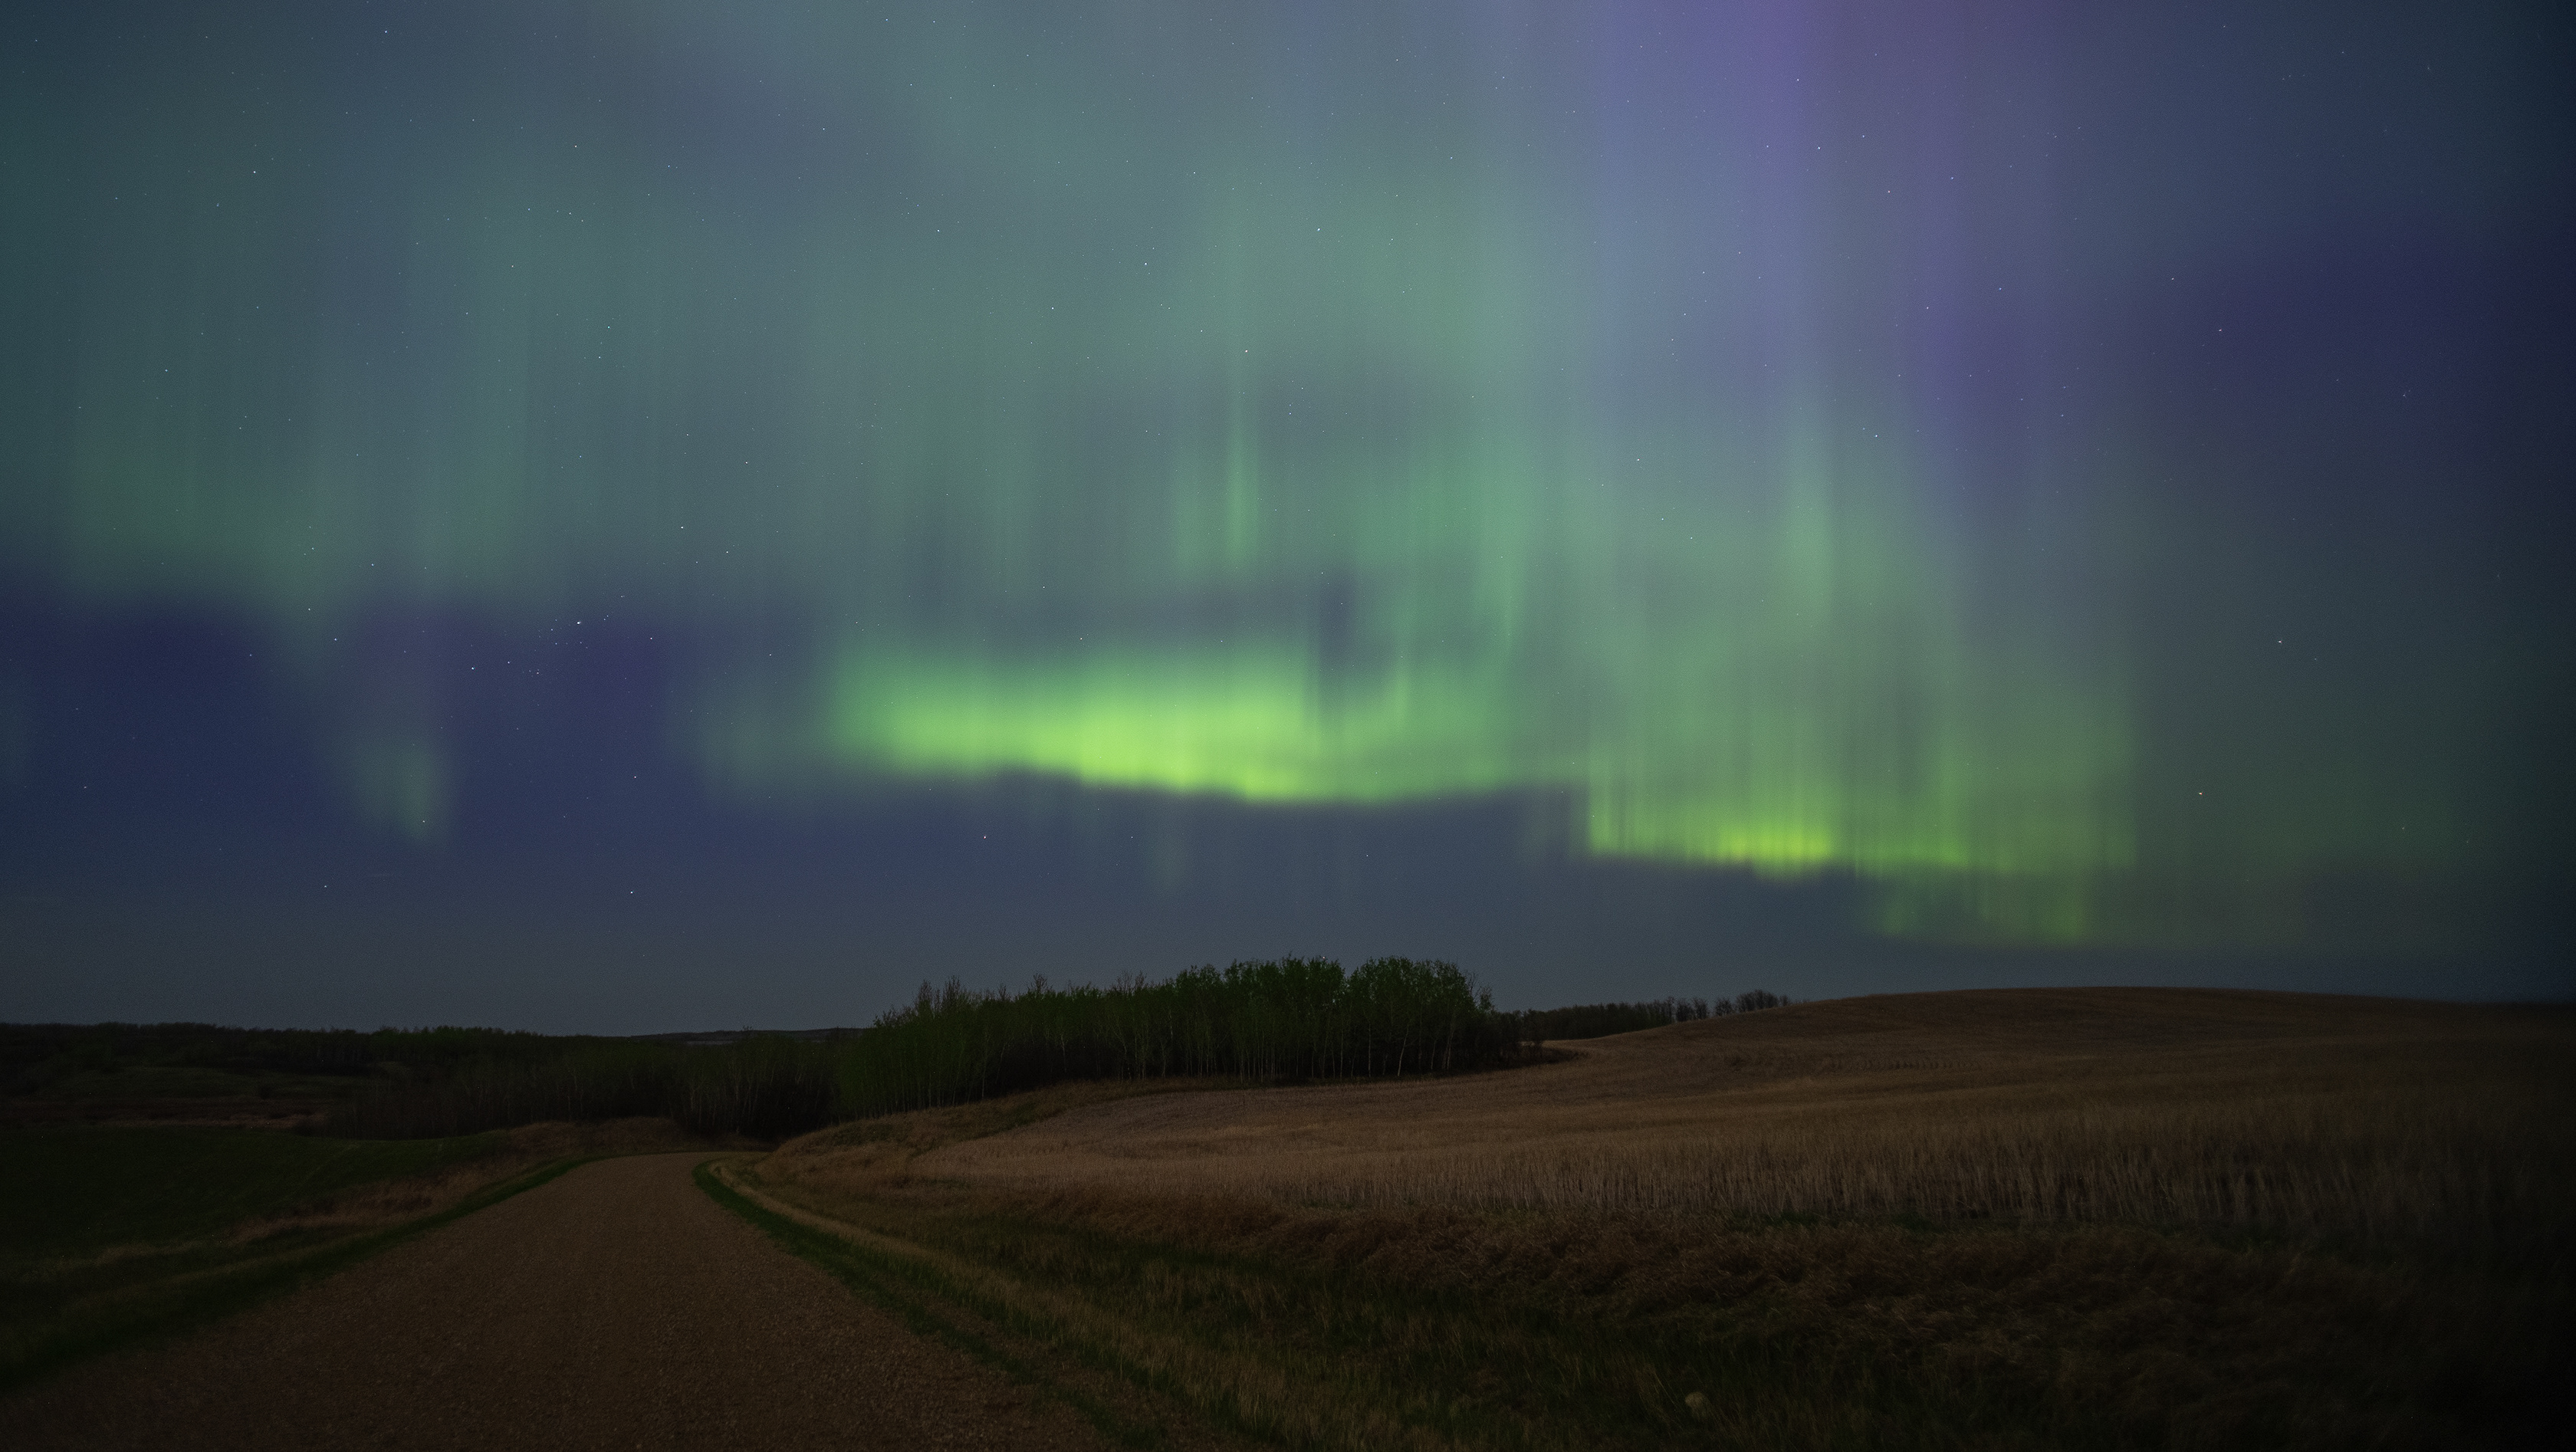
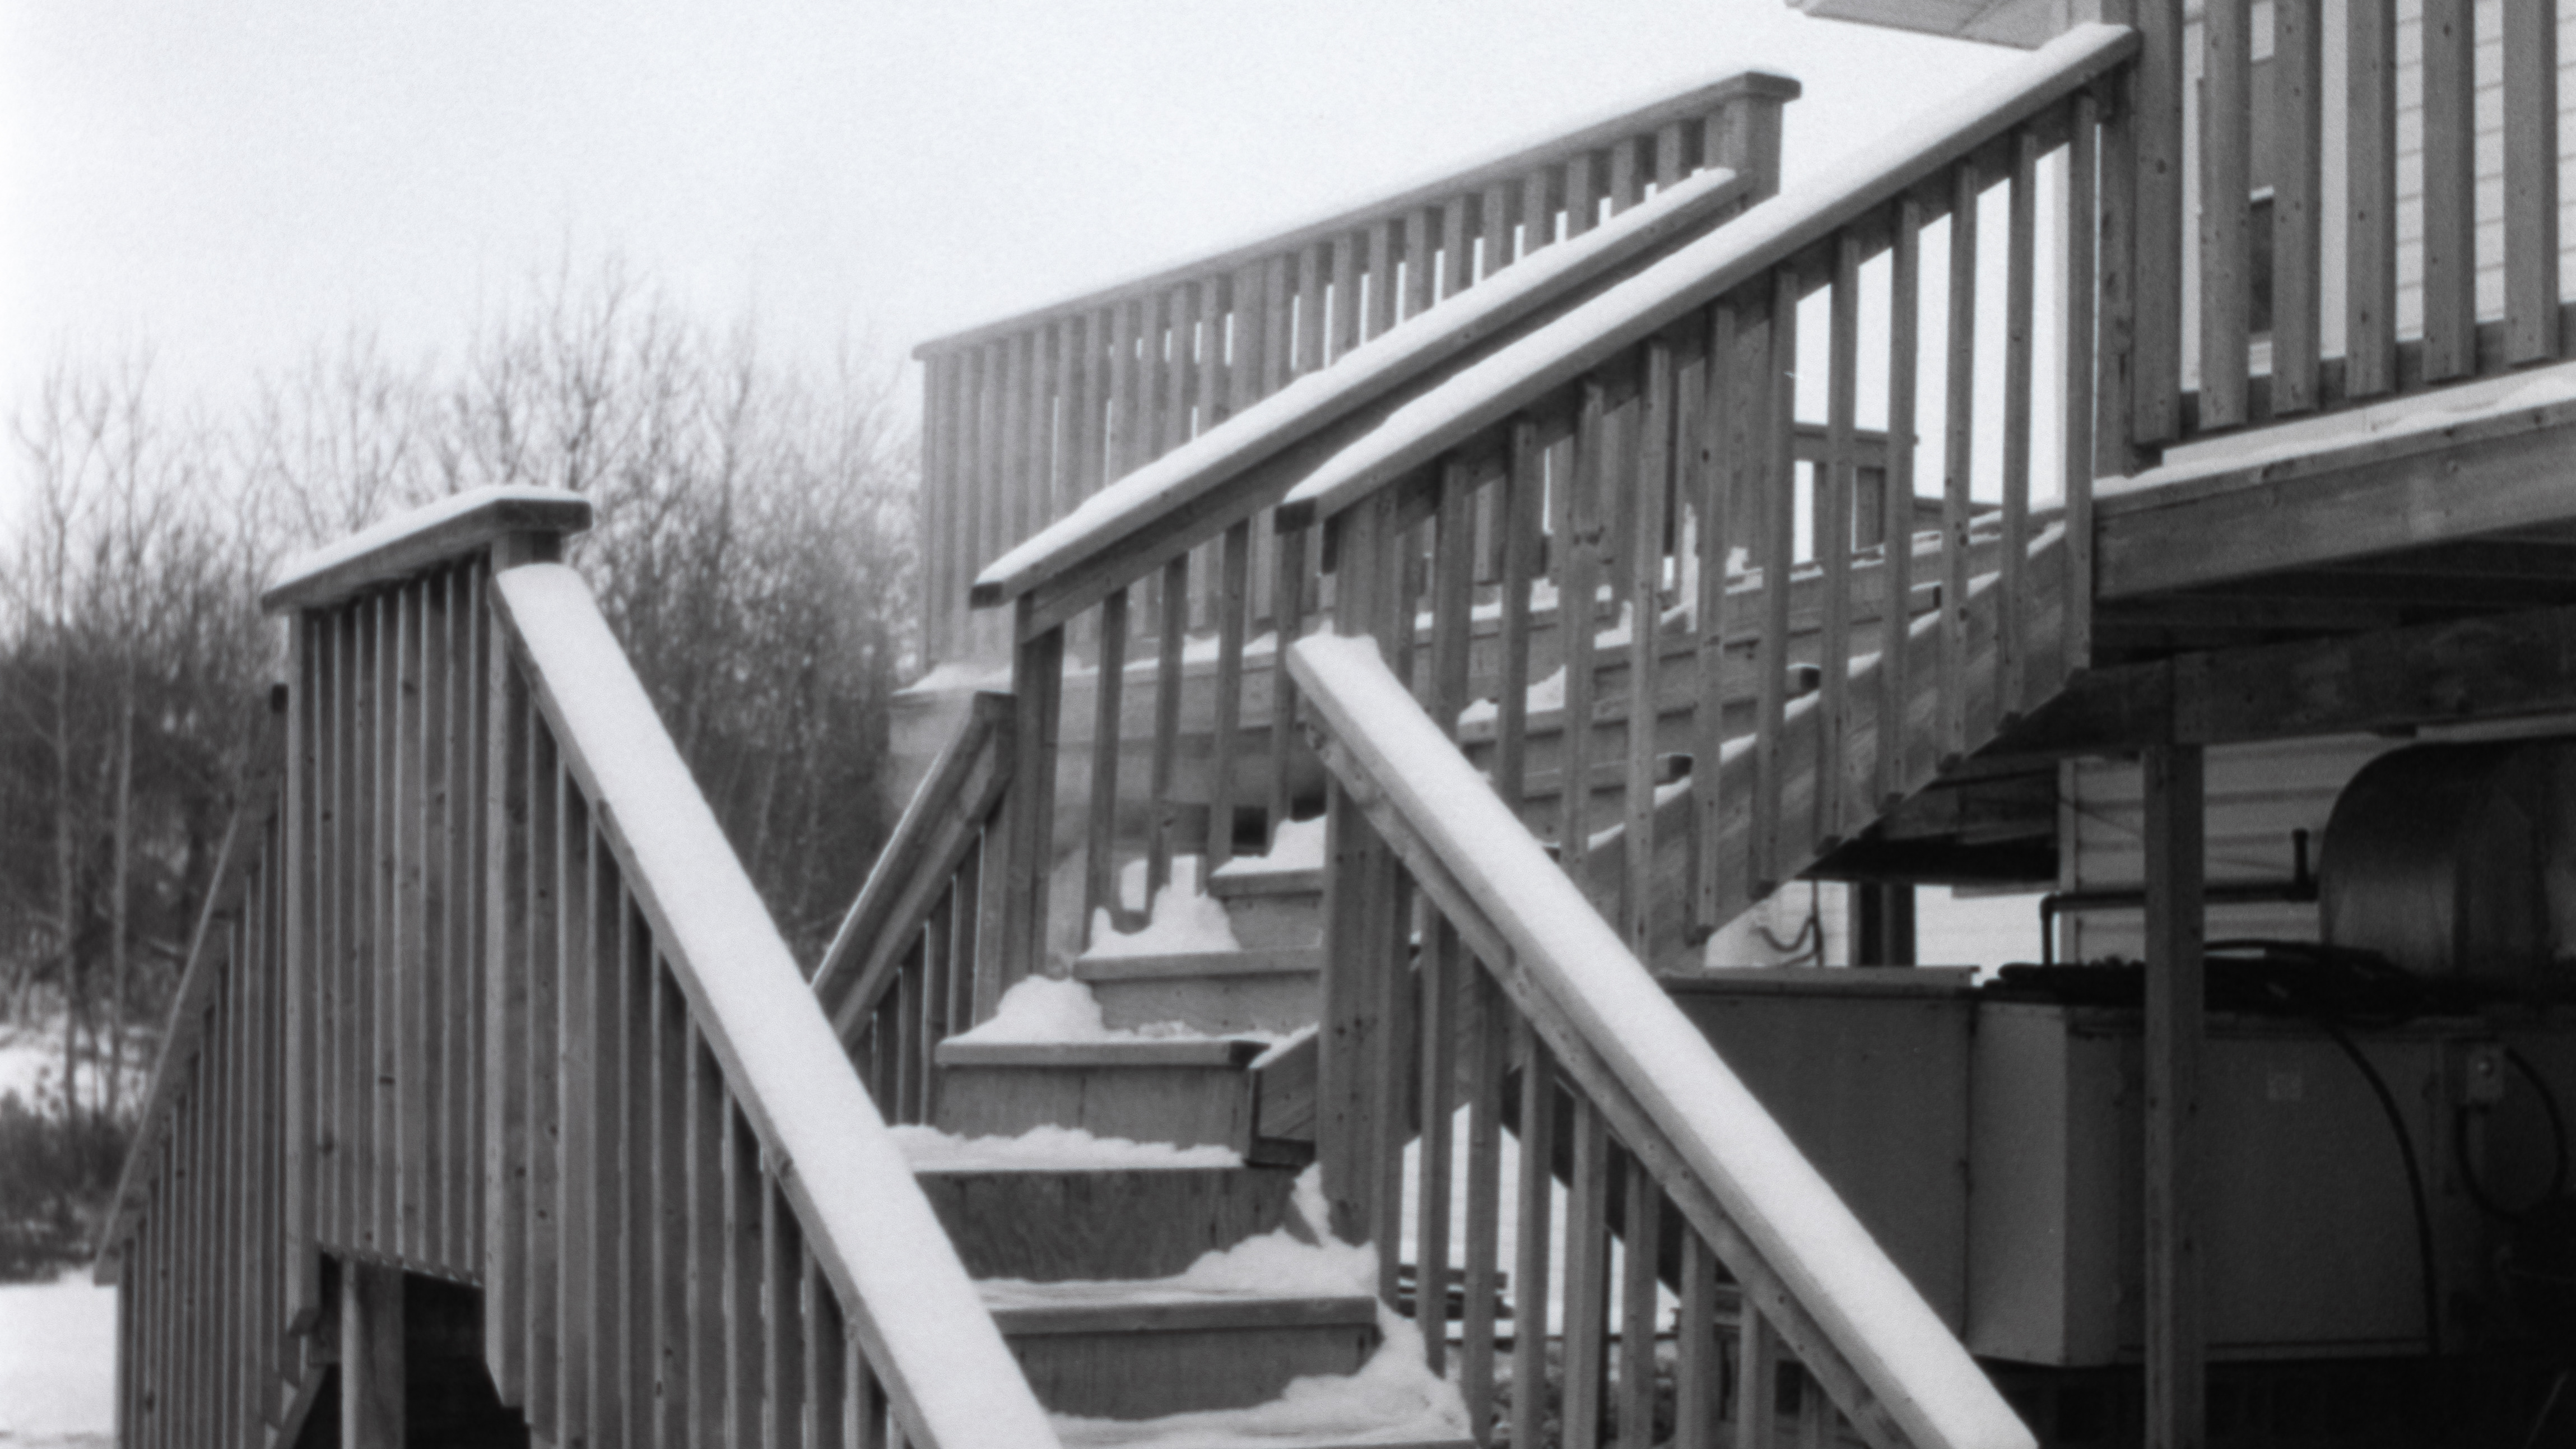
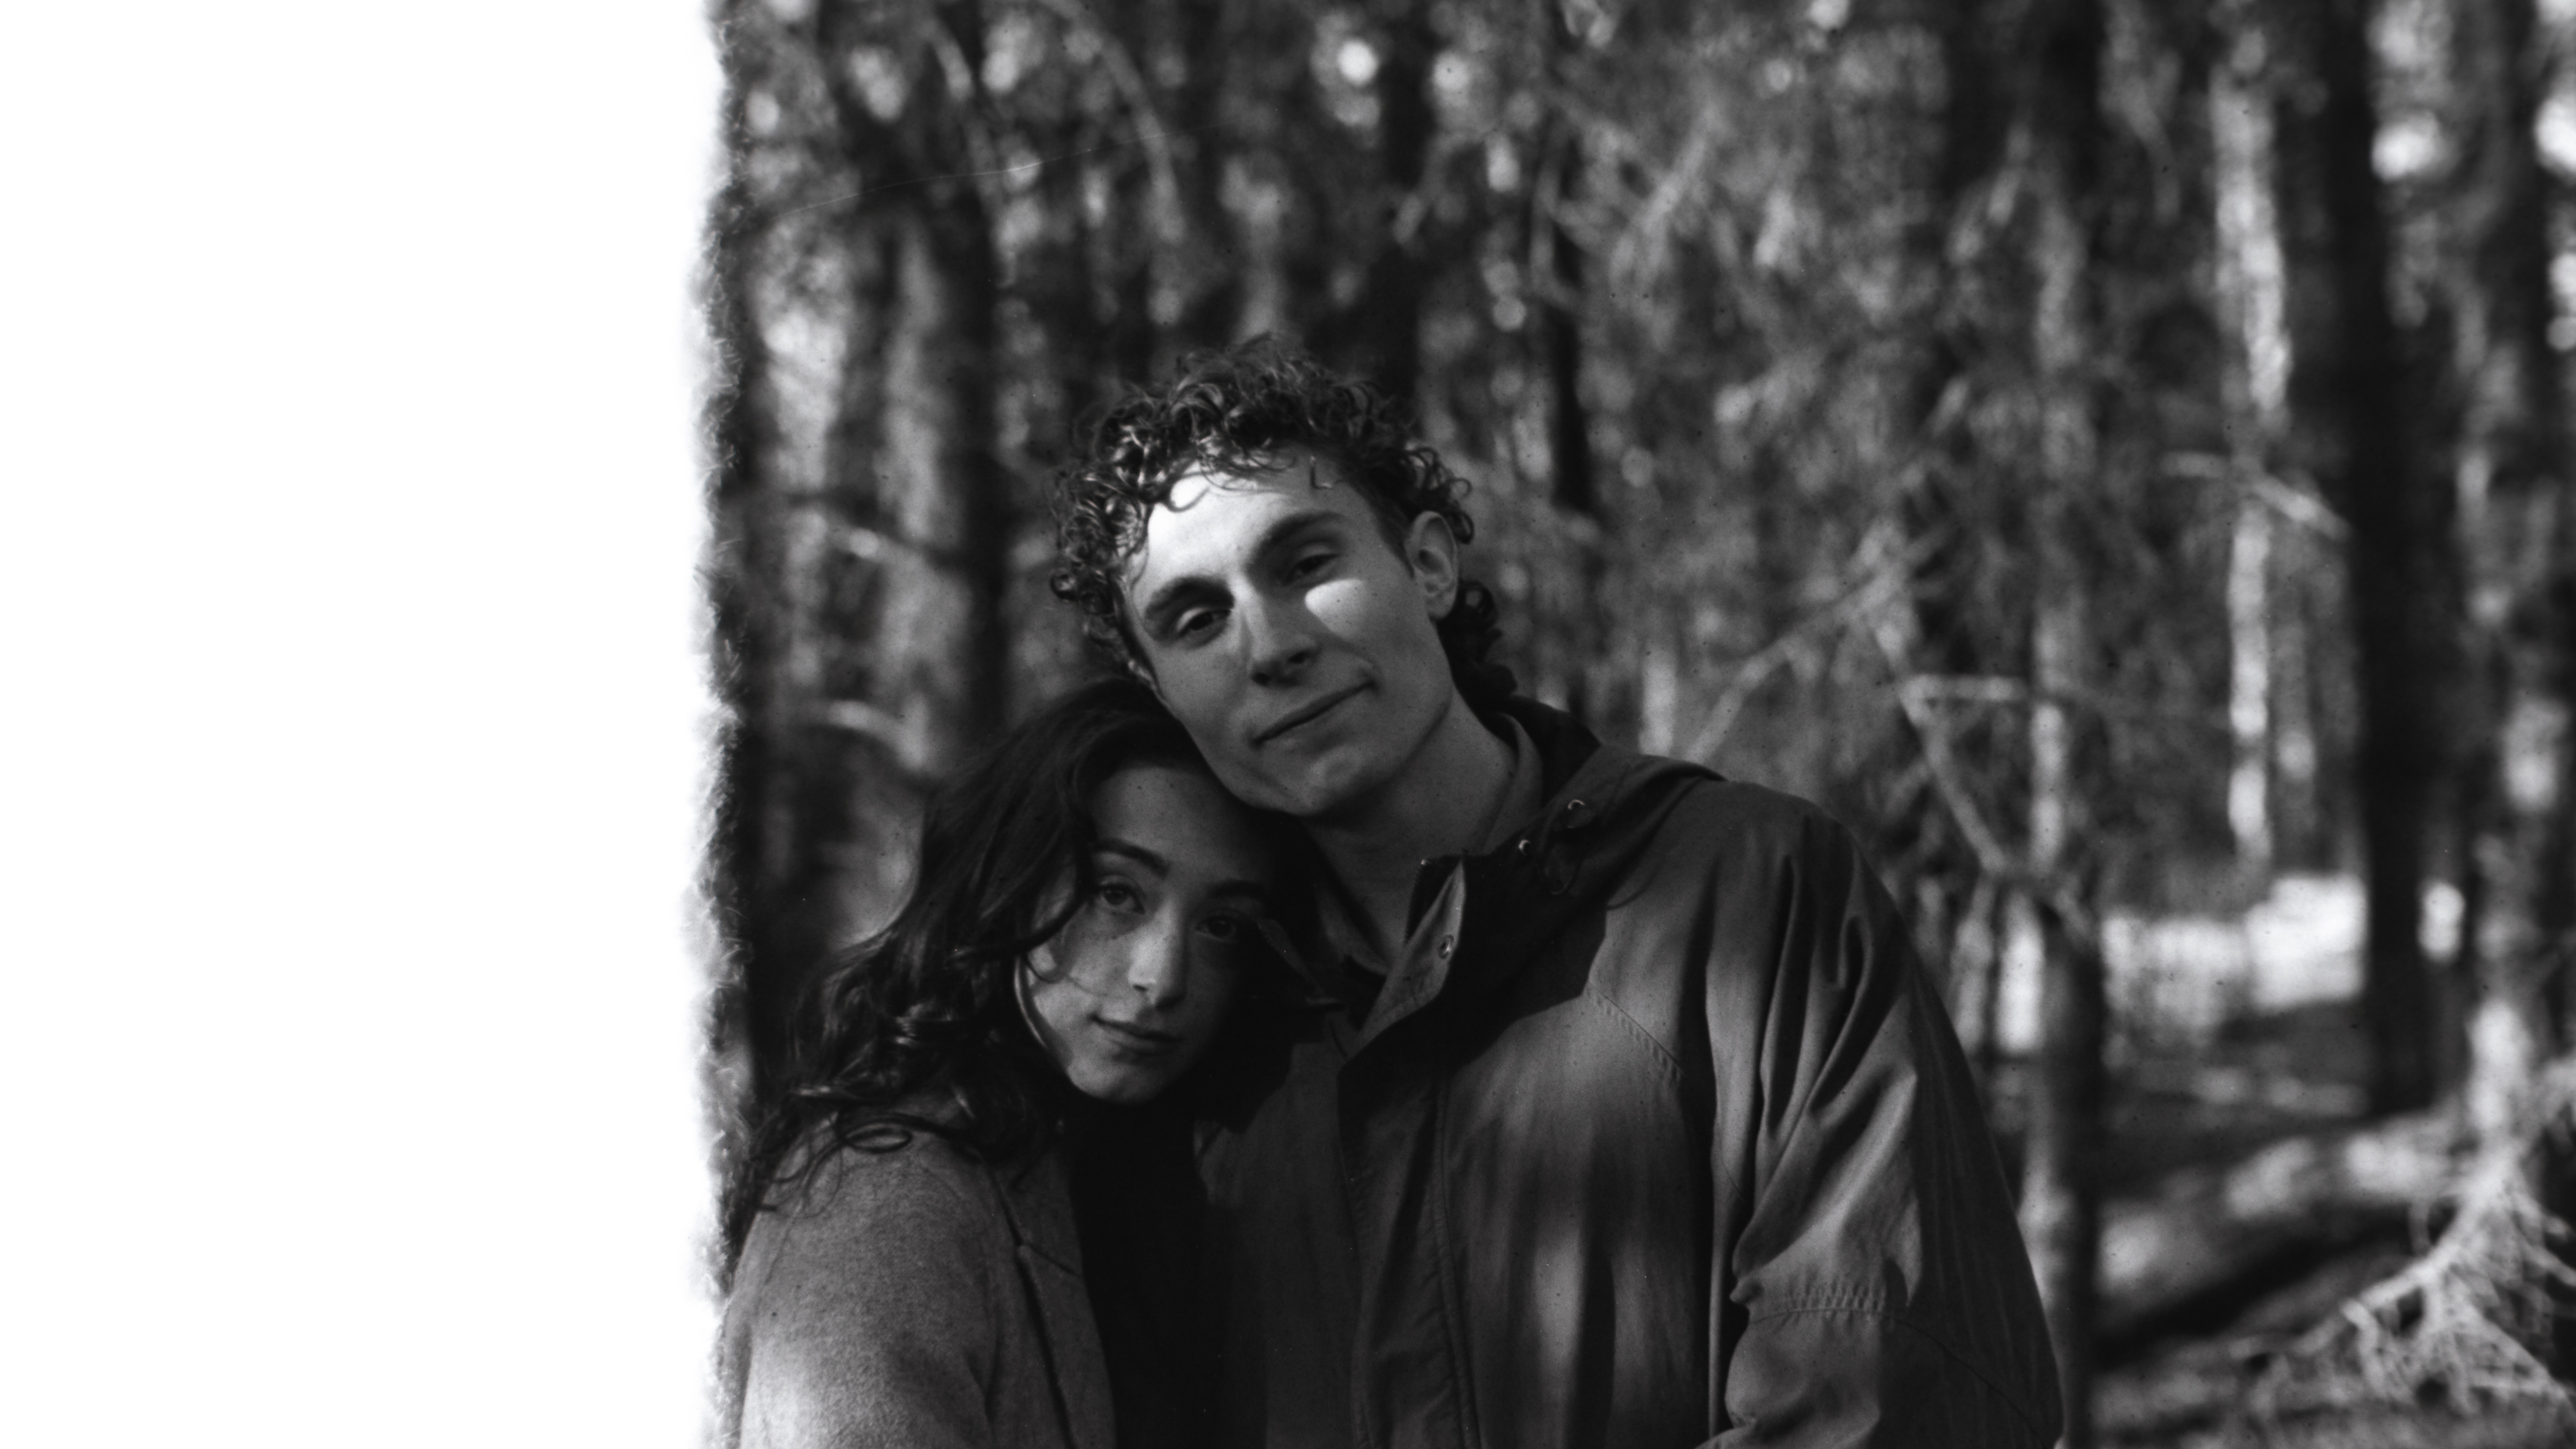
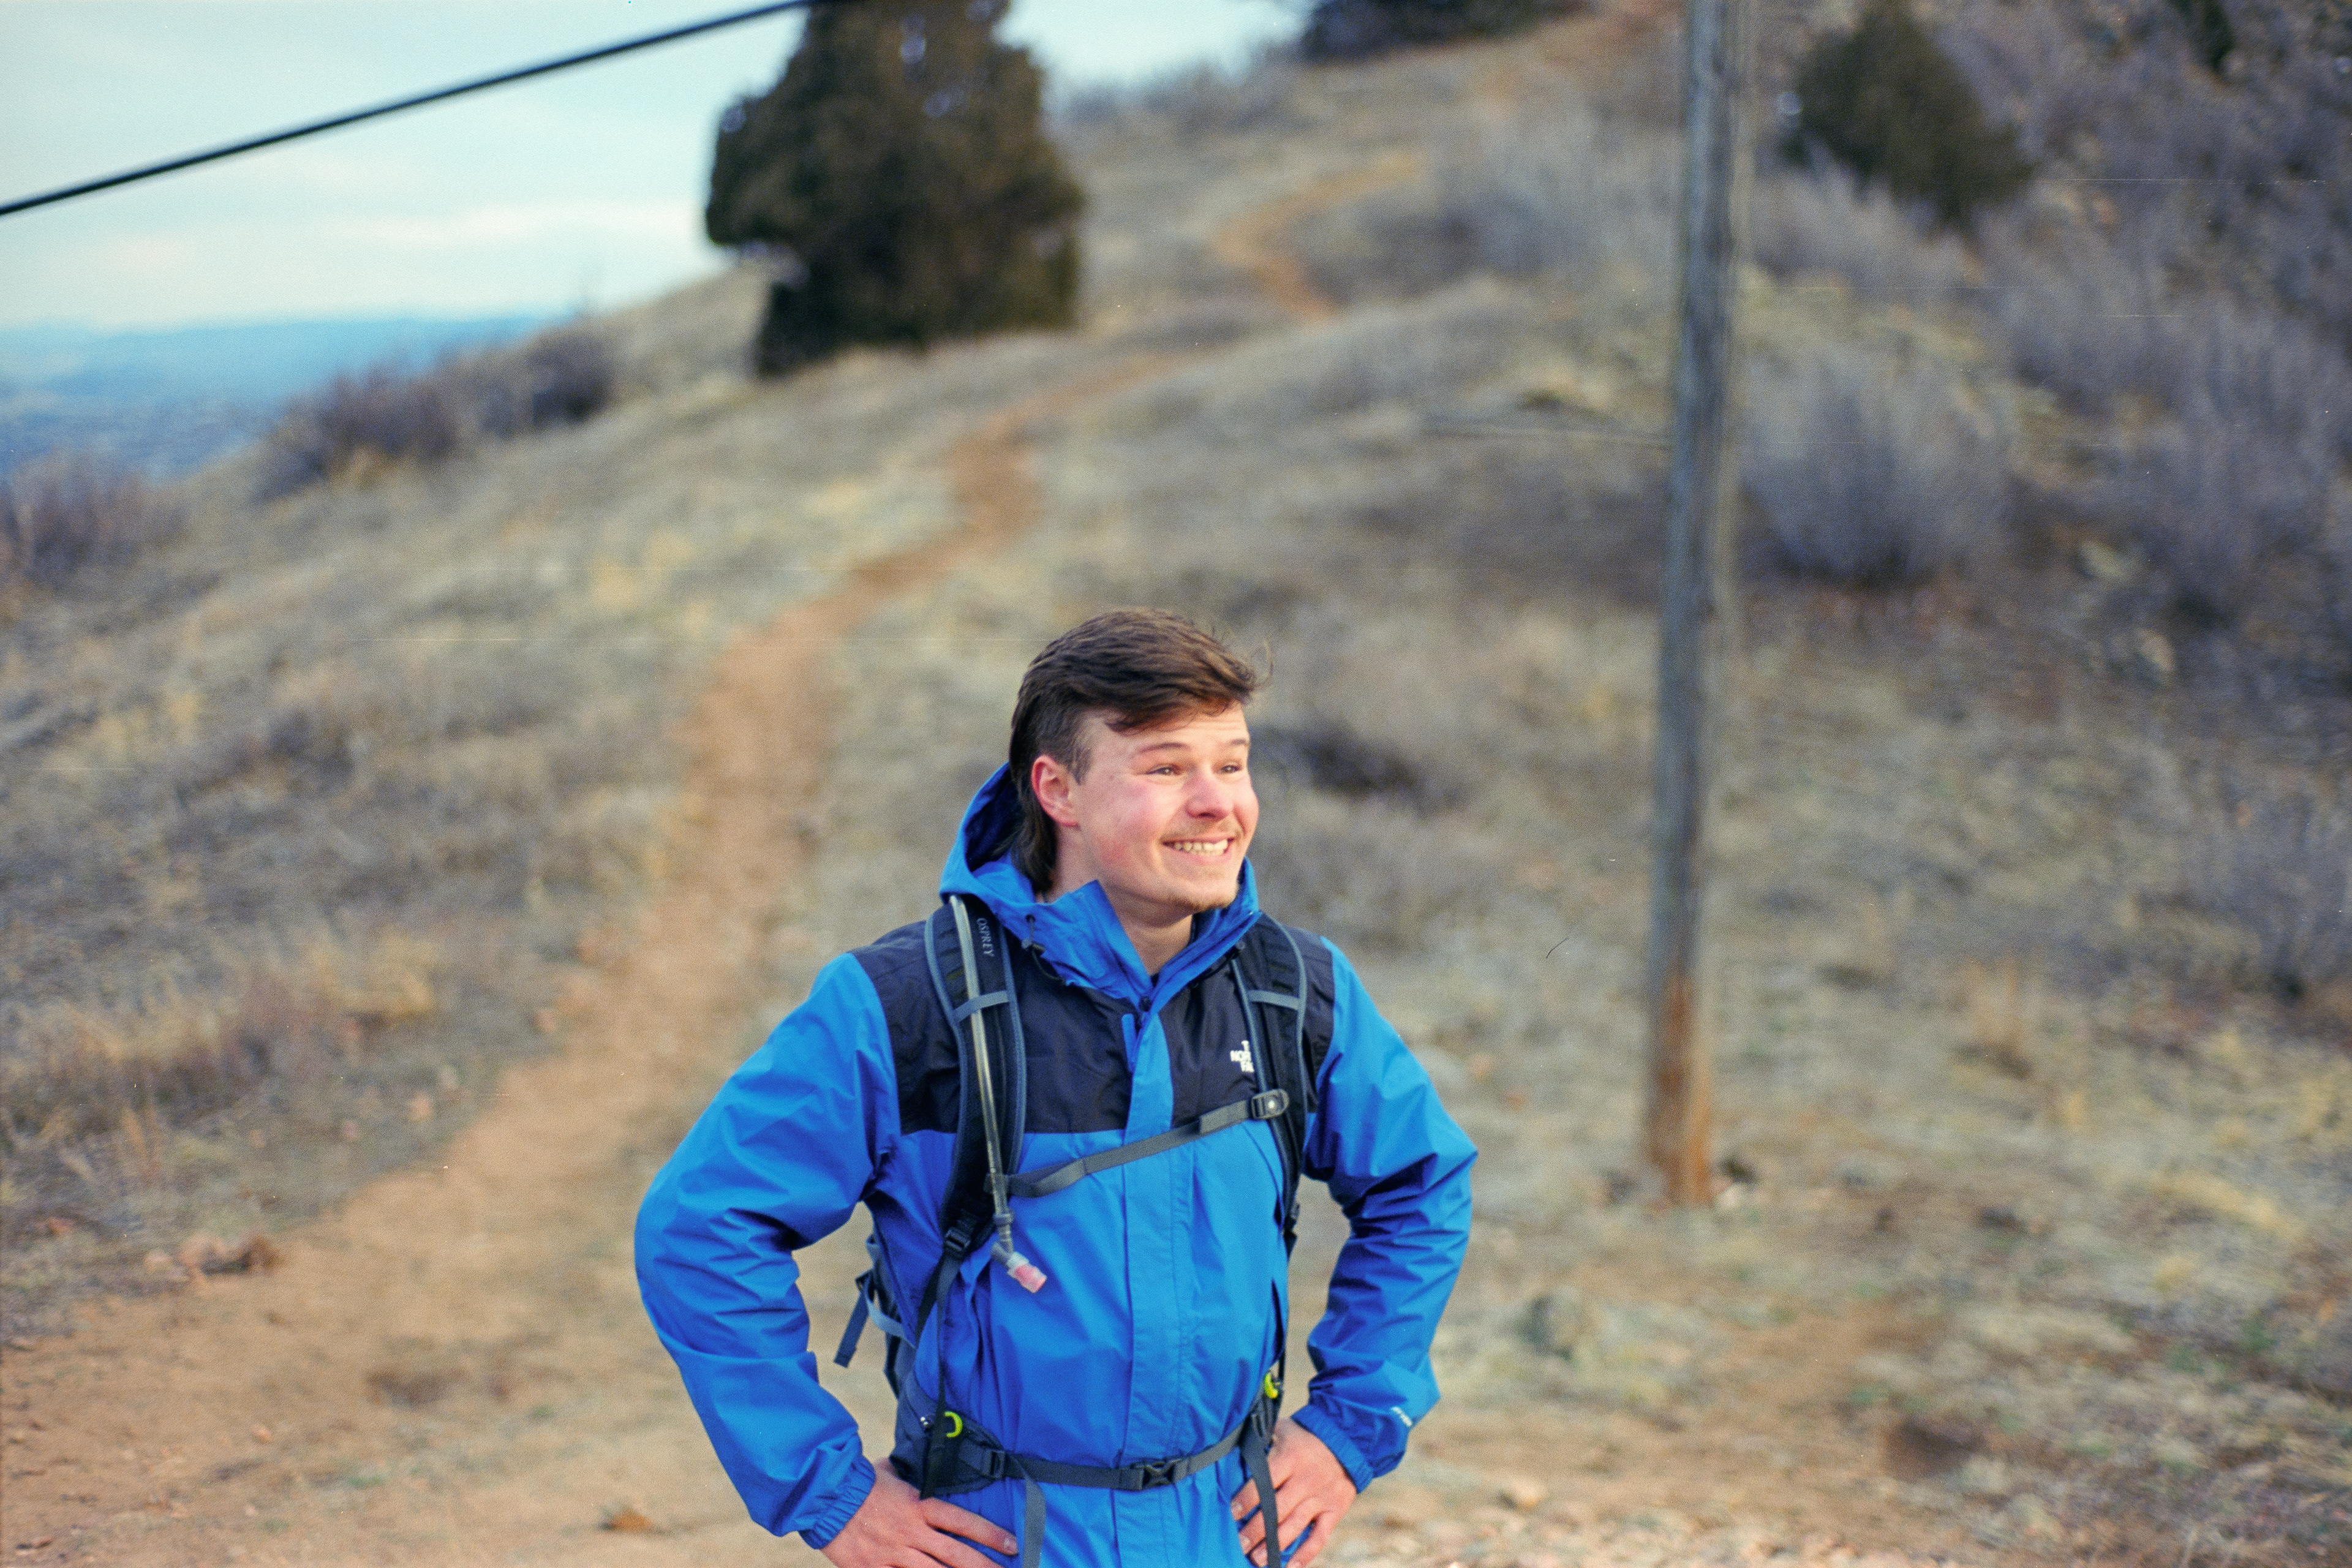
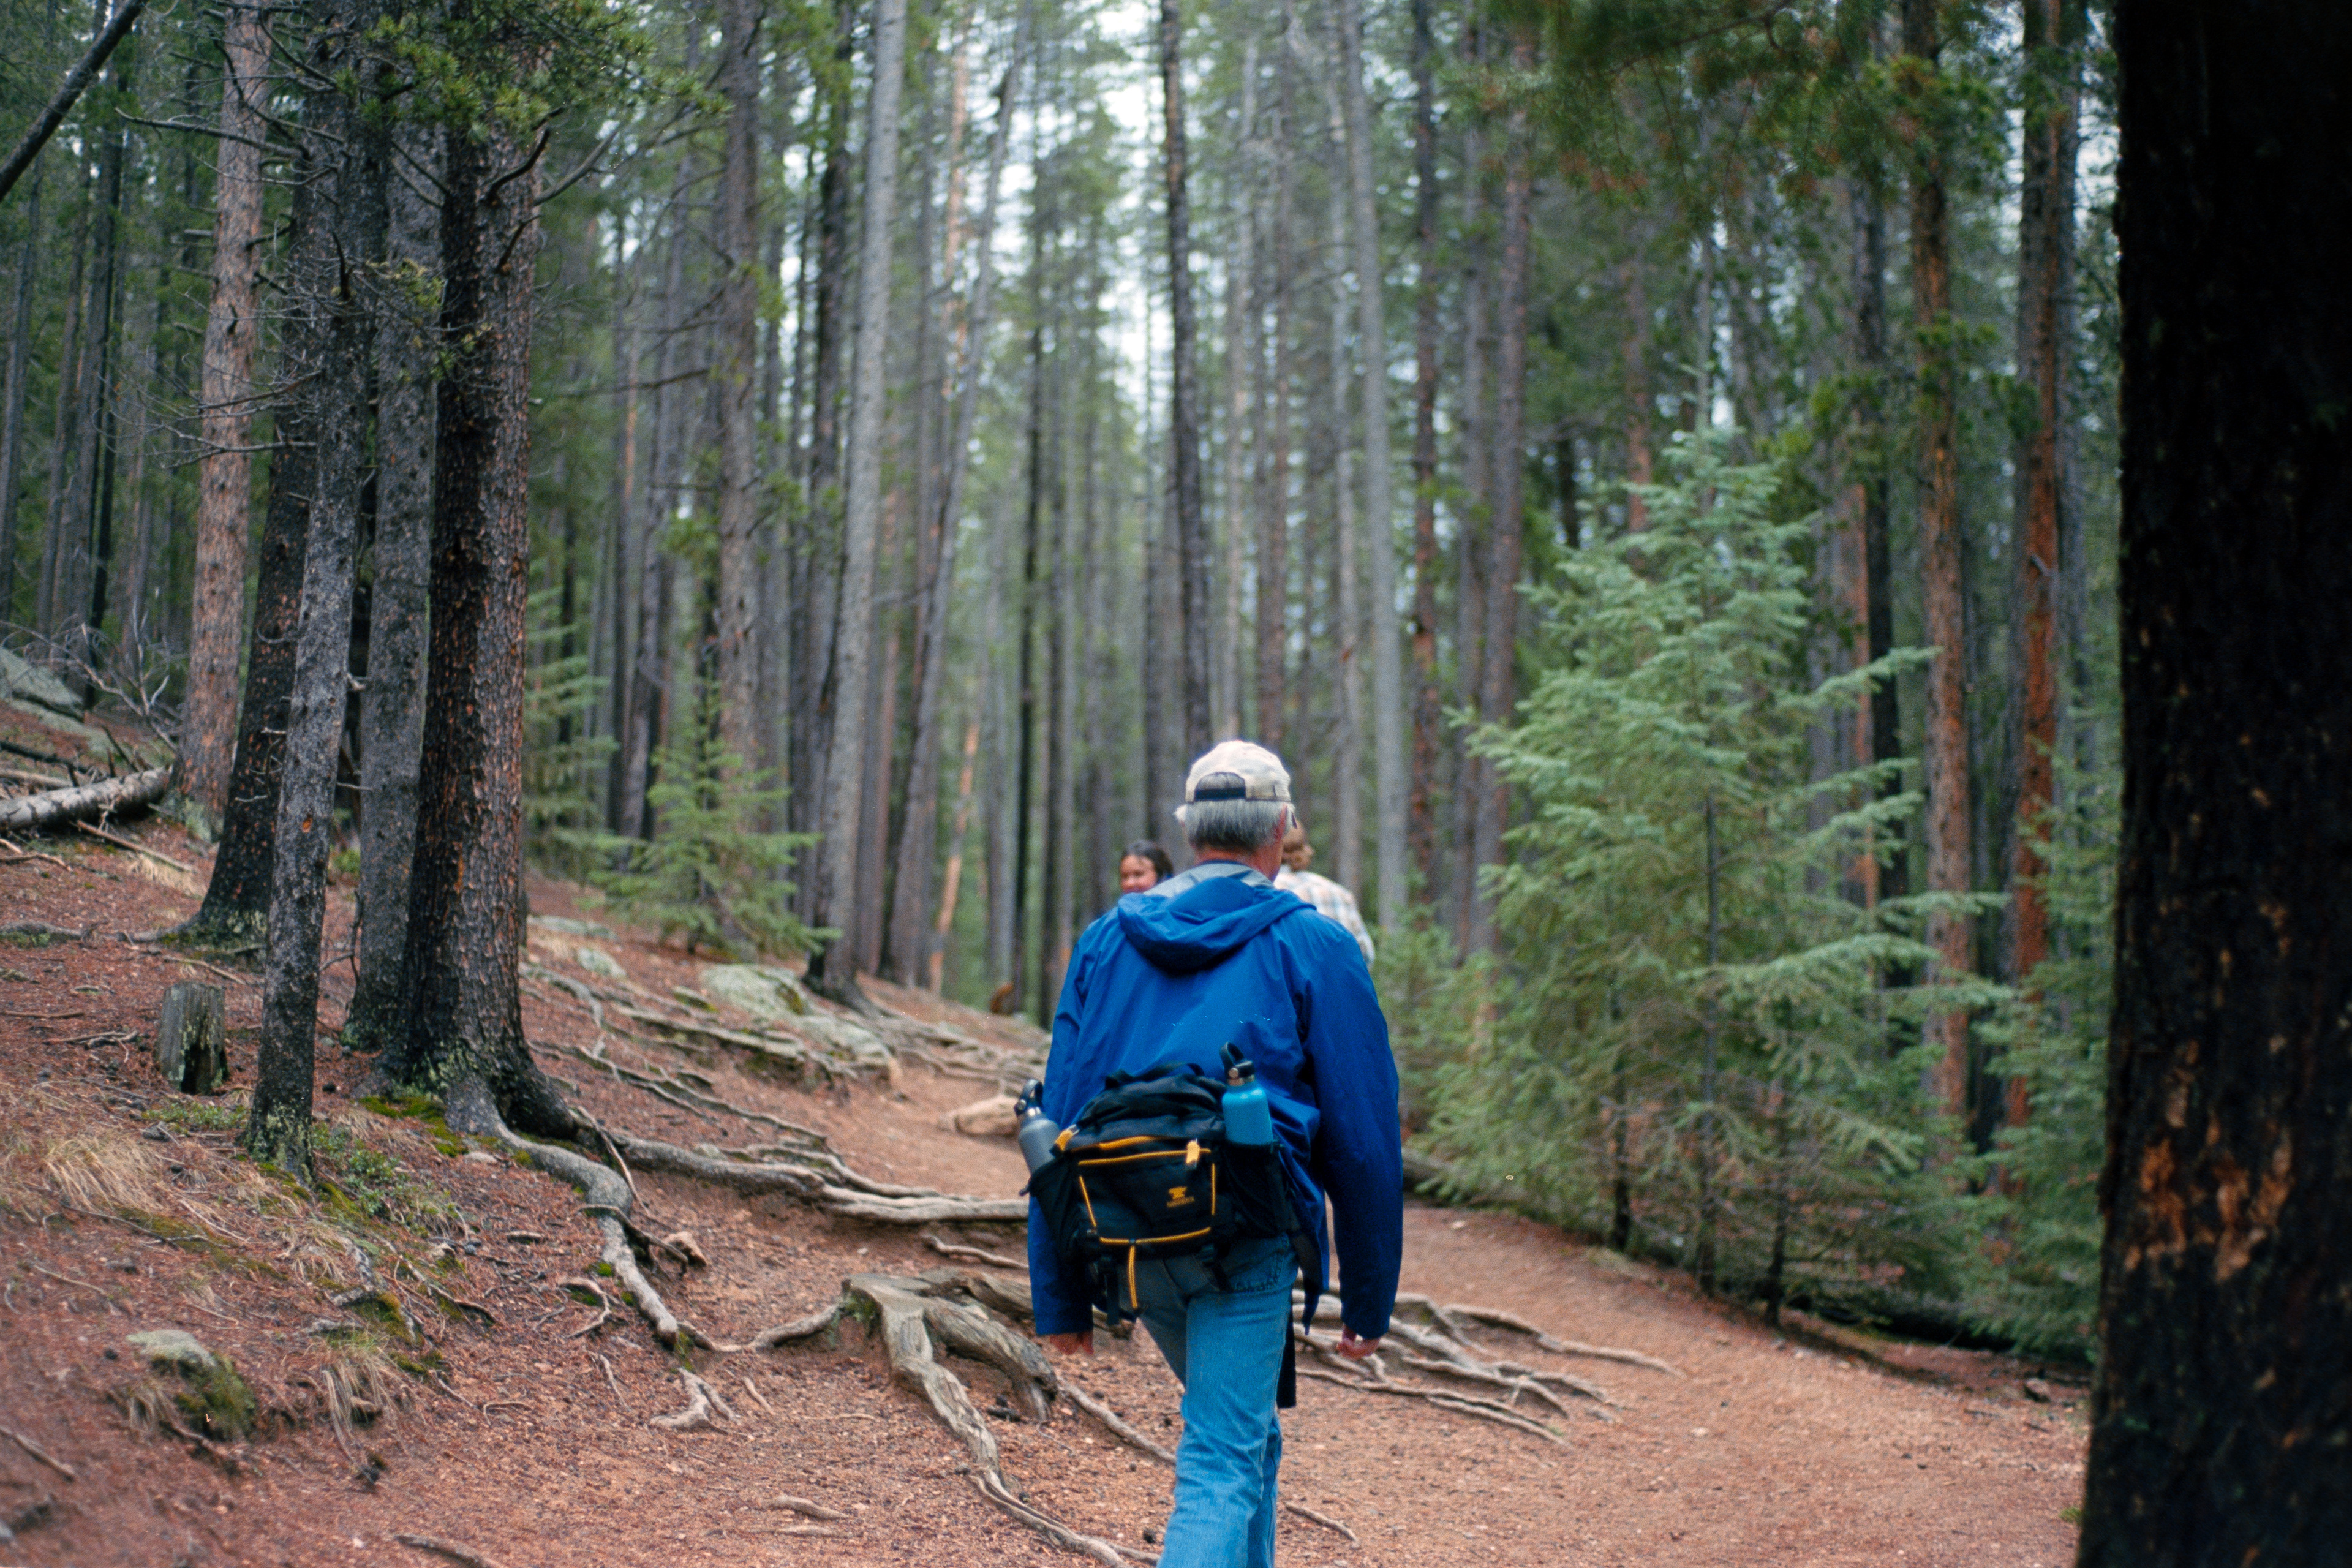
These first three images were shot on Ektar 100, a film that I've heard multiple photographers shy away from for fear that it has too much red or doesn't get colors right. It's personally become one of my favorite film stocks, particularly due to its sharpness and its color reproduction.
Lab Scan
Photoshop (PS) Scan
Negative Lab Pro (NLP) Scan
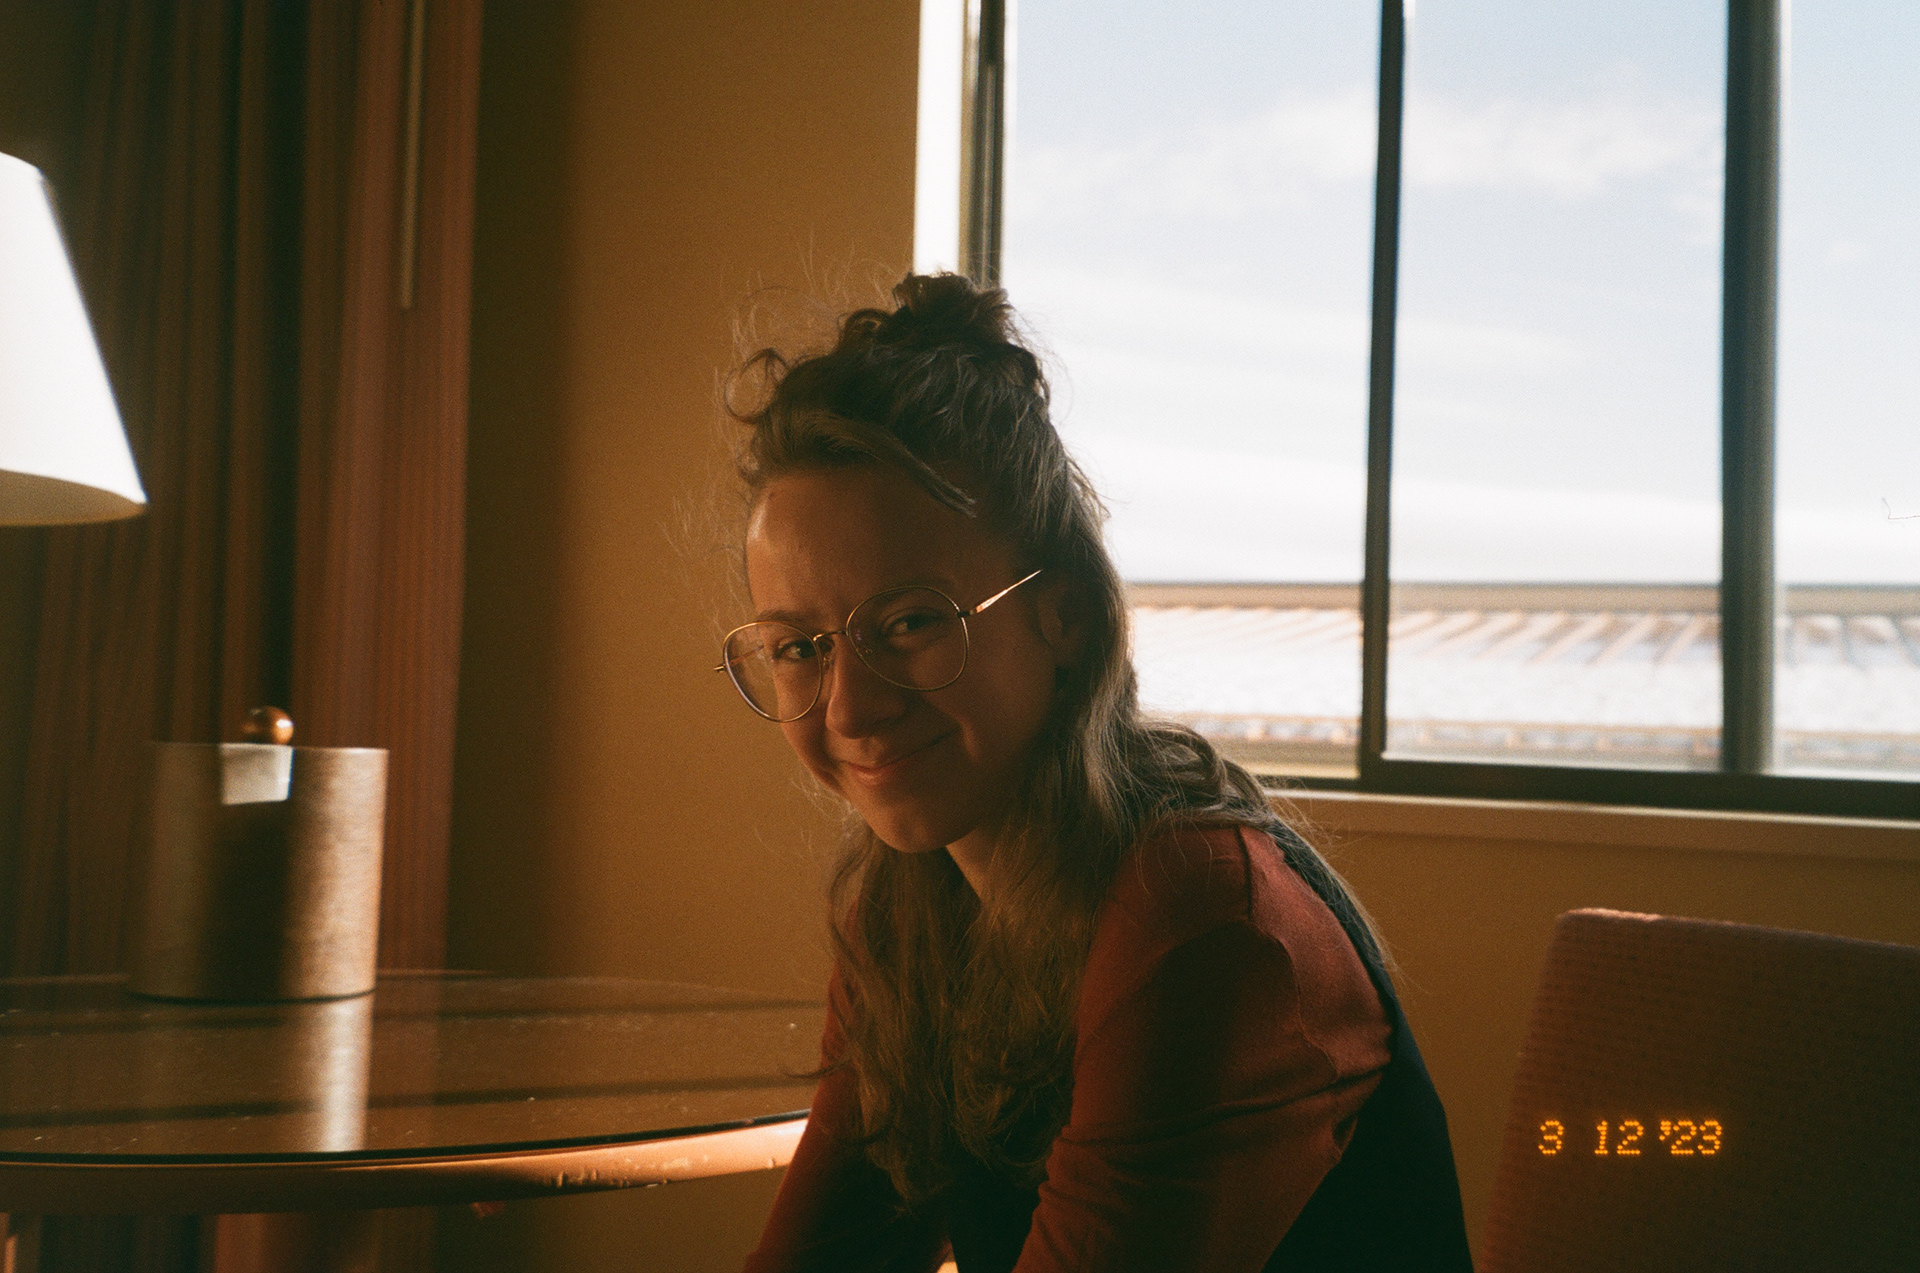
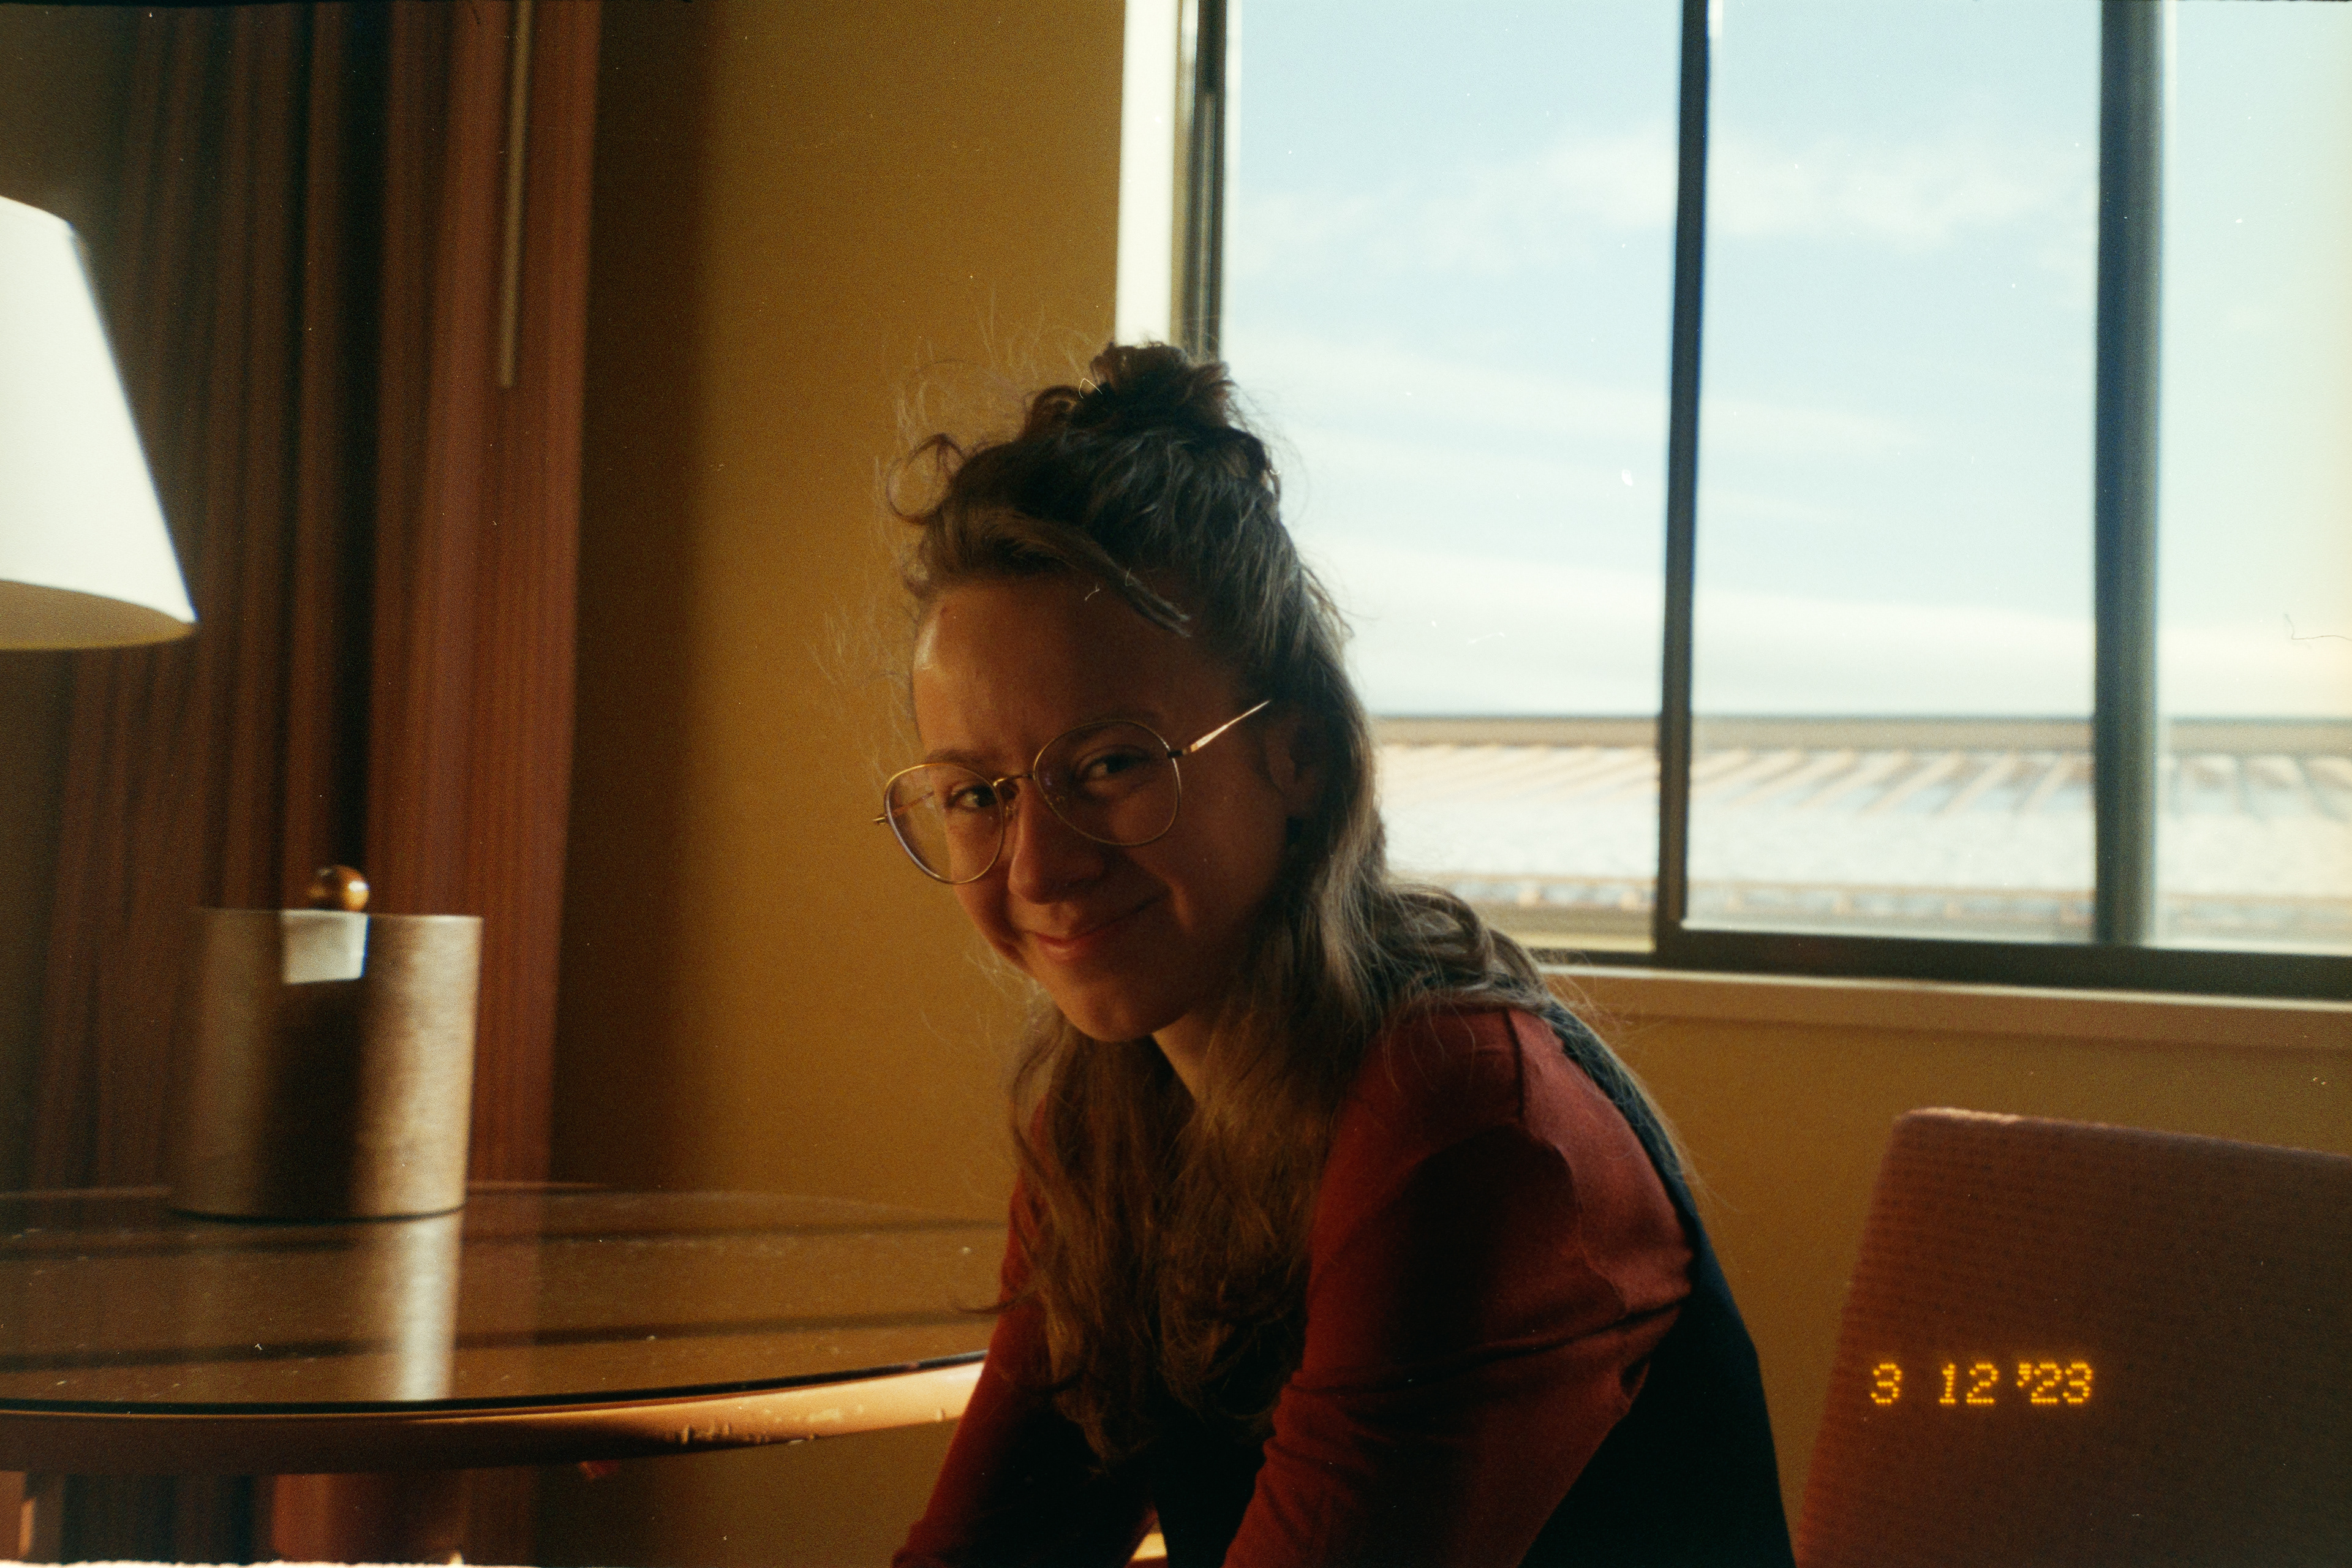
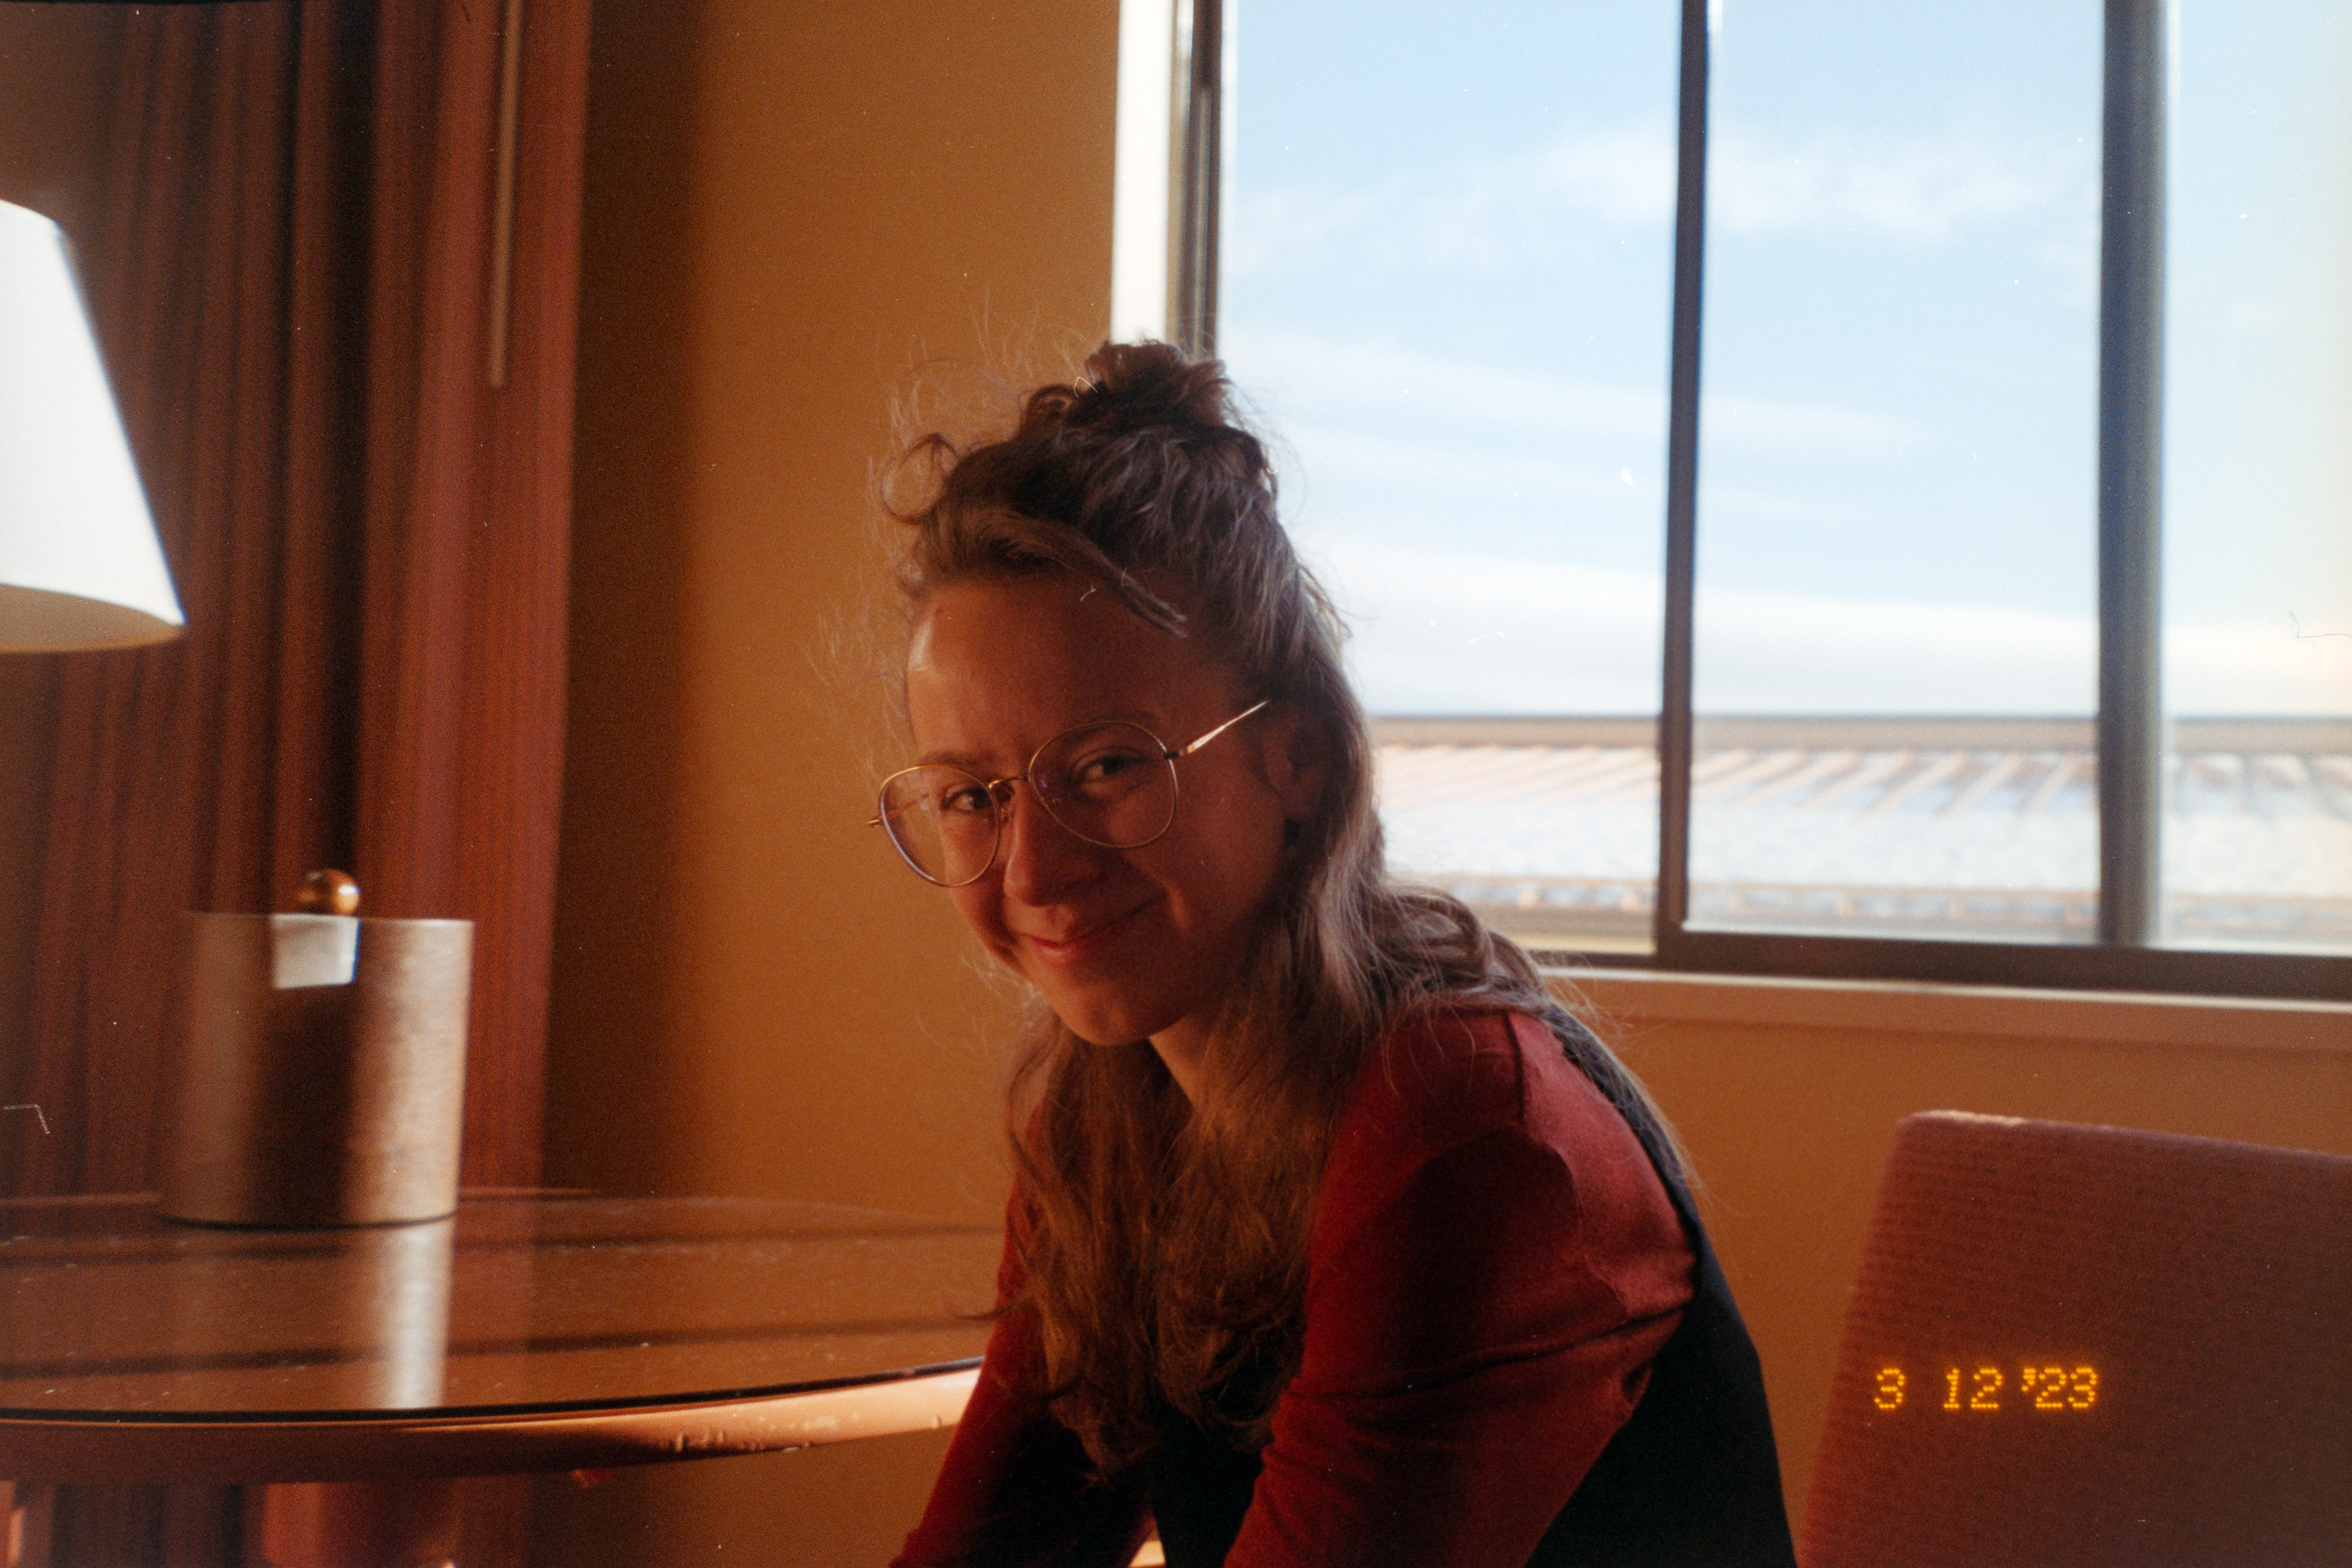
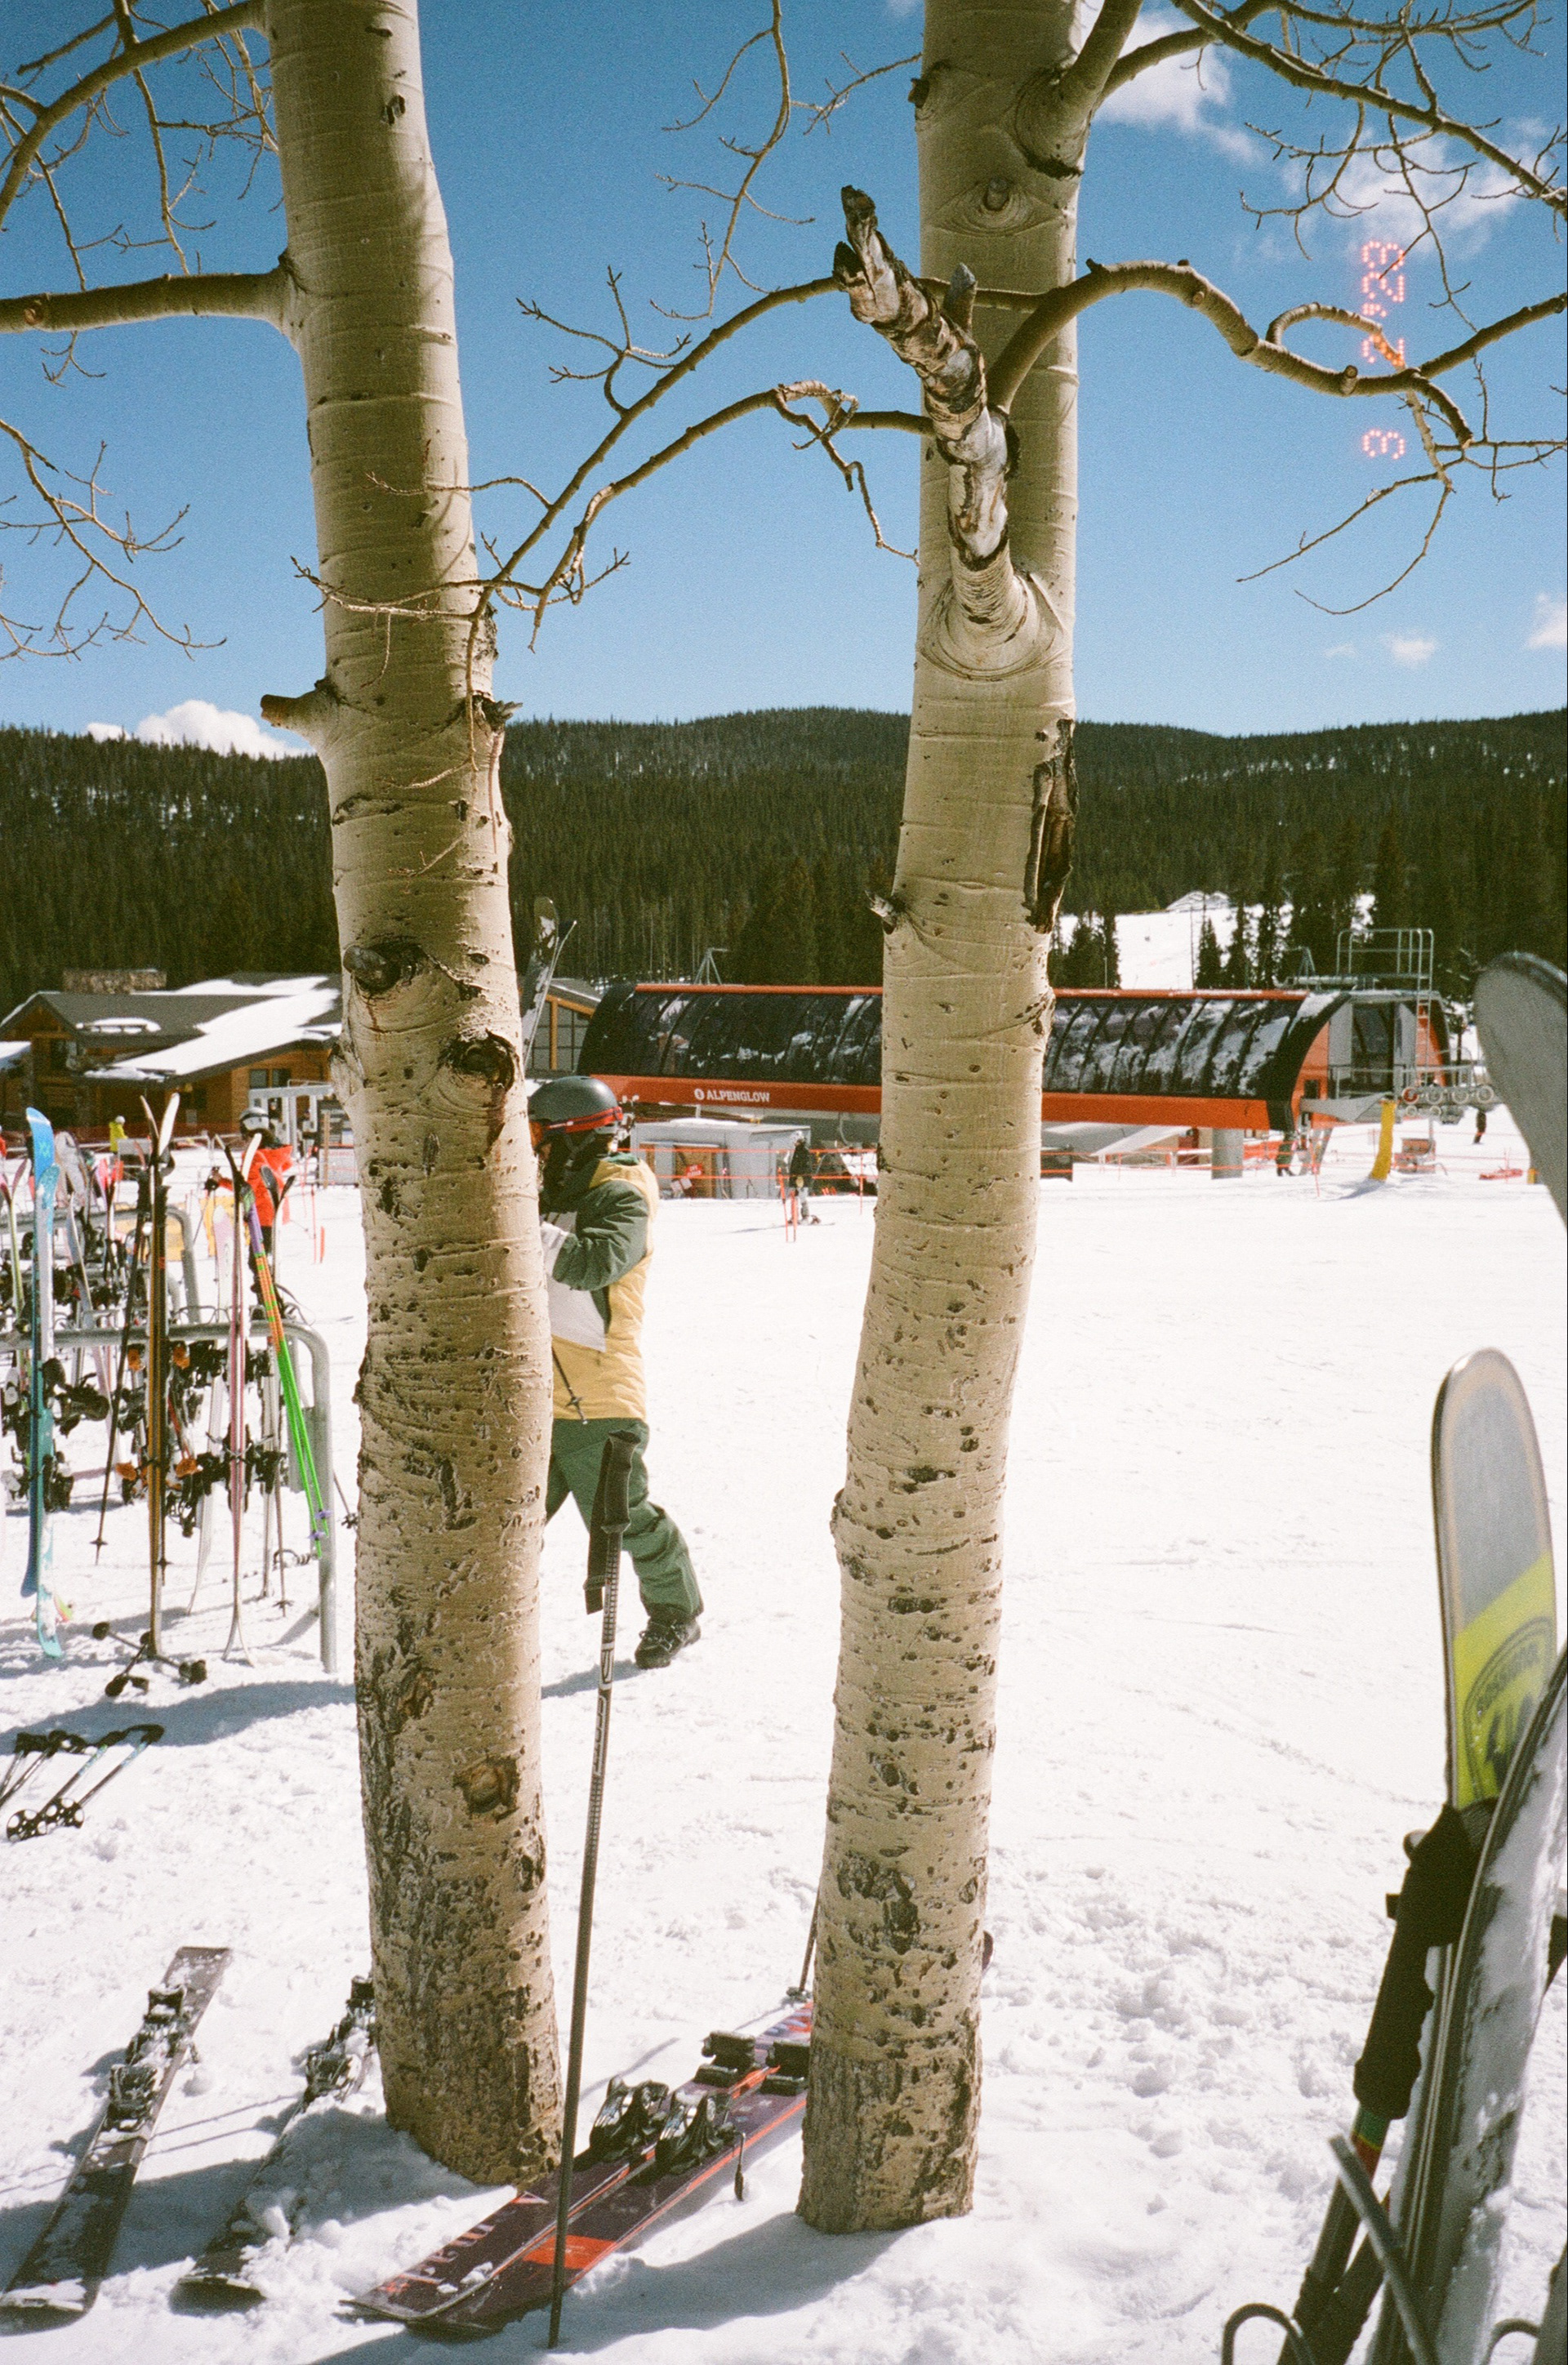
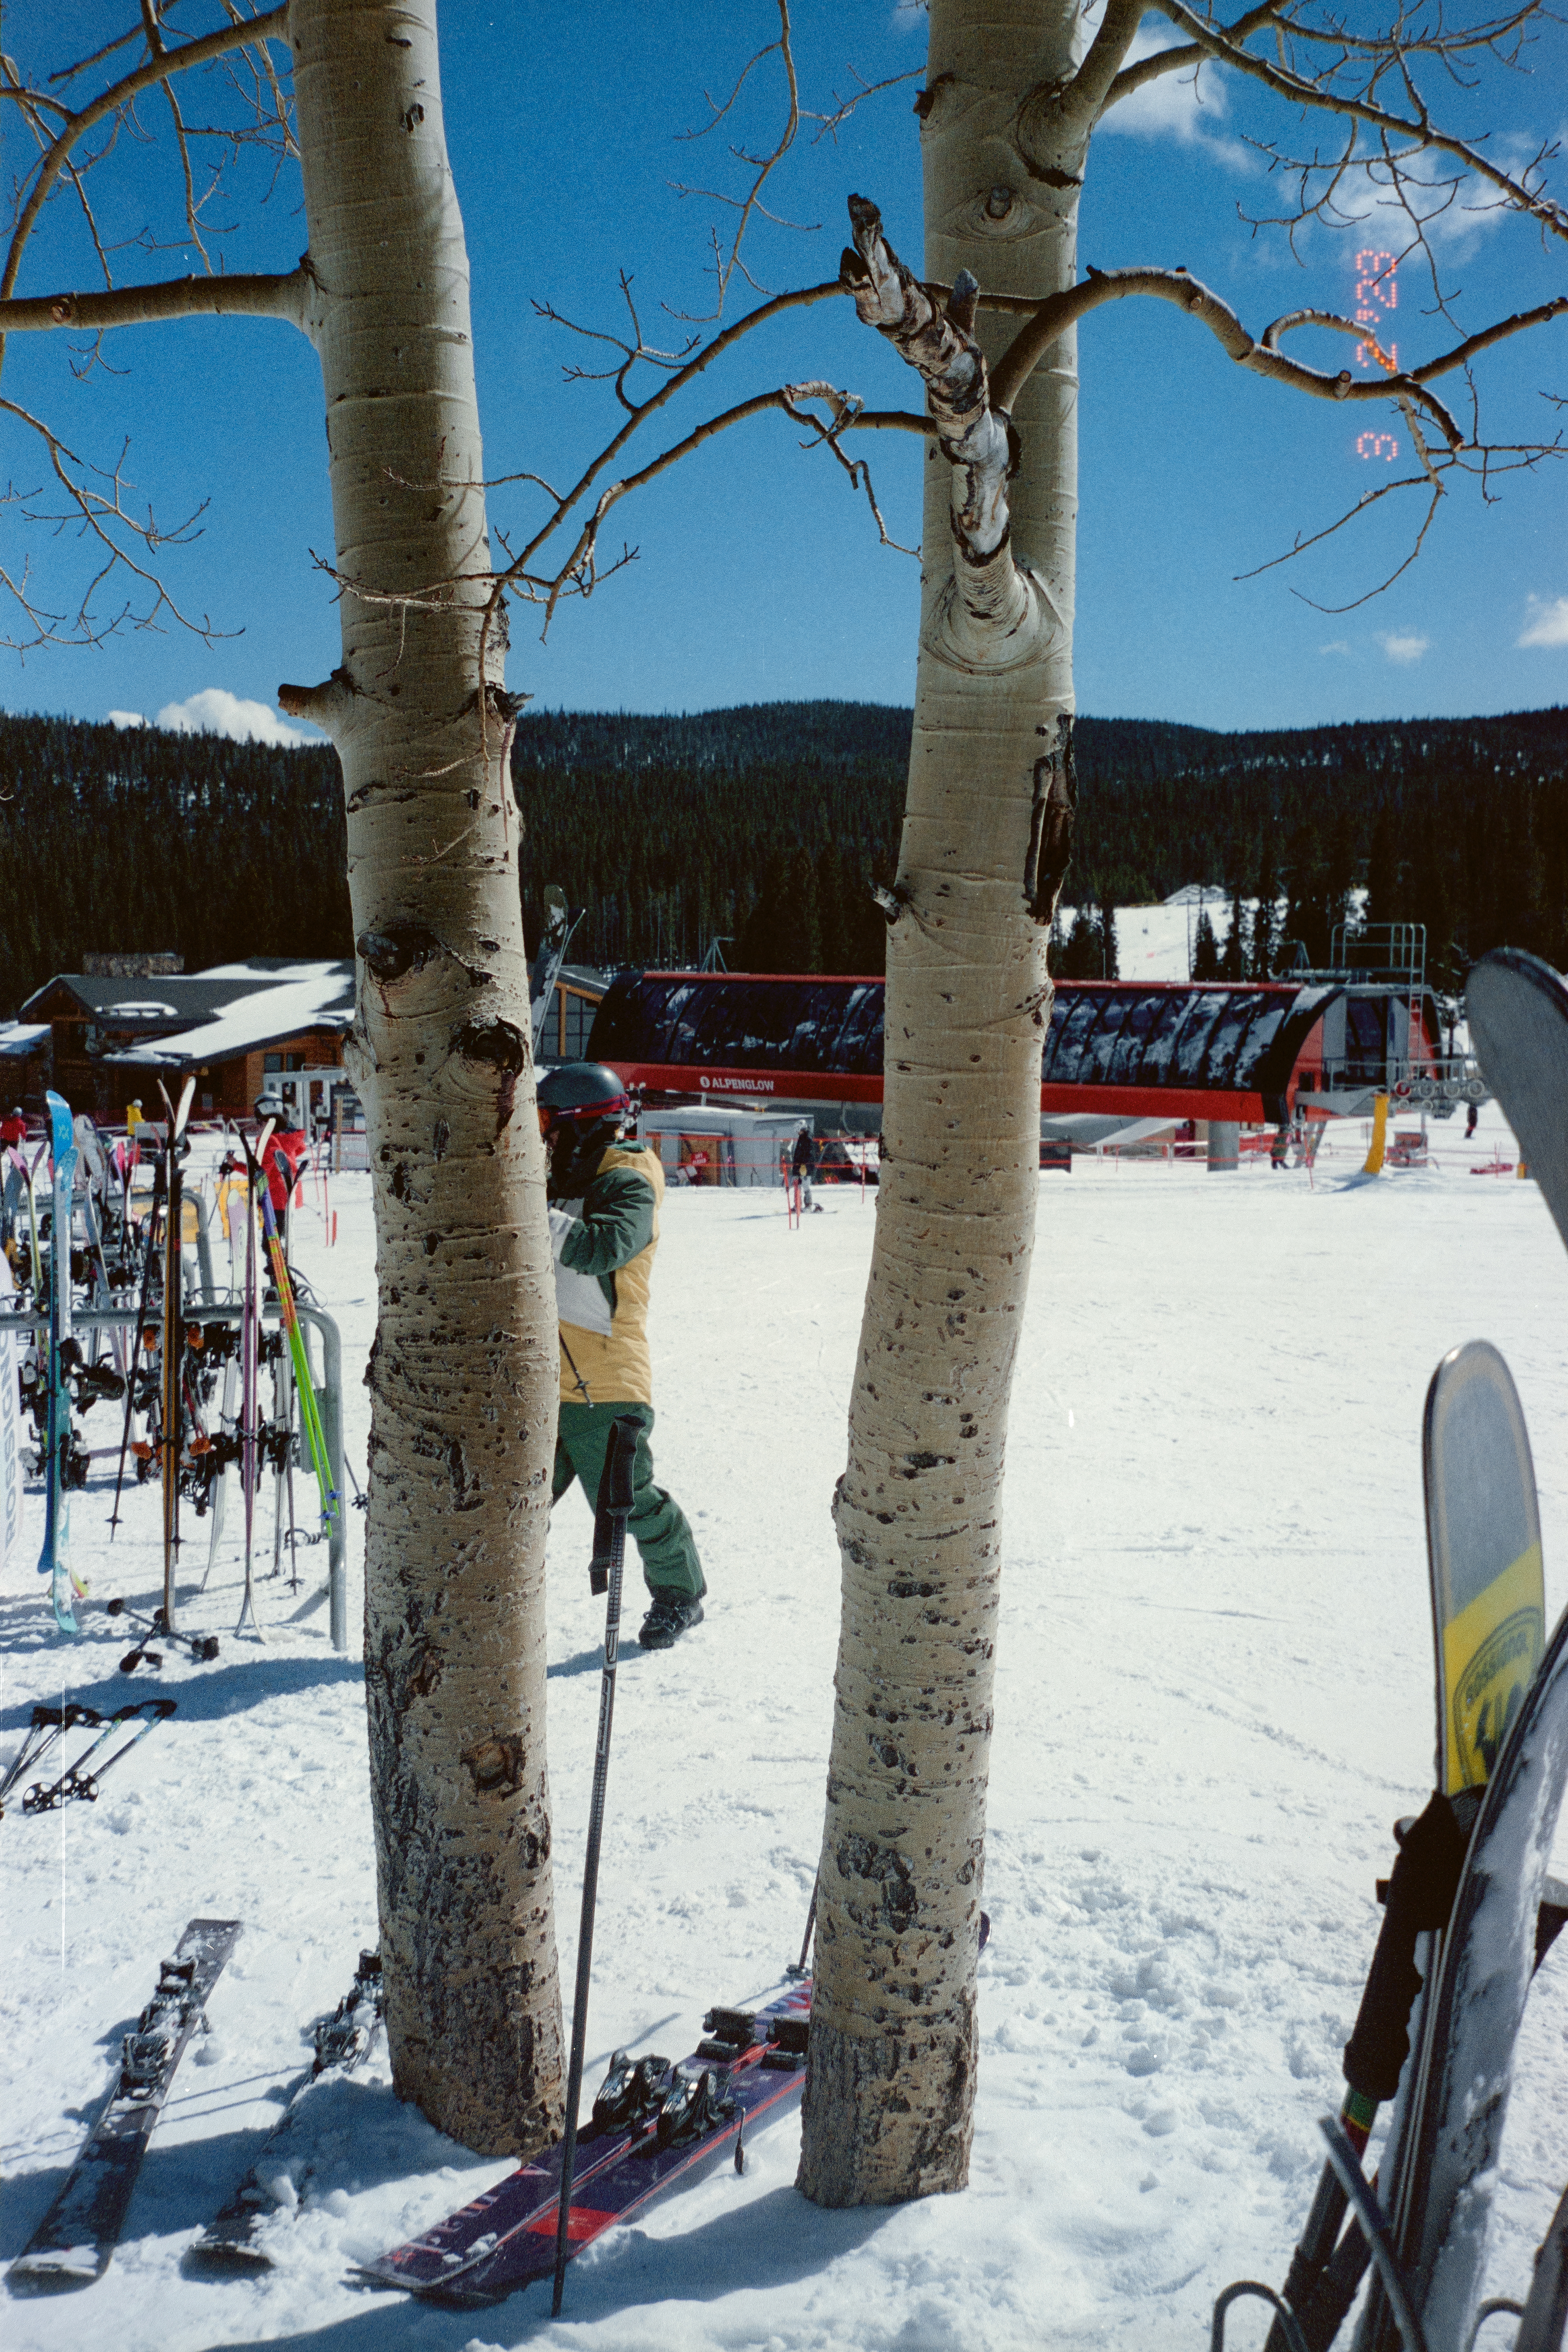
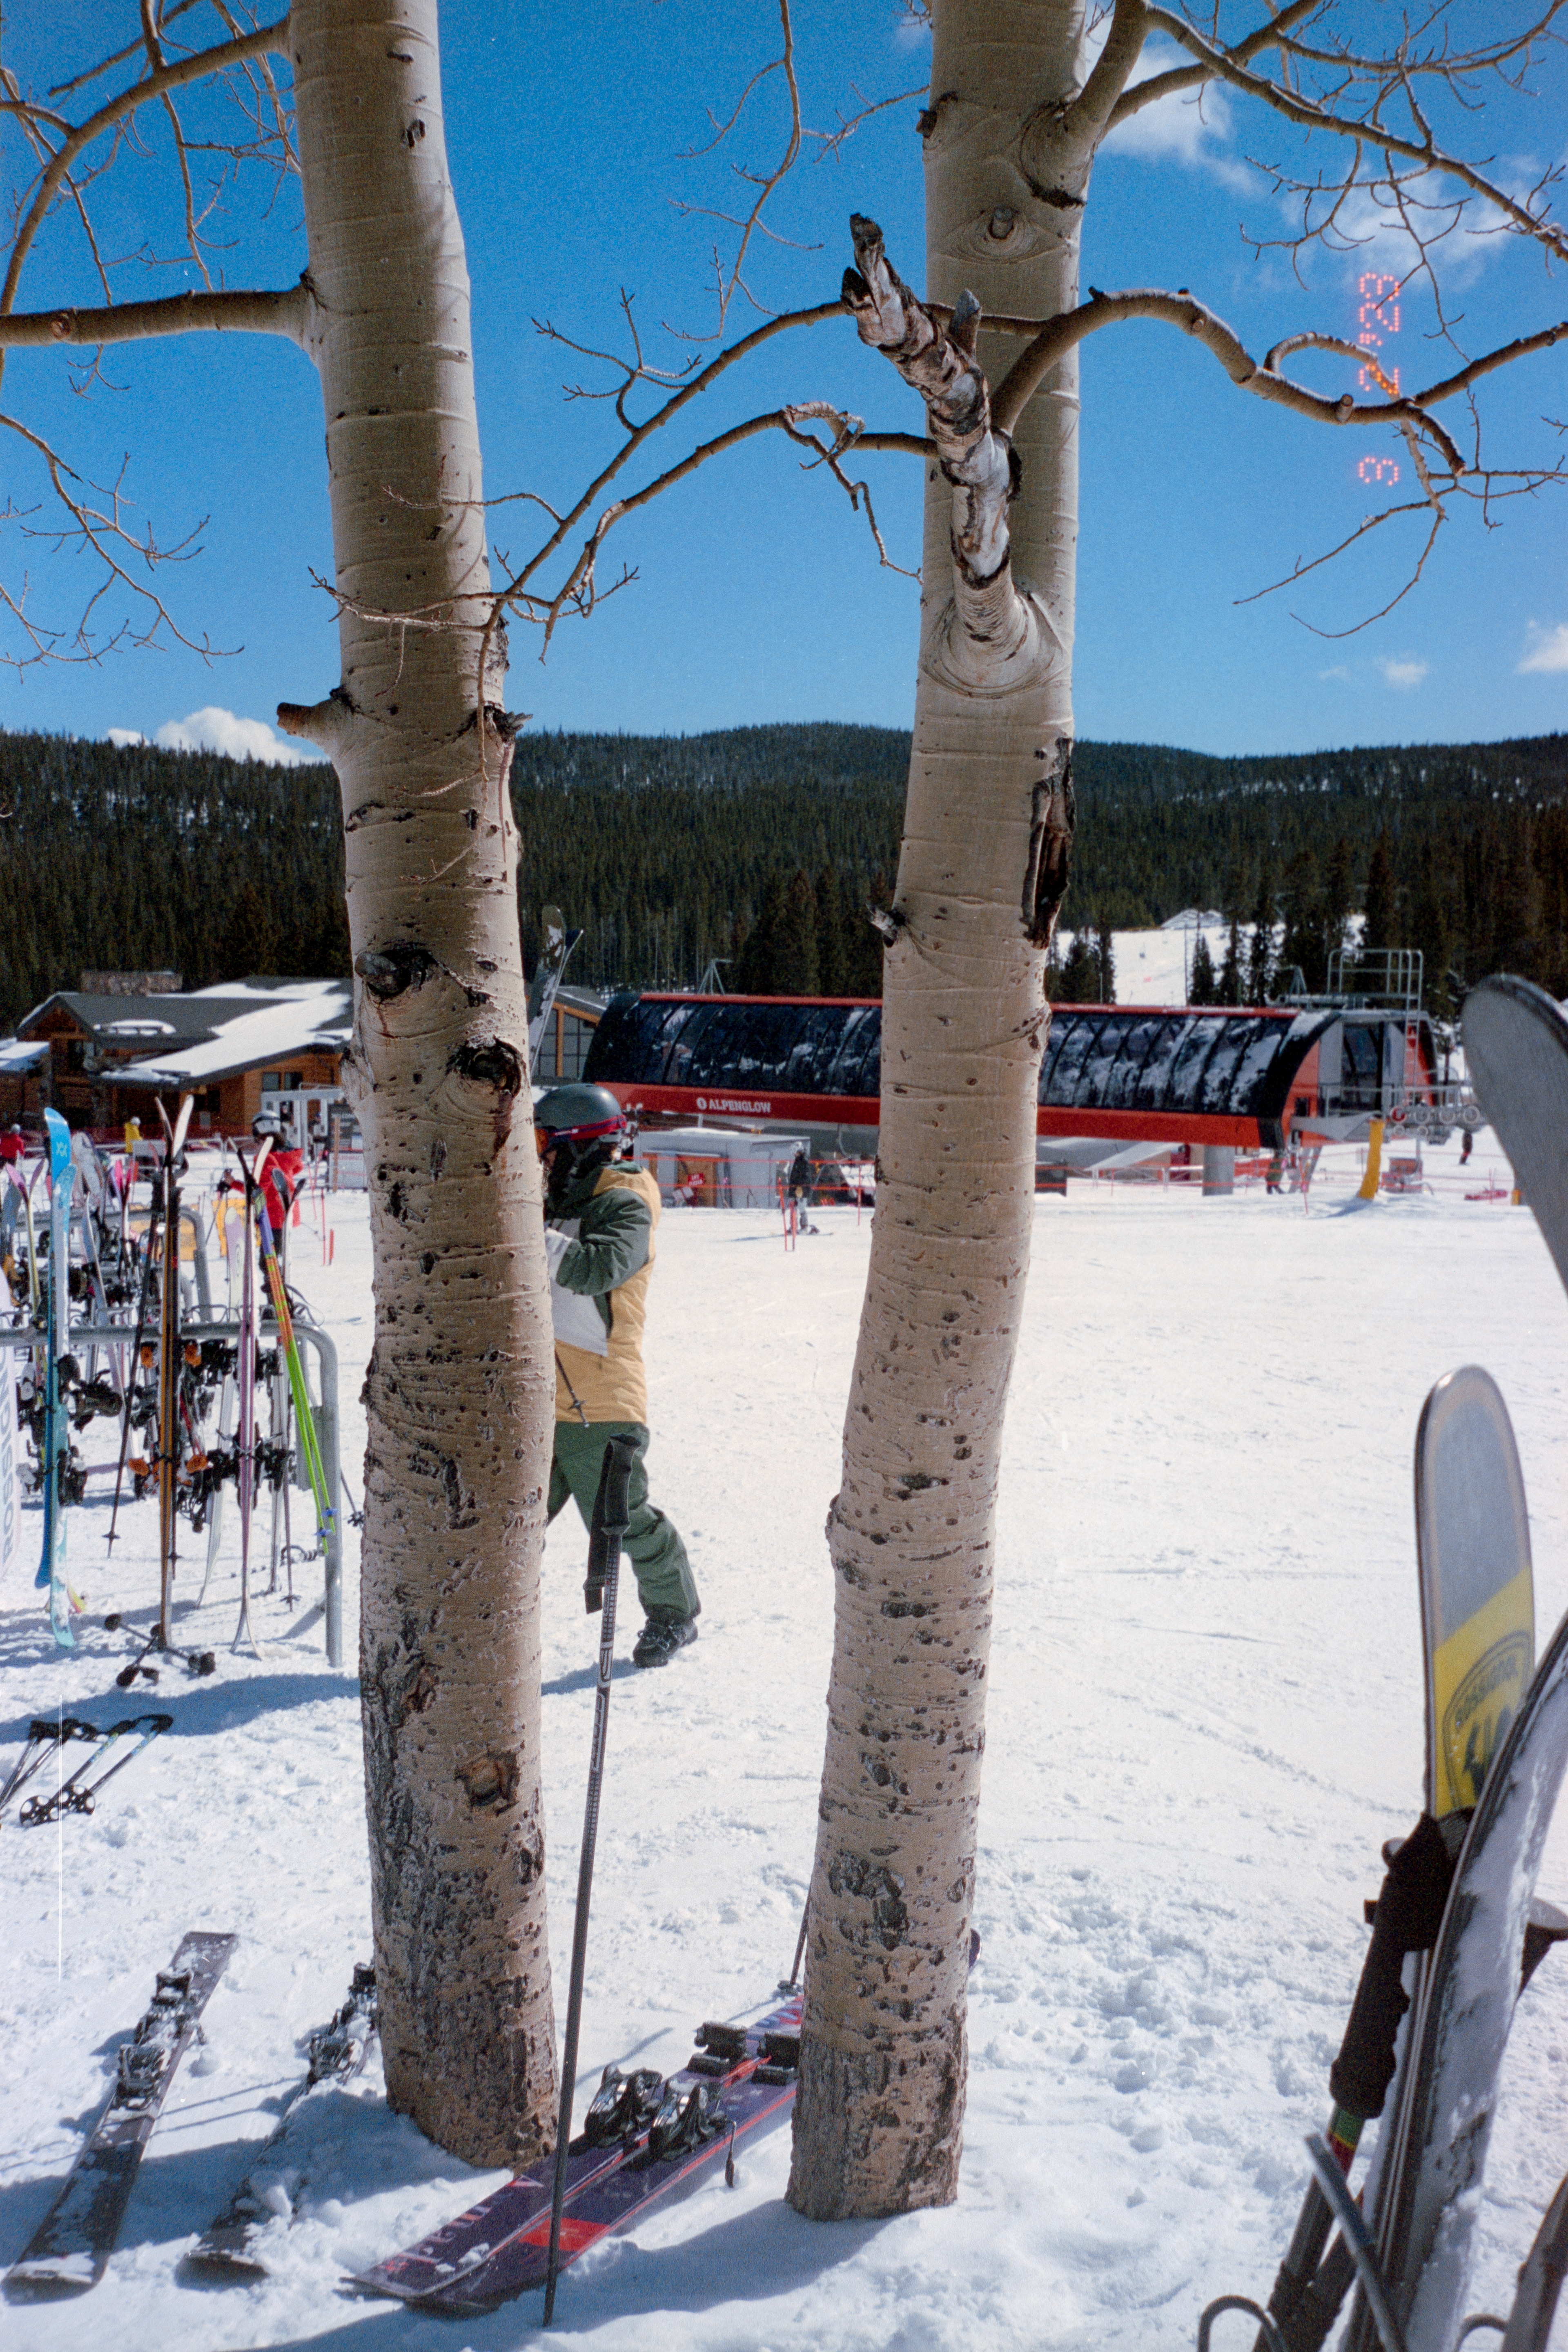
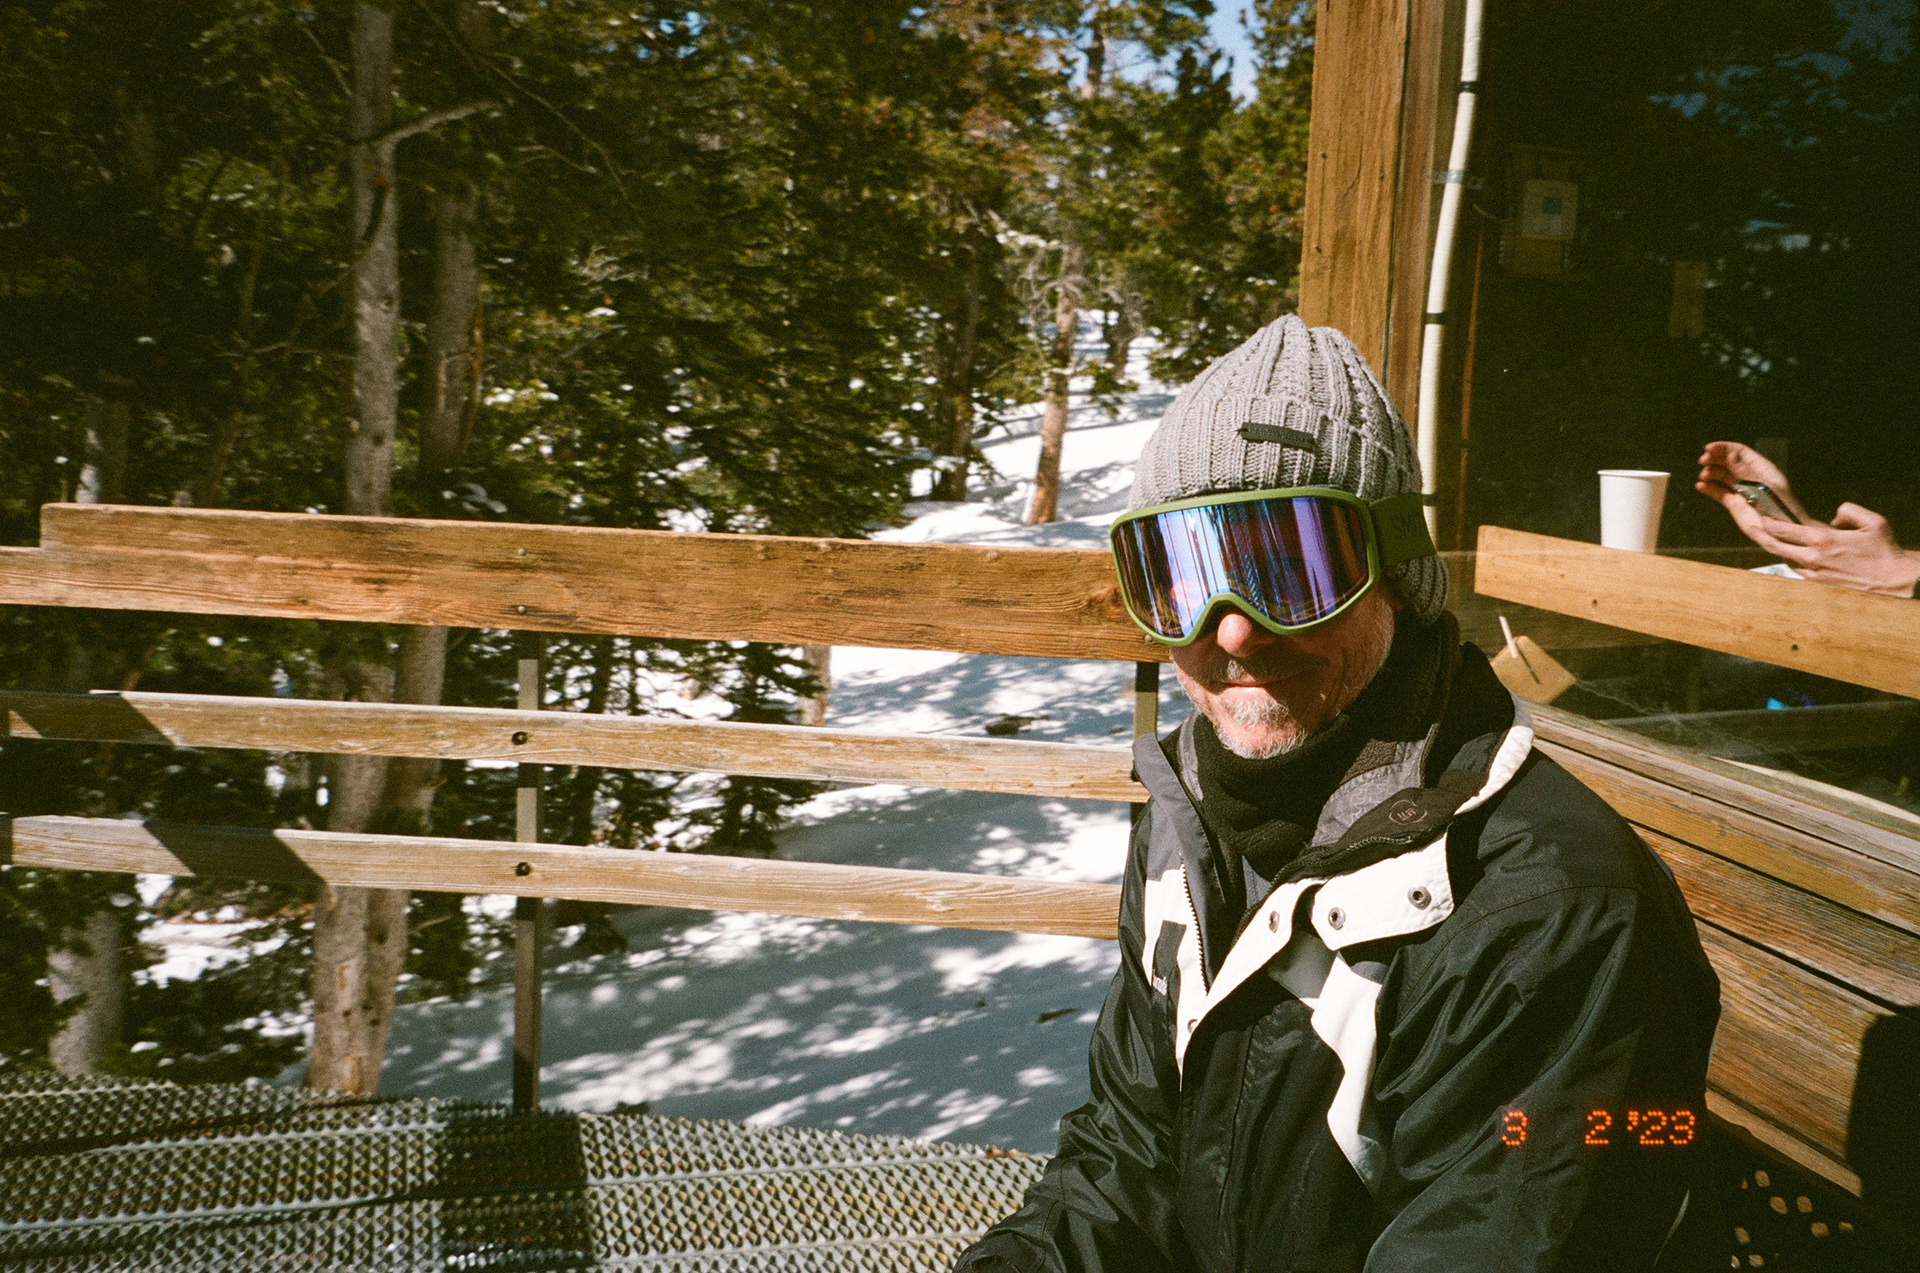
Lab Scan
PS Scan
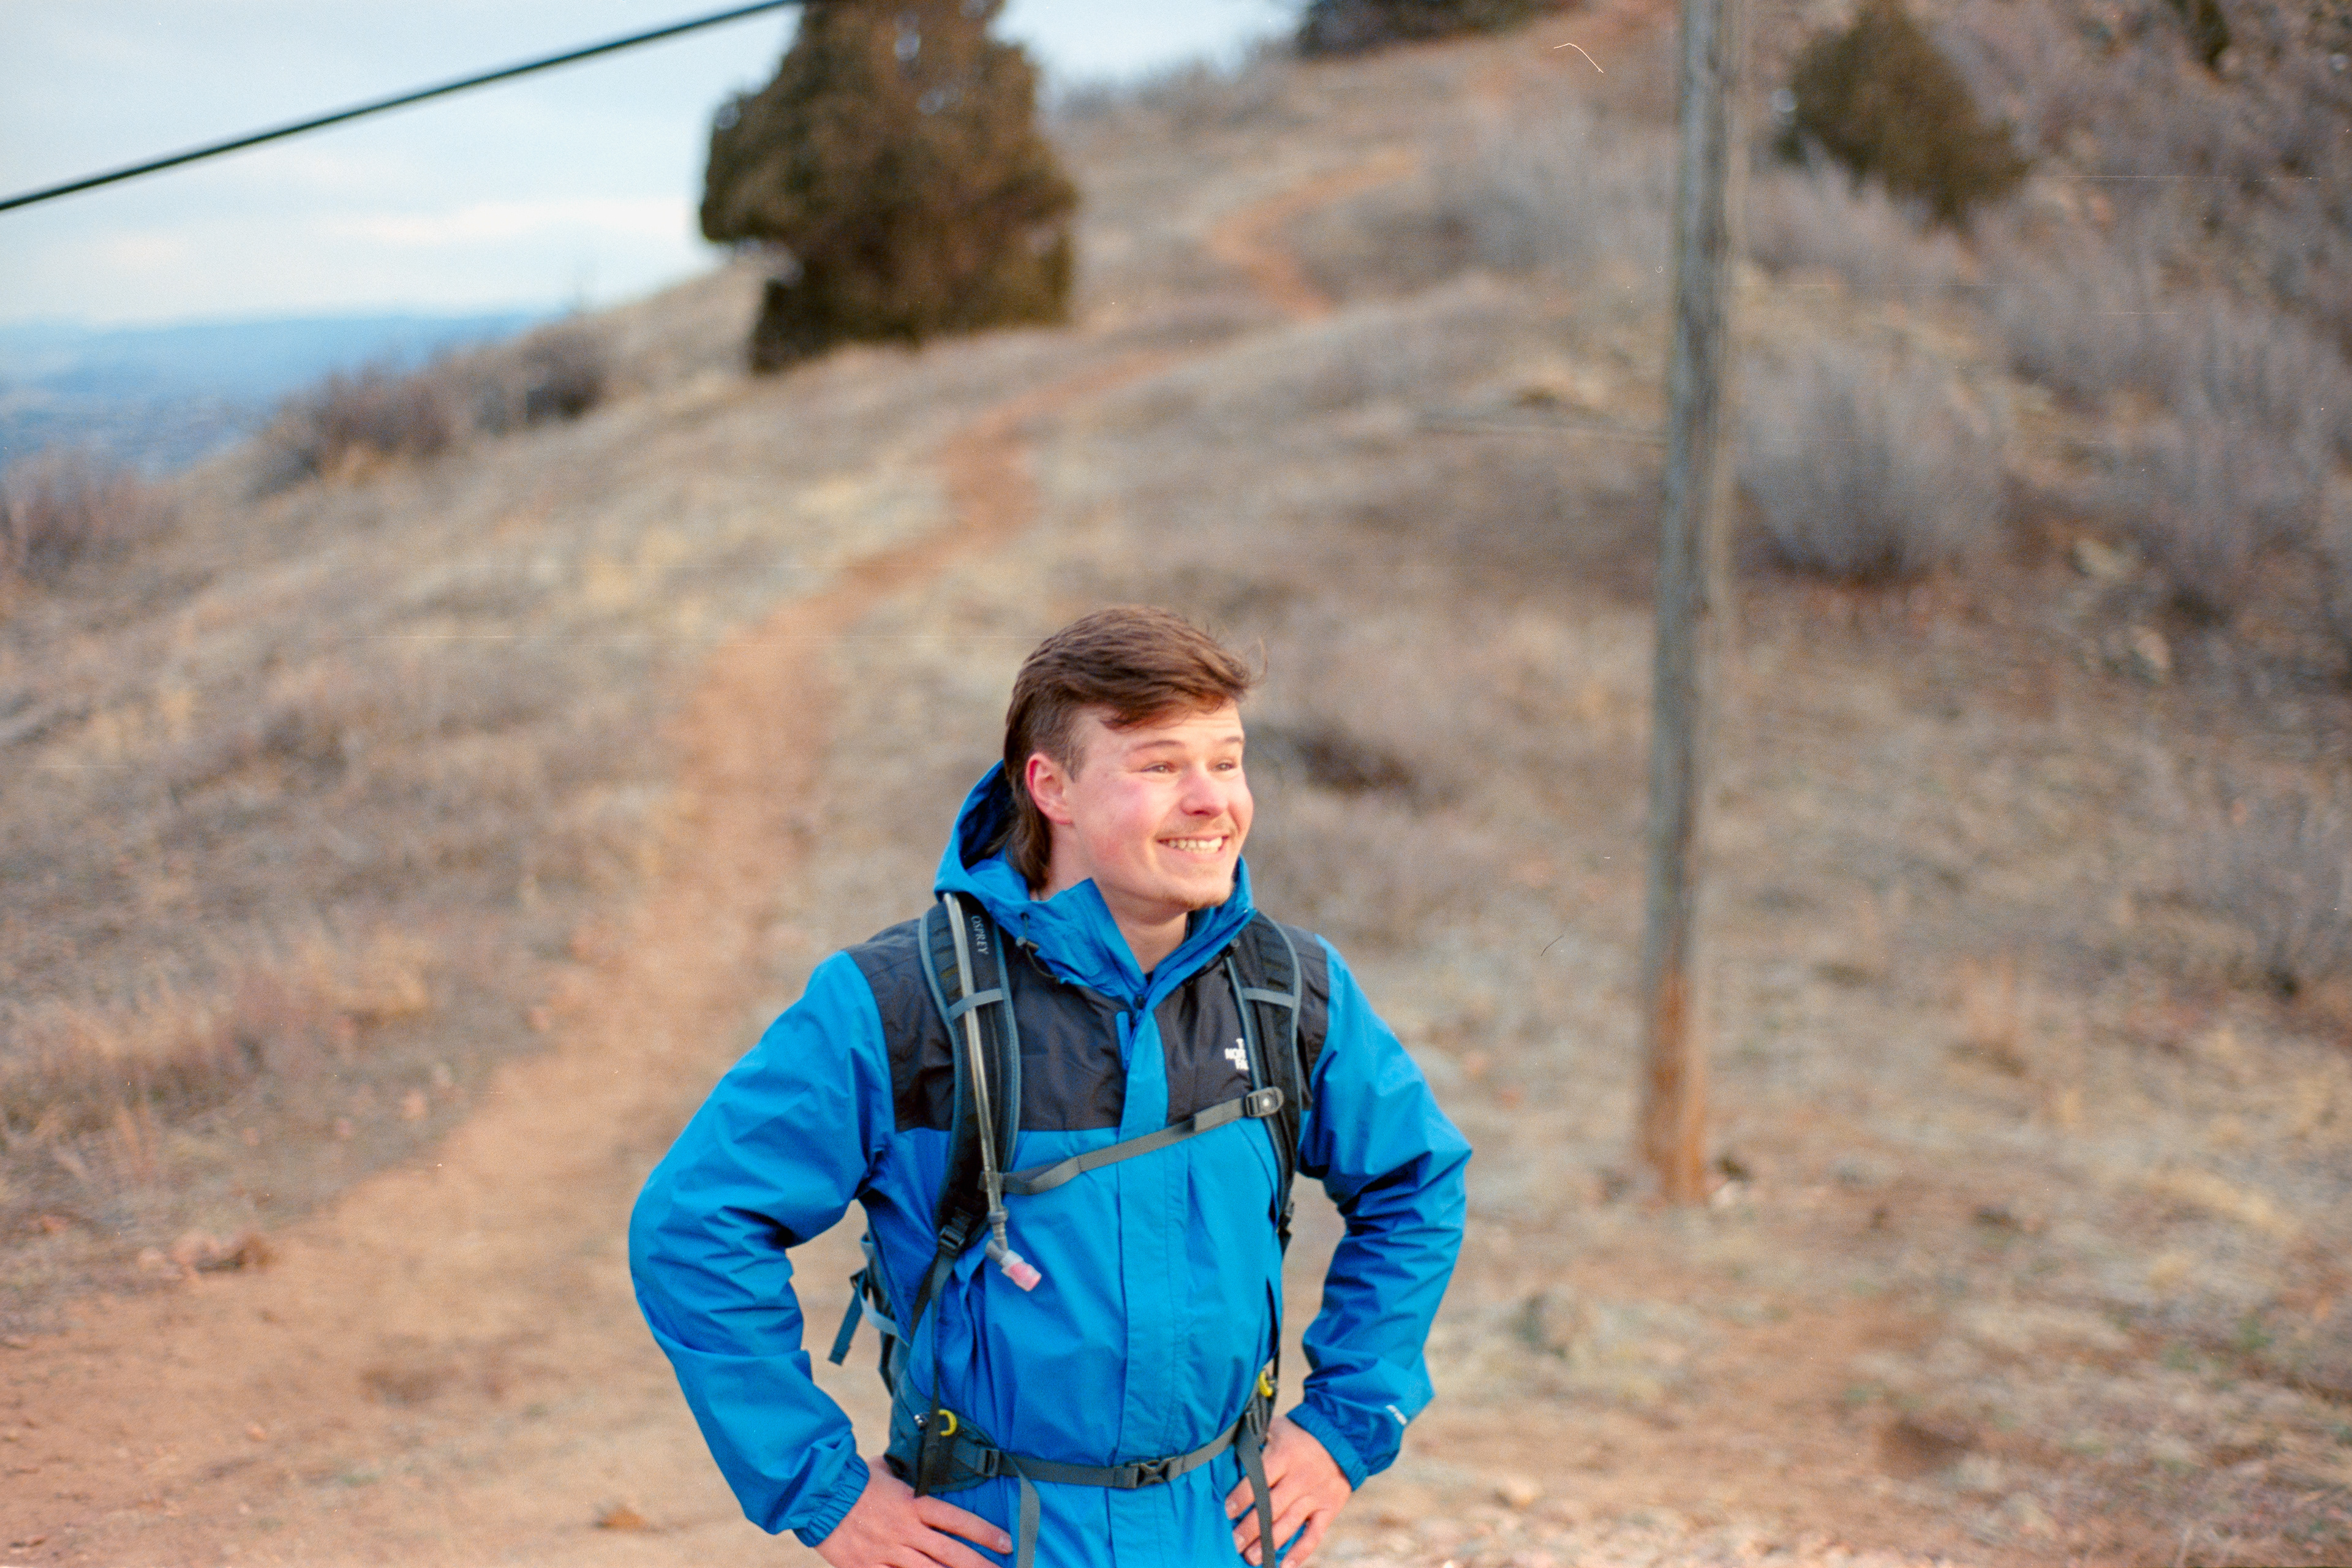
NLP Scan
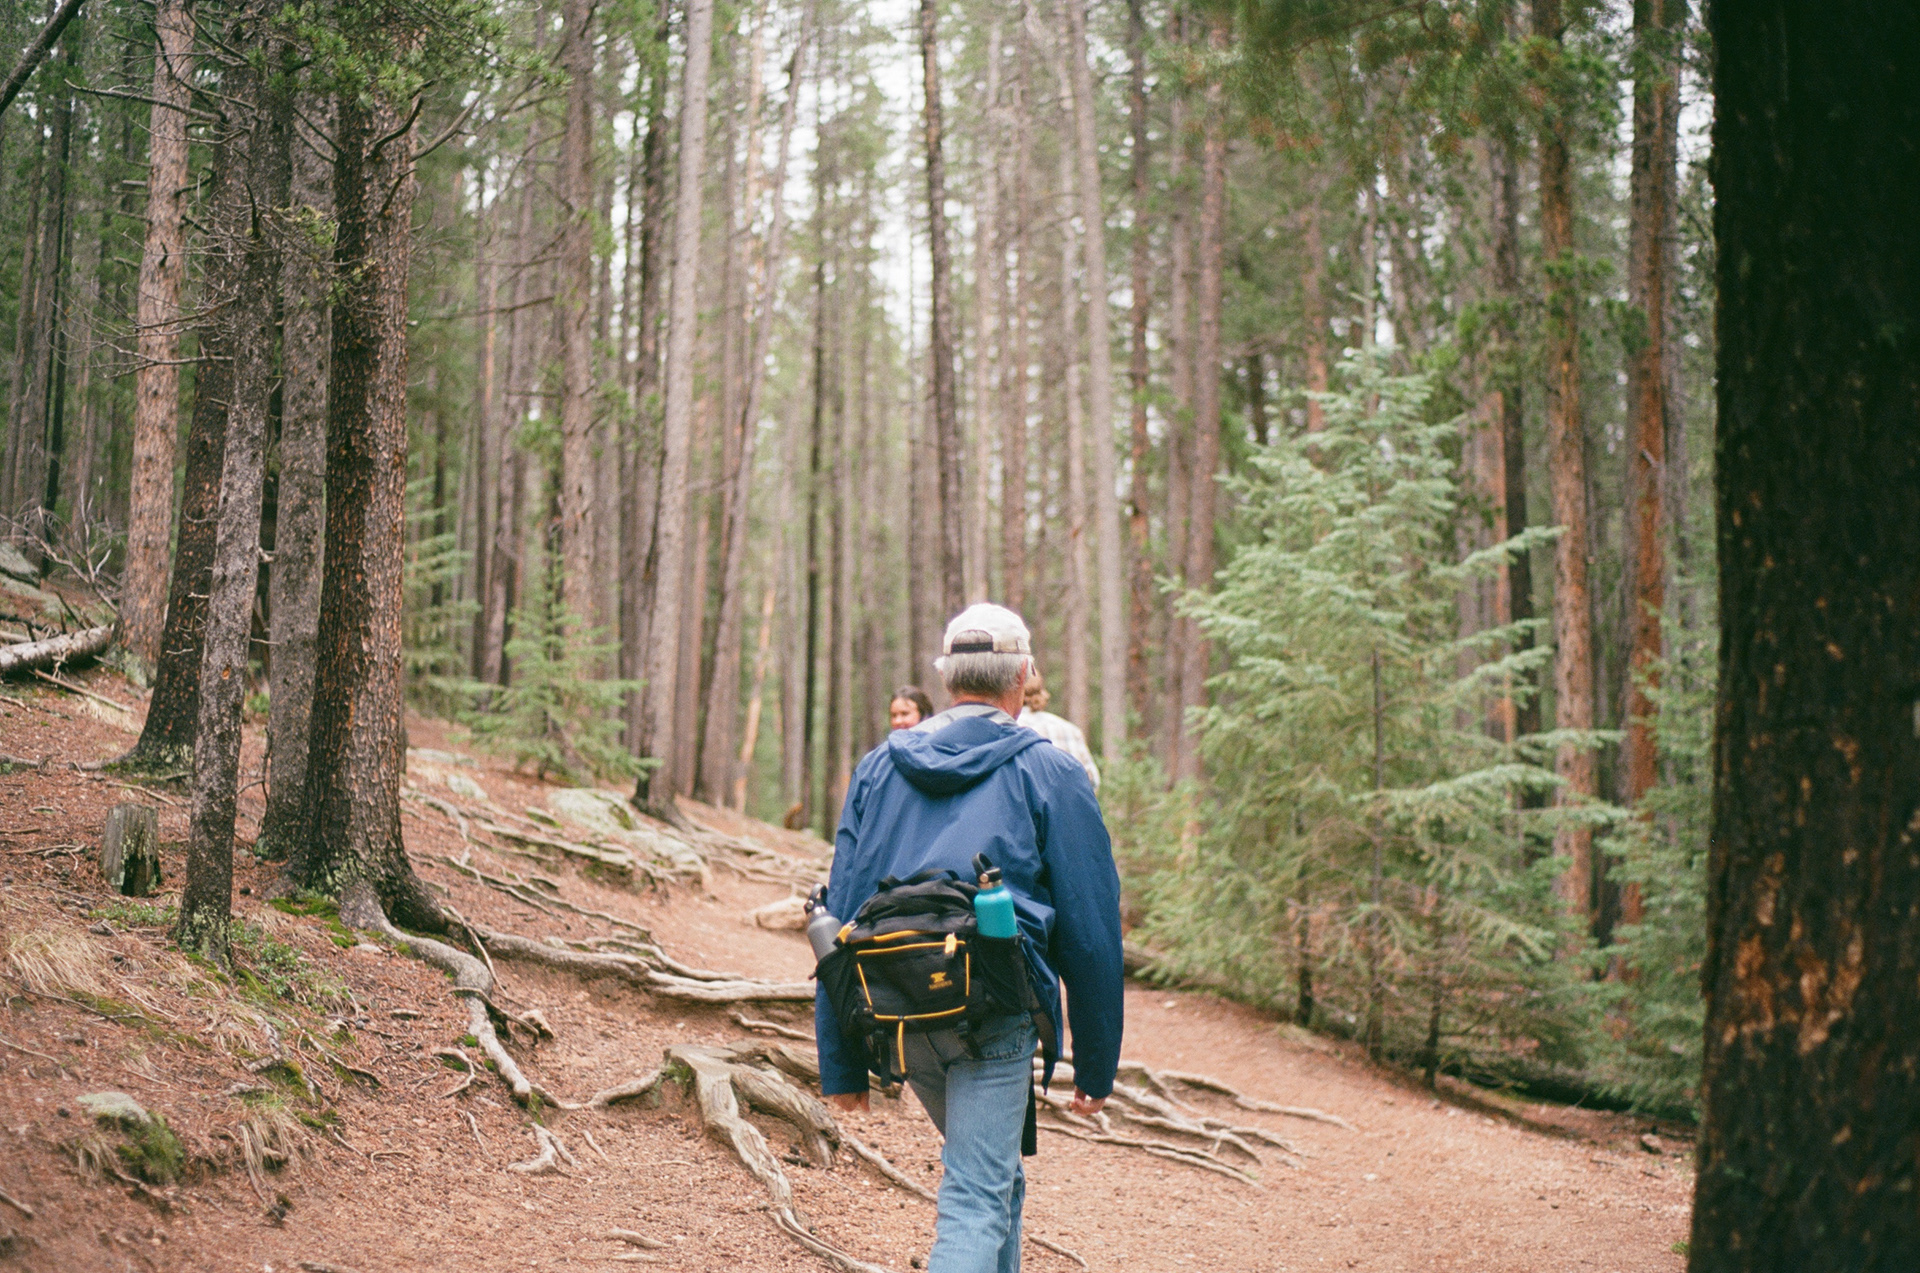
Lab Scan
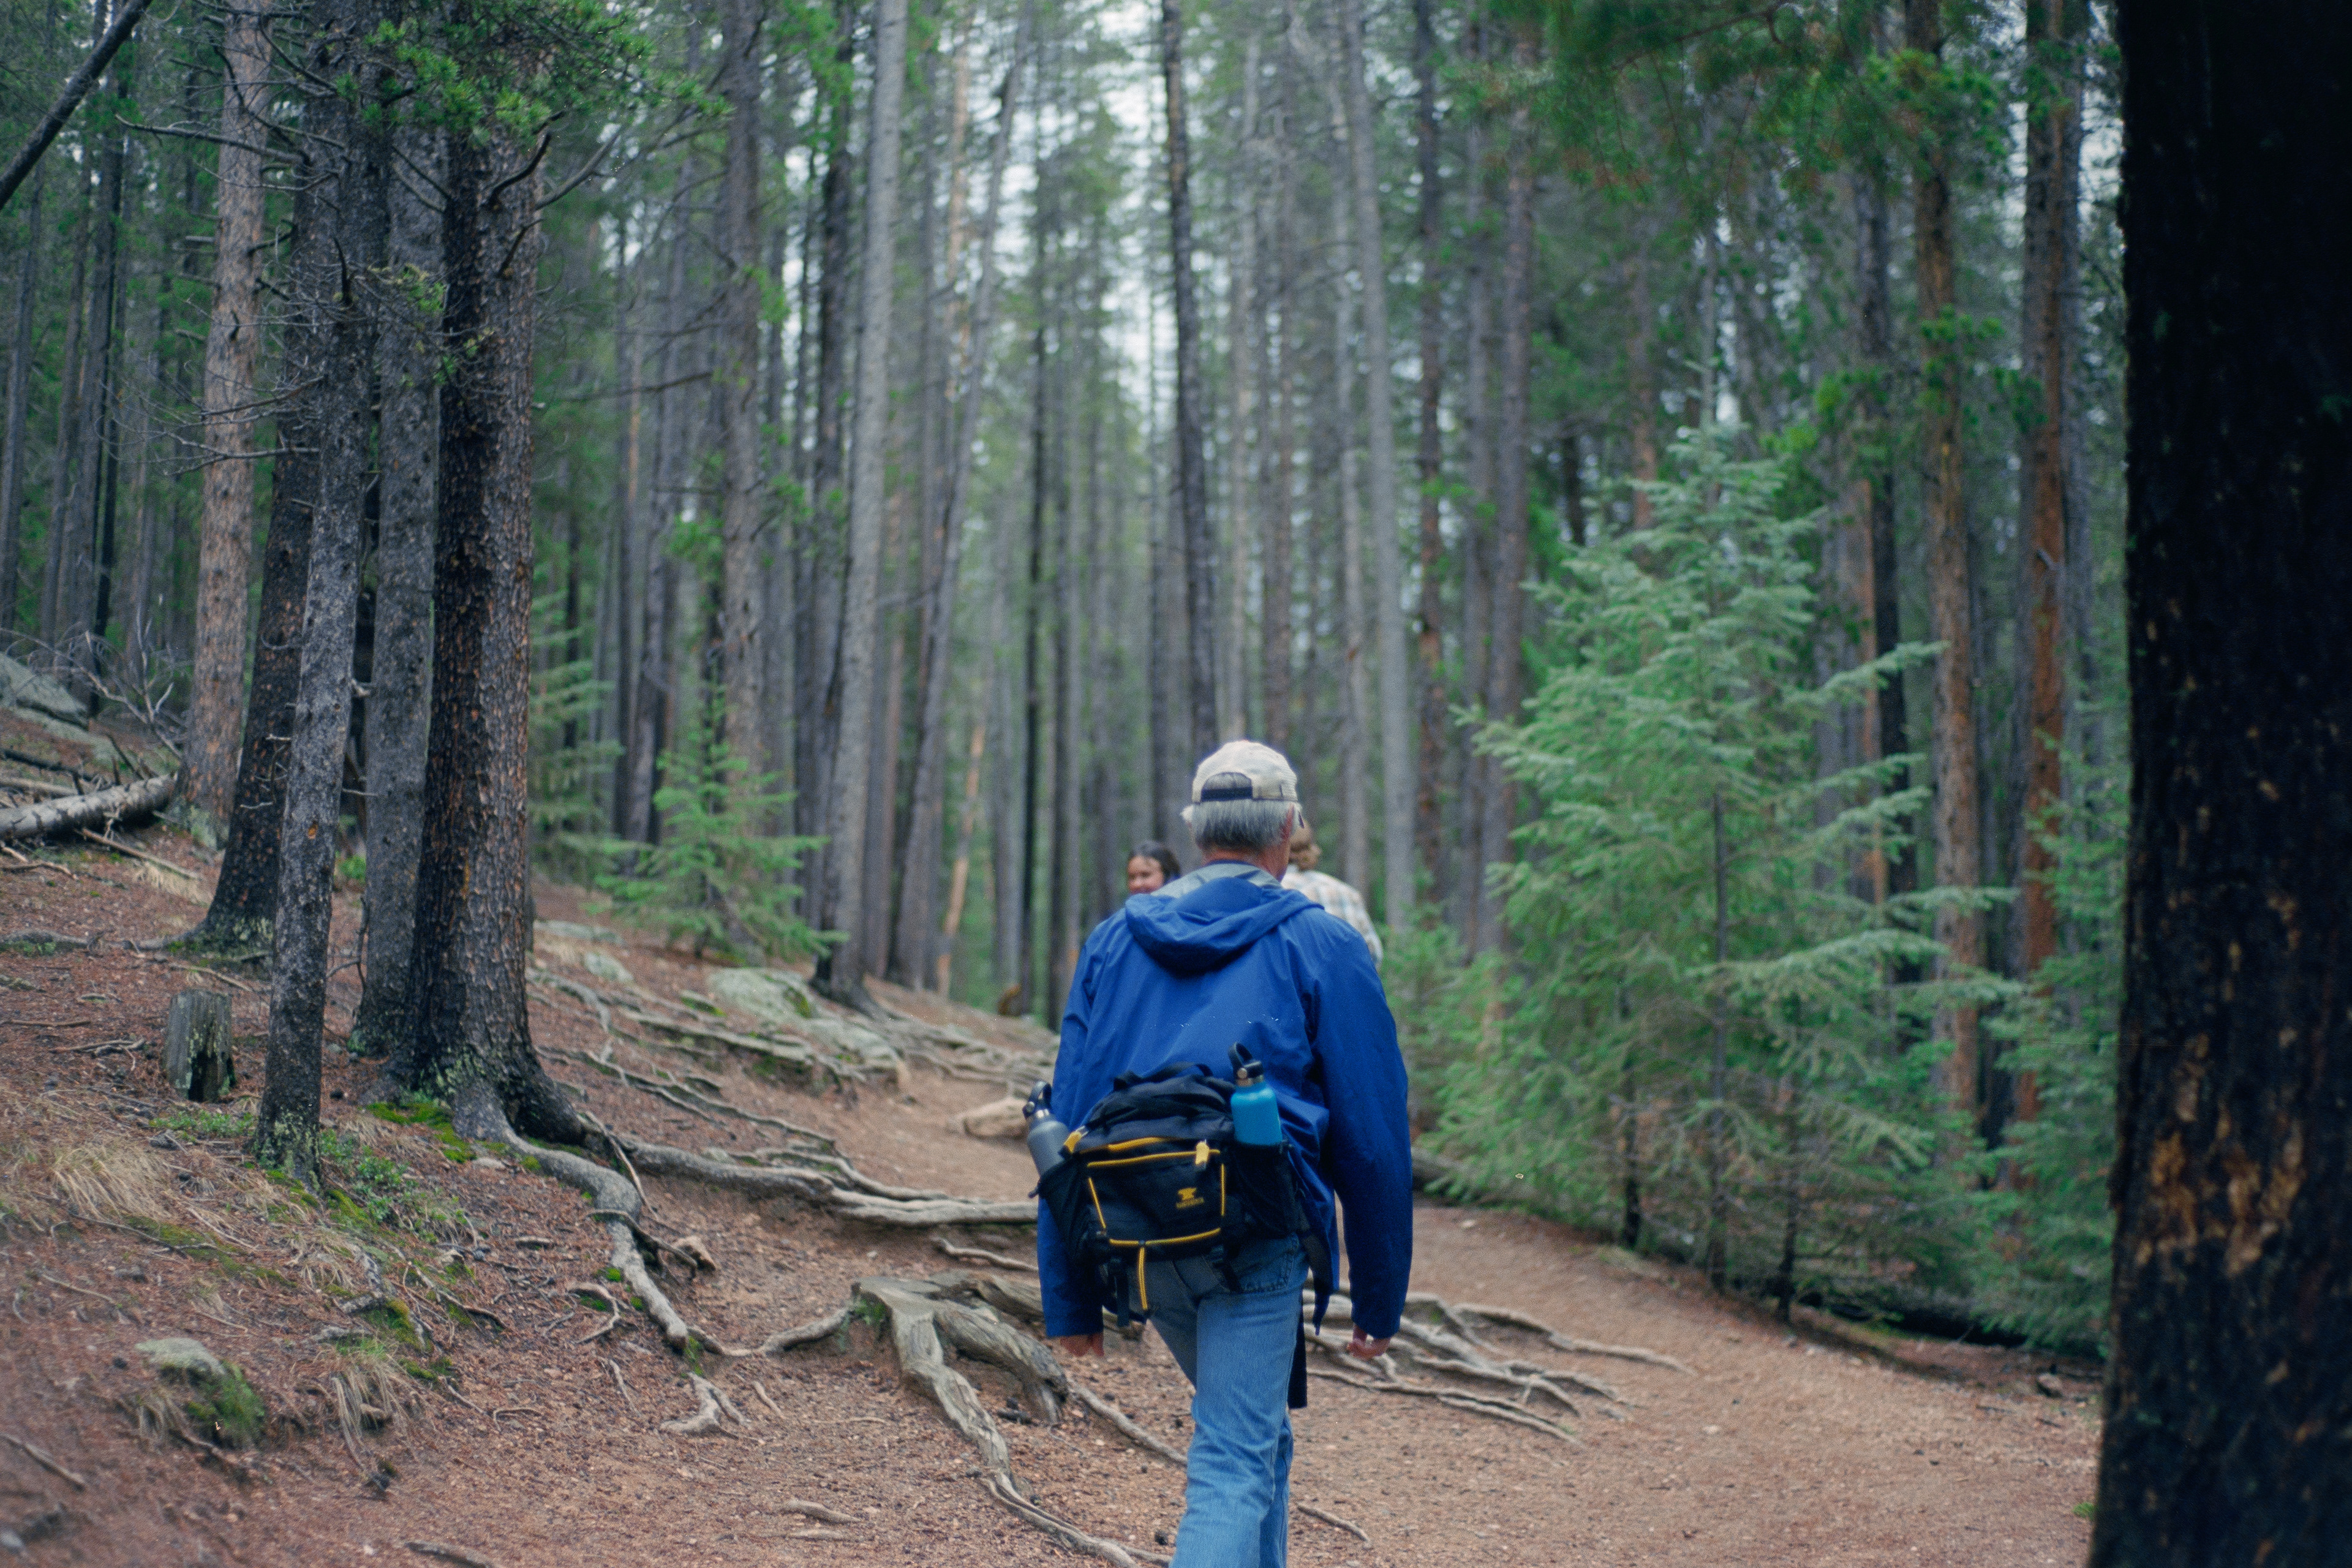
PS Scan
NLP Scan
Based off the lab scans, I can understand where some photographers haven't had great experiences with Ektar. All three of these photos have a reddish cast, particularly the final image in the forest. From the other conversions, however, I think it's clear that Ektar is a versatile film that beautifully handles the scenes it is presented with. Of these comparisons, I found myself preferring the photoshop conversions in all except for the final frame, where Negative Lab Pro produced a stunning image. I truthfully didn't expect NLP to do very well and am very impressed so far with these first scans.
Off the bat, it's also clear that the lab scans are very warm in tone. This is likely the specific lab I had the images scanned at as all of the images I received from them are much warmer than any of the conversions I did in photoshop. I think my conversions by hand can be too cool so I've taken to adding a little warmth when I bring my initial conversions into Lightroom.
Lab Scan
PS Scan

NLP Scan
Lab Scan
PS Scan
NLP Scan
Lab Scan
PS Scan
NLP Scan
Lab Scan
PS Scan
NLP Scan
Lab Scan
PS Scan
NLP Scan
Lab Scan
PS Scan

NLP Scan
Lab Scan
PS Scan
NLP Scan
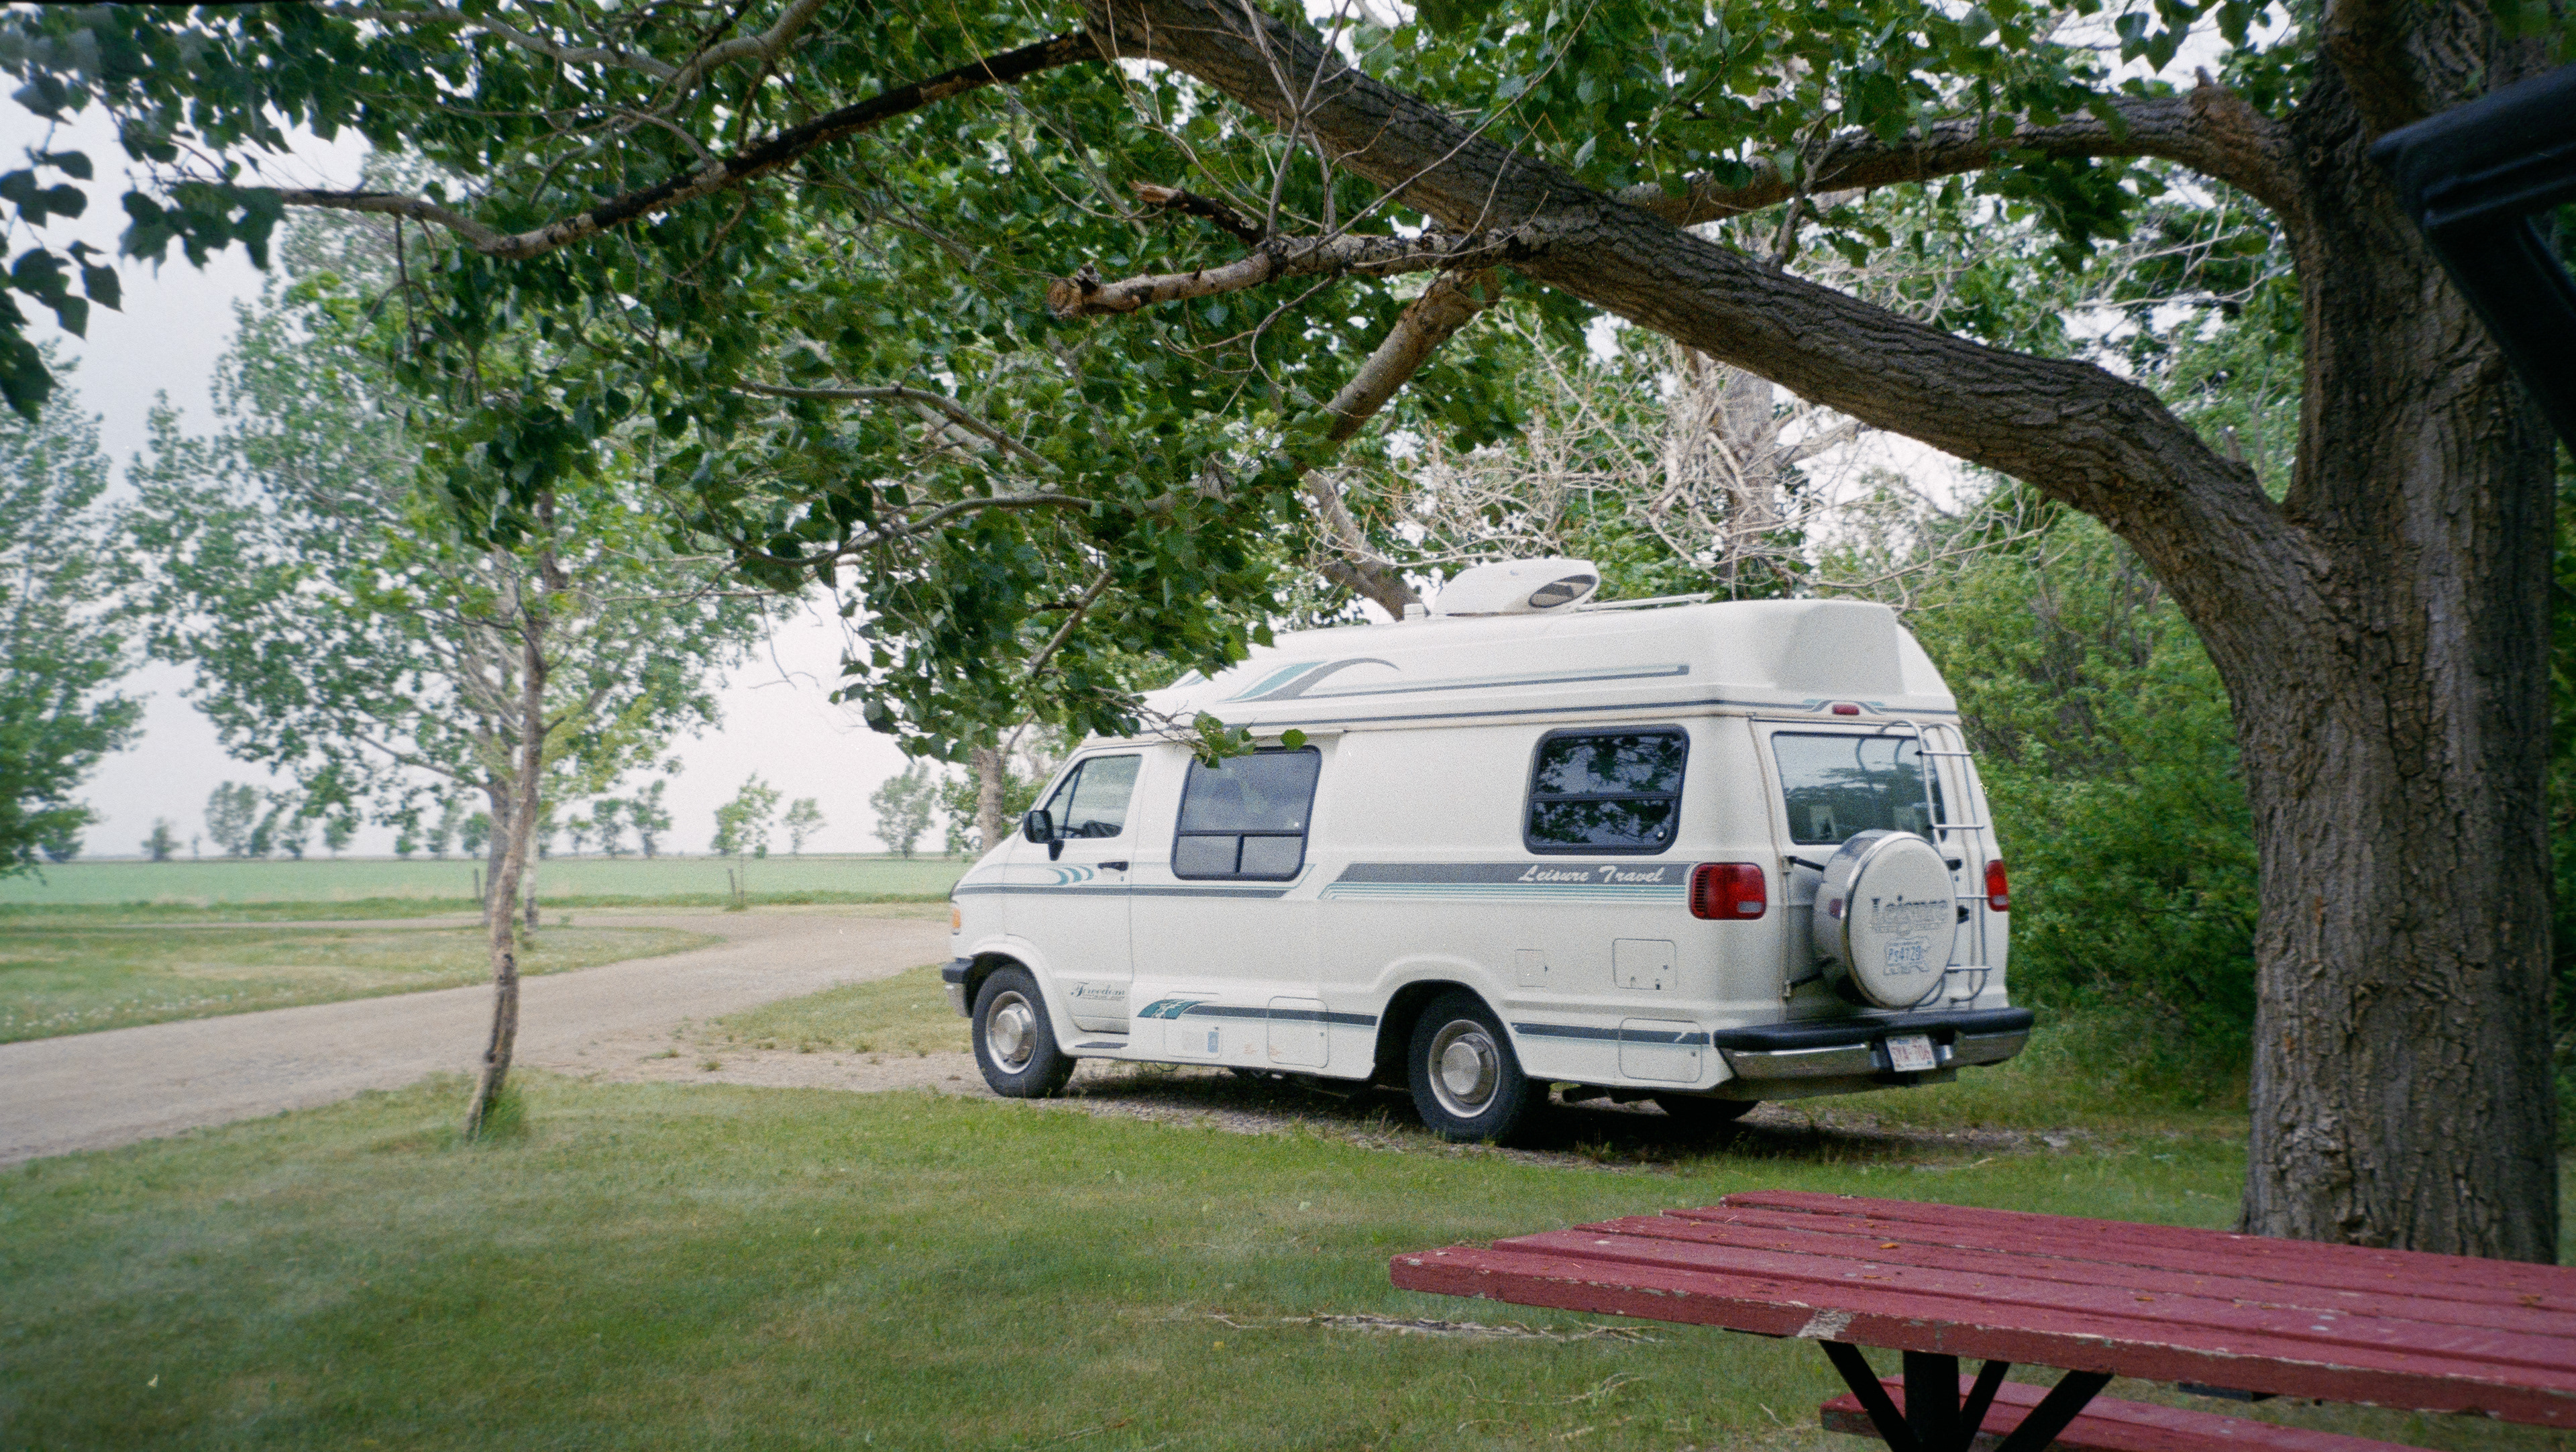
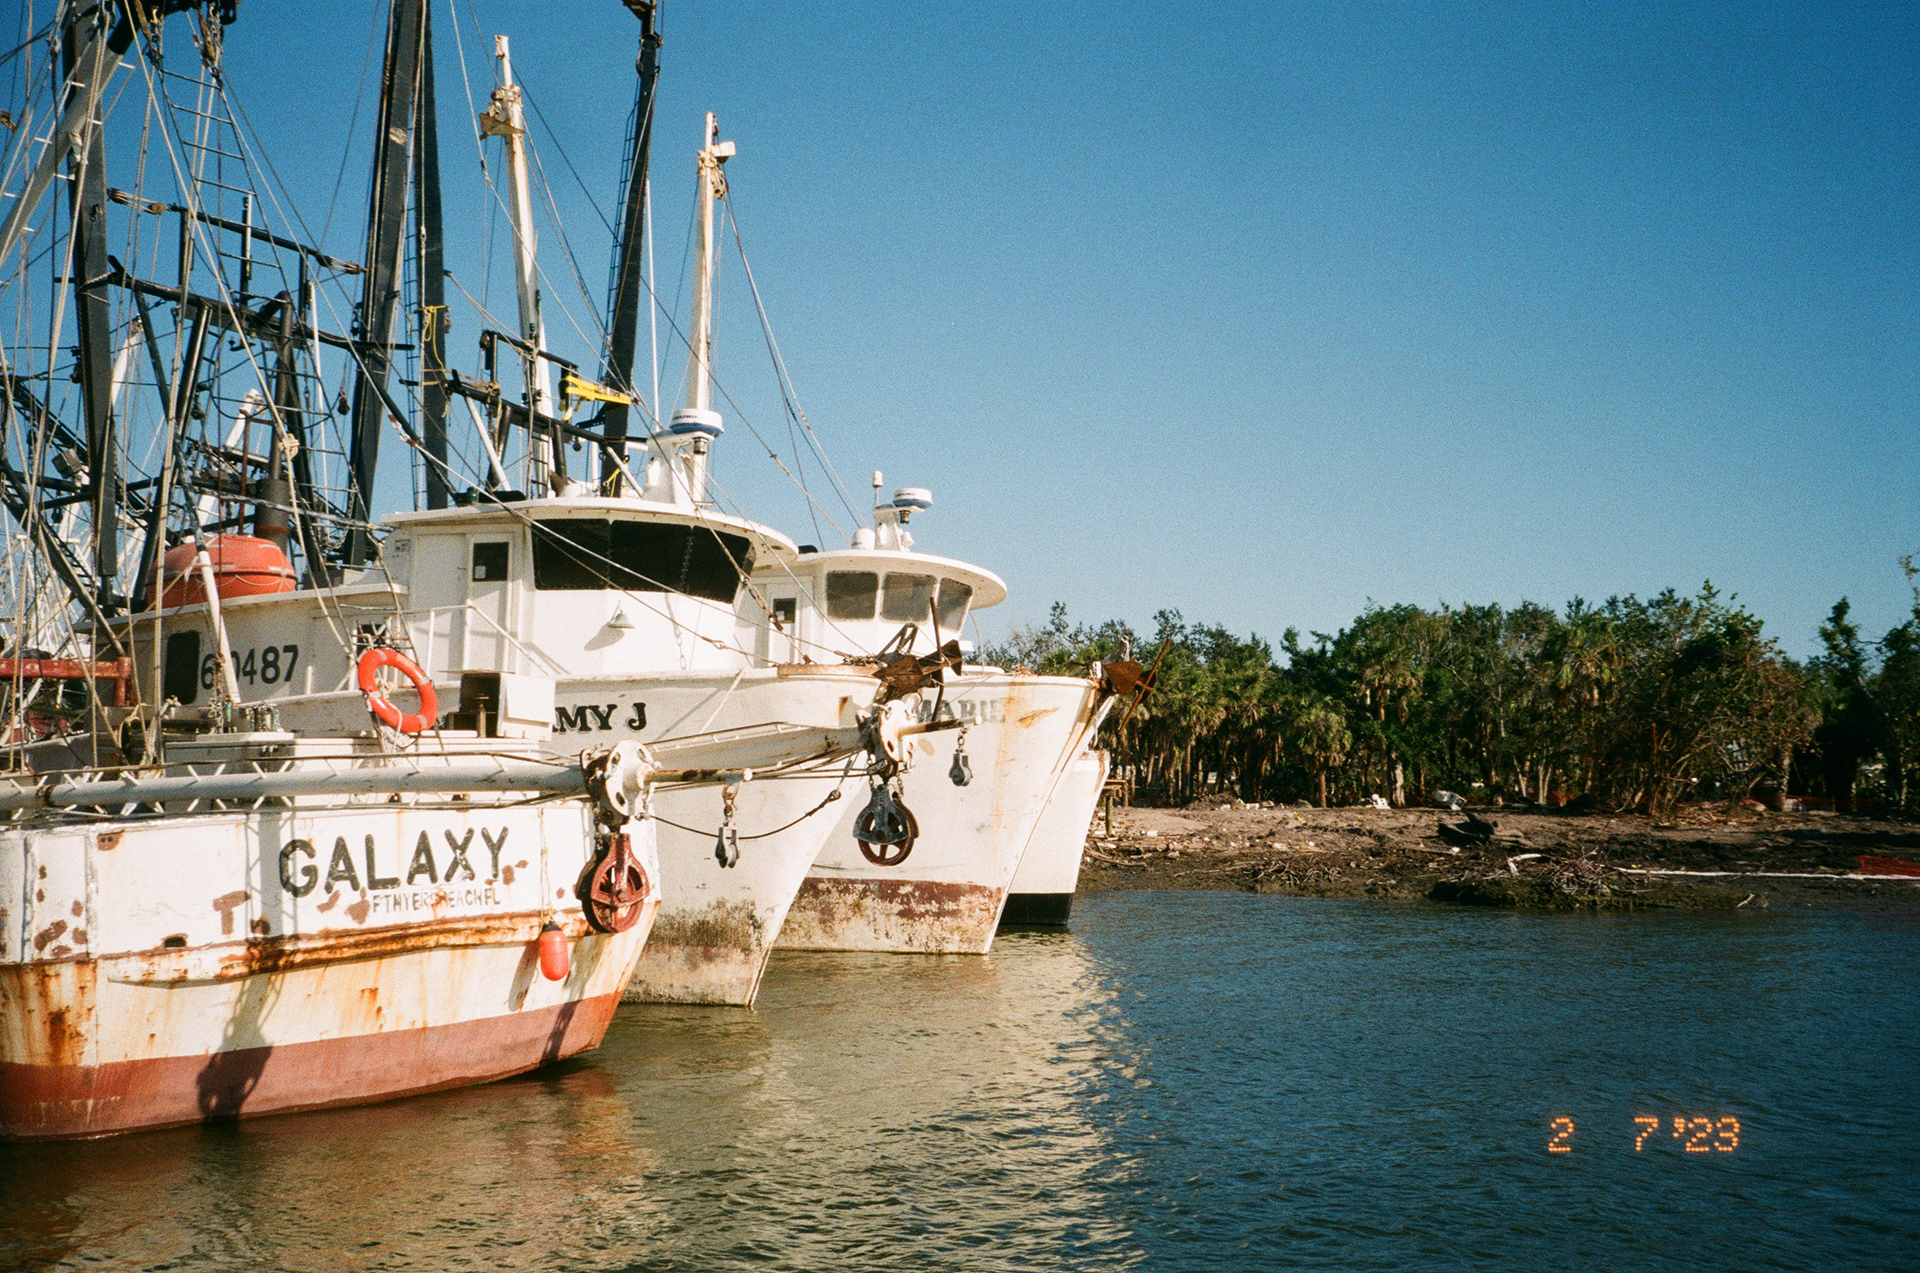
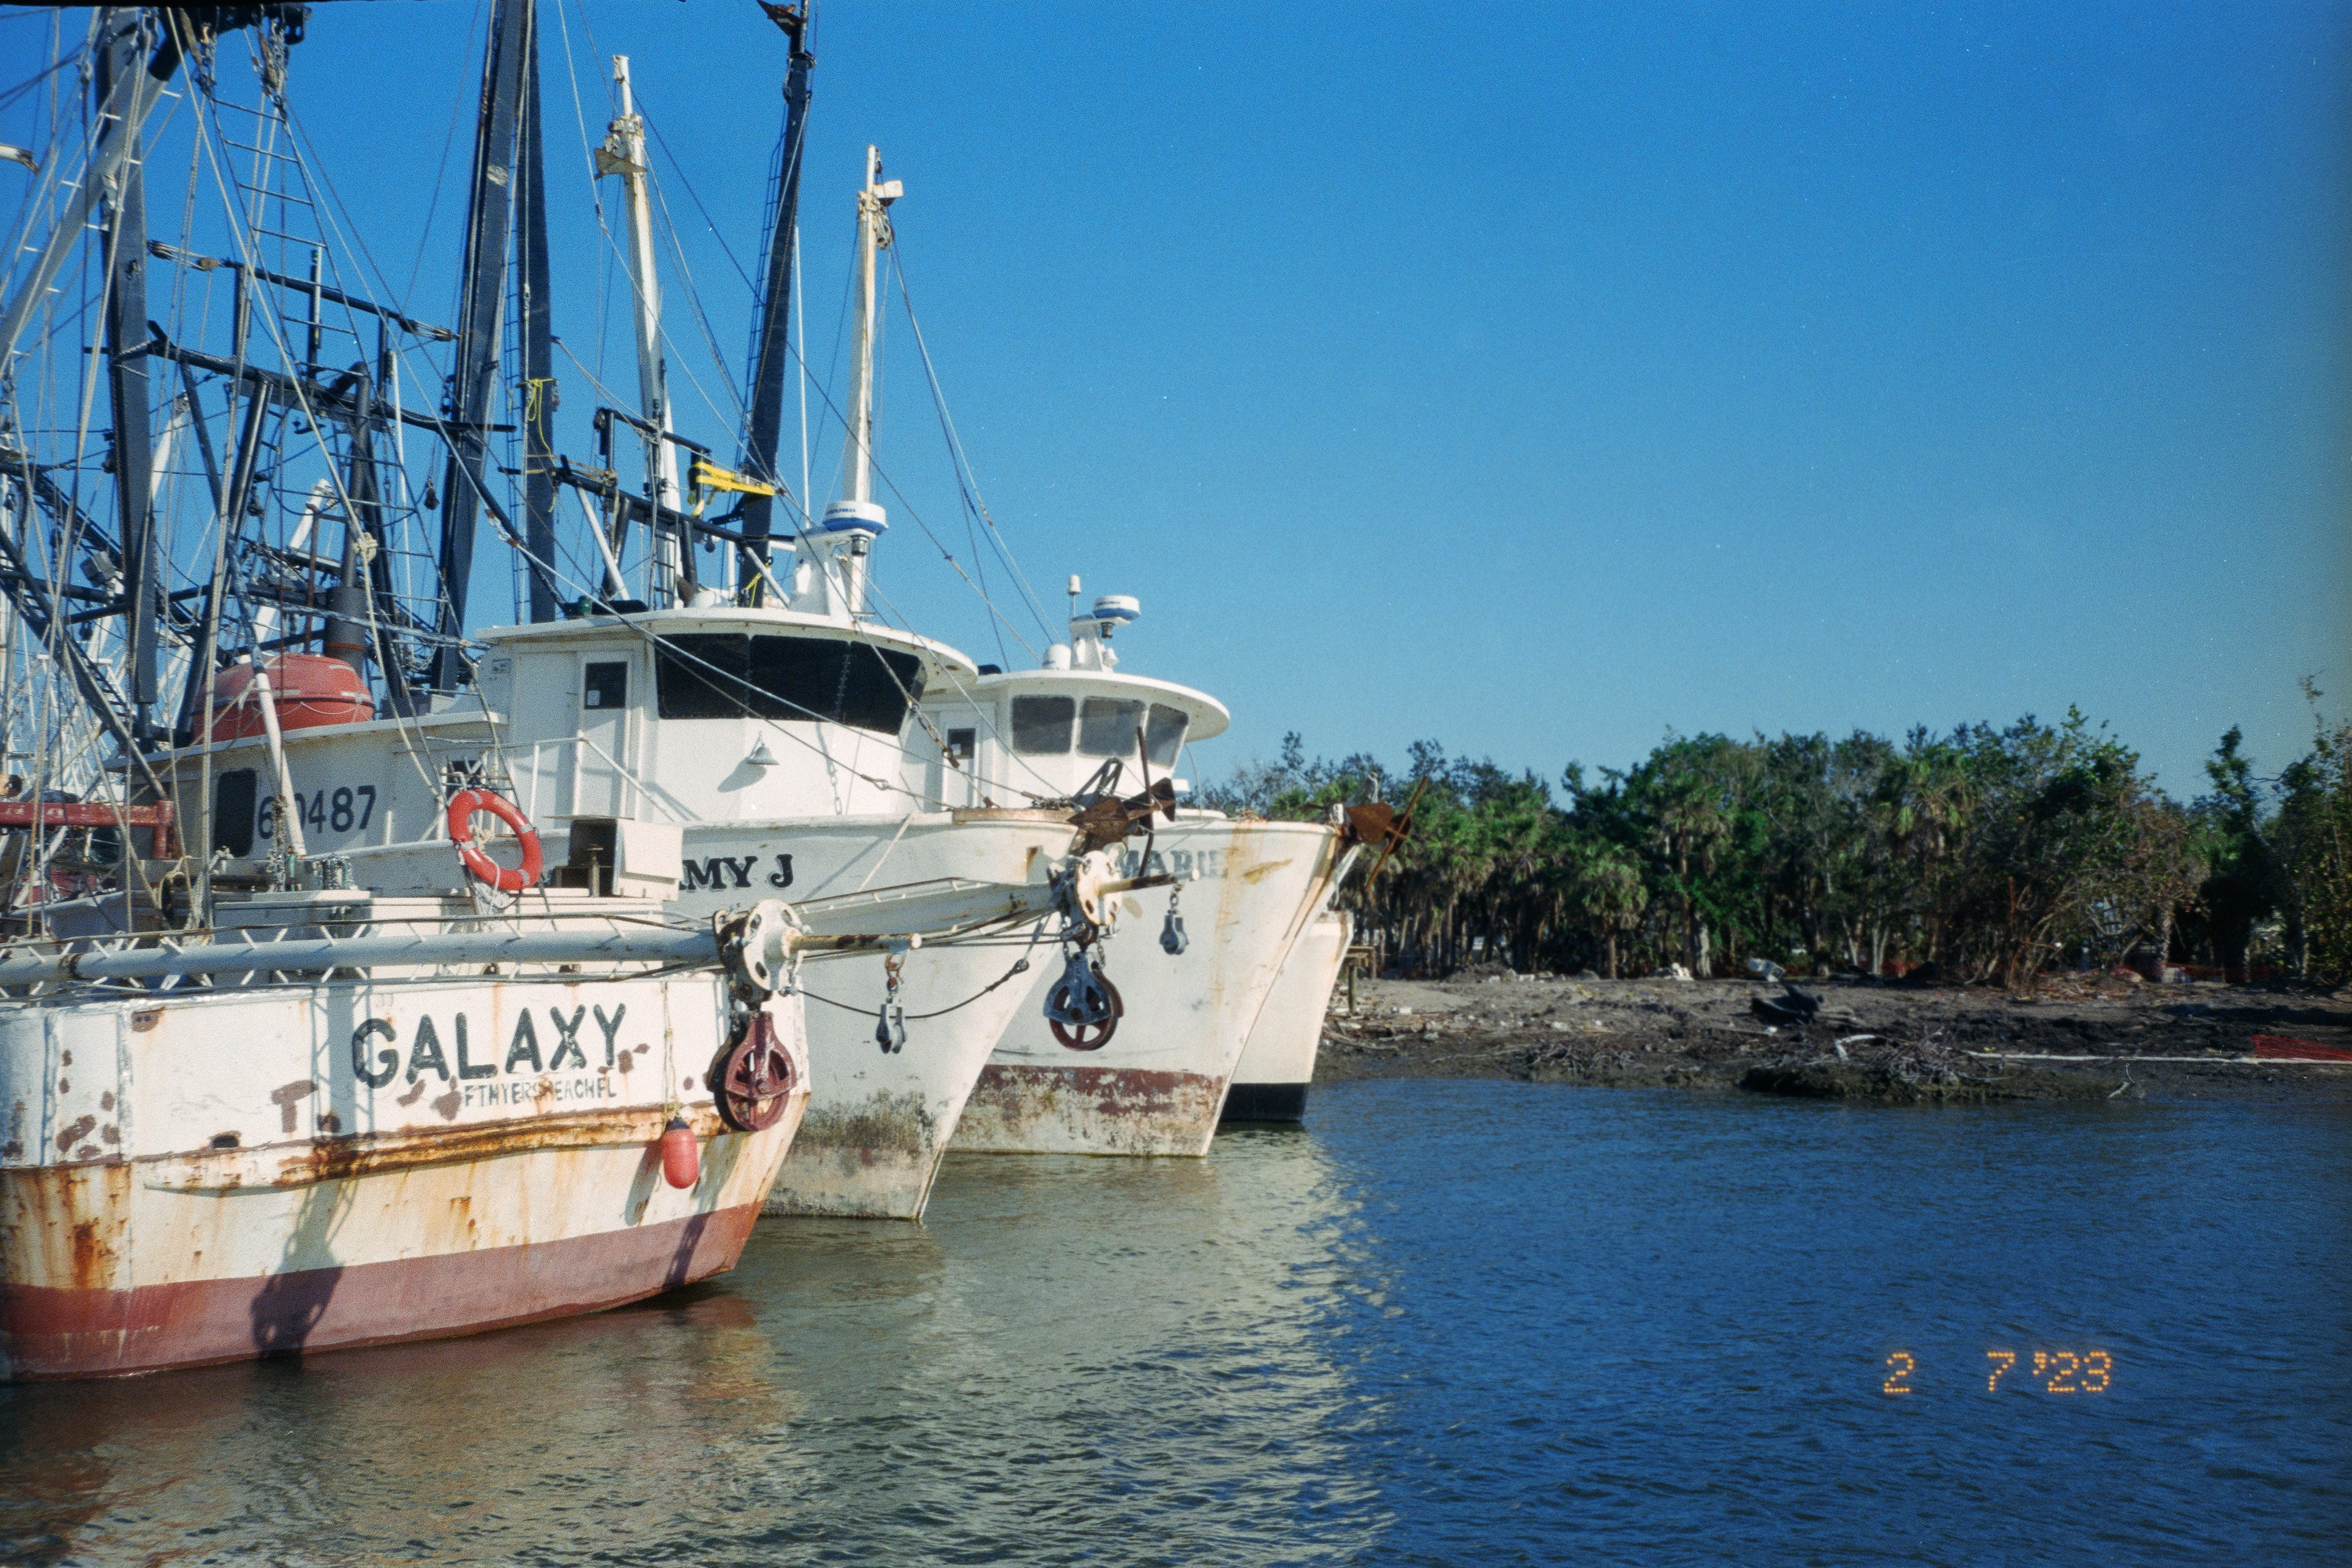
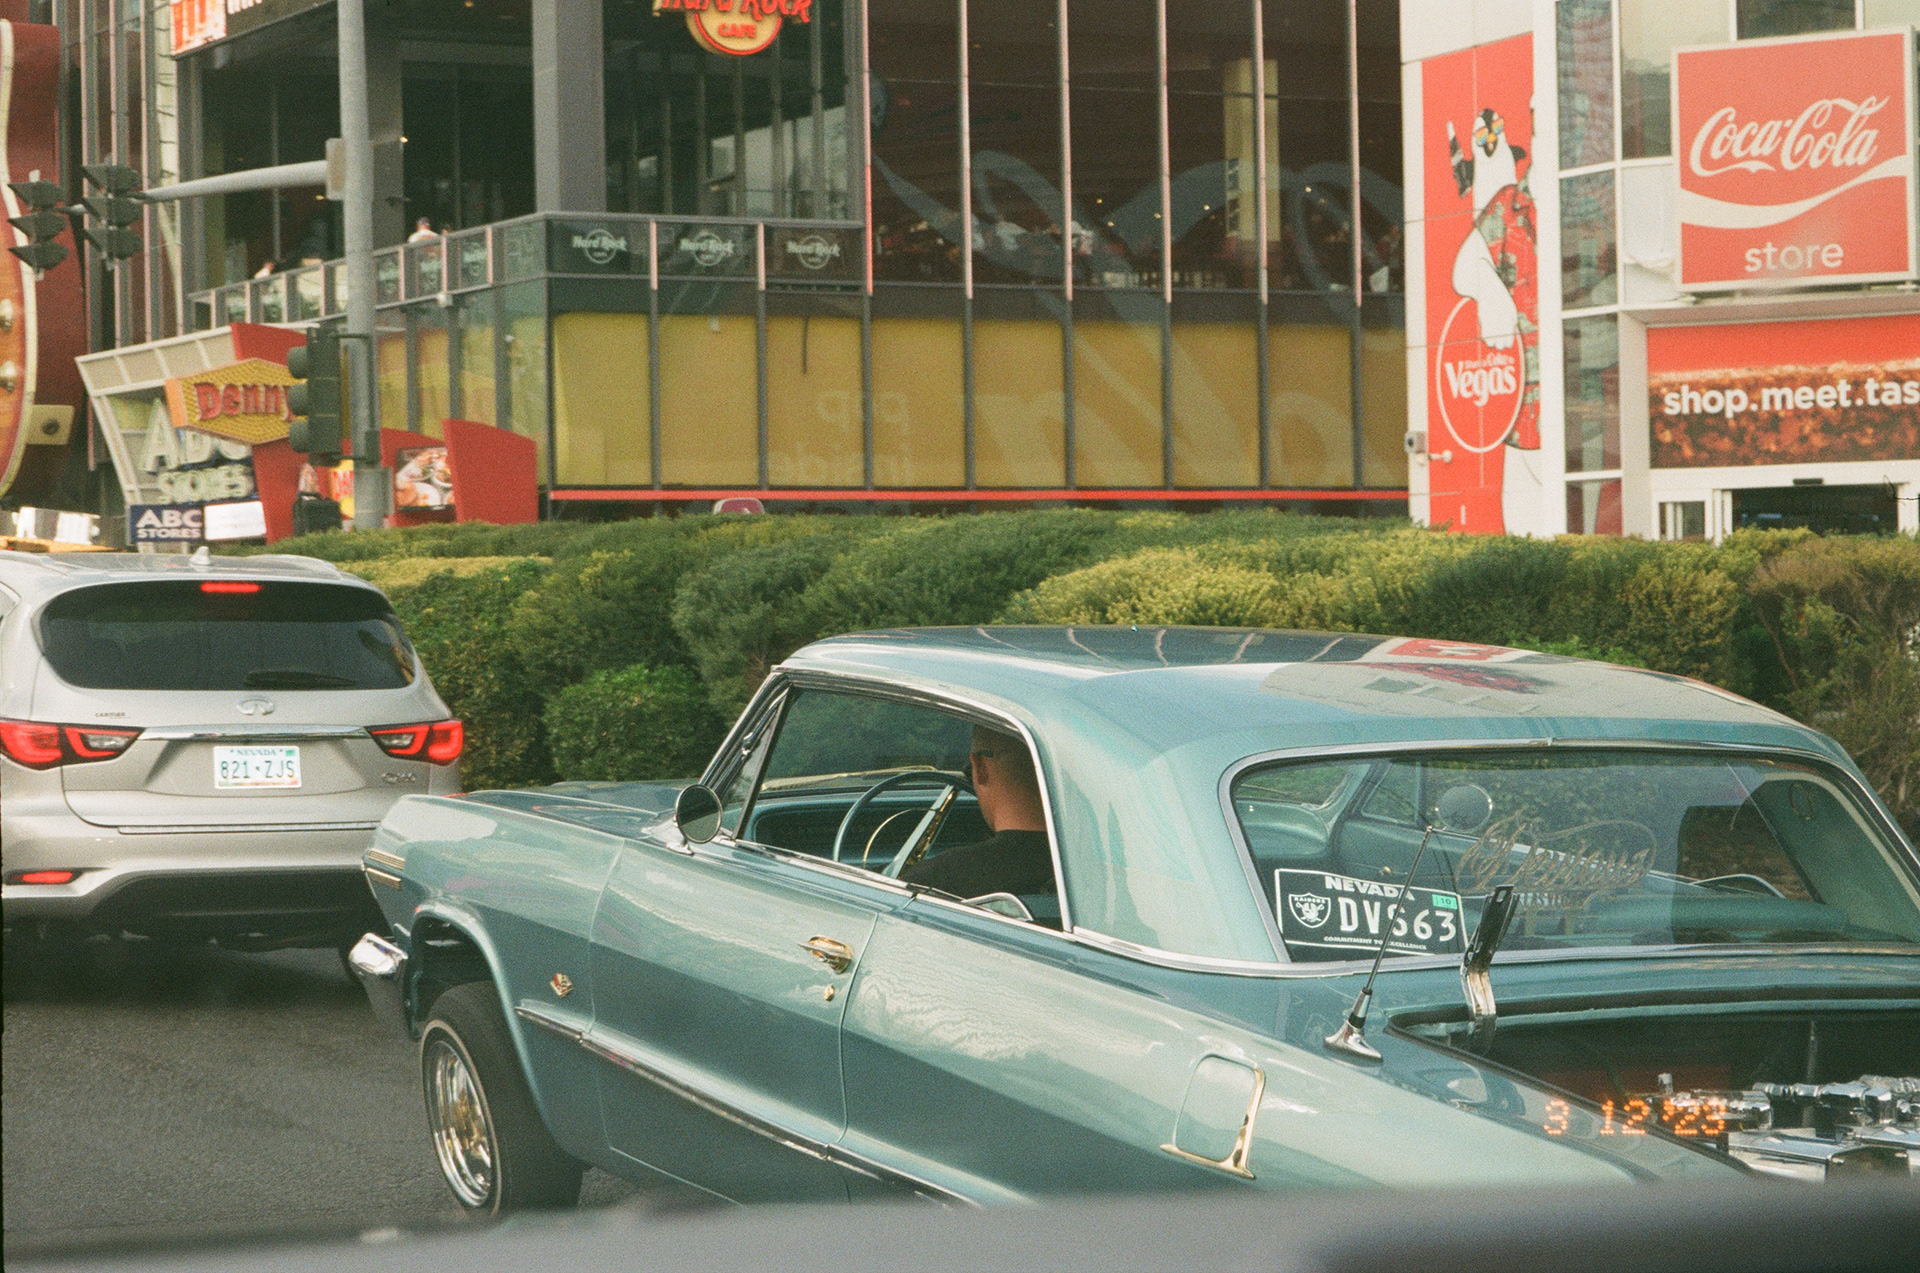
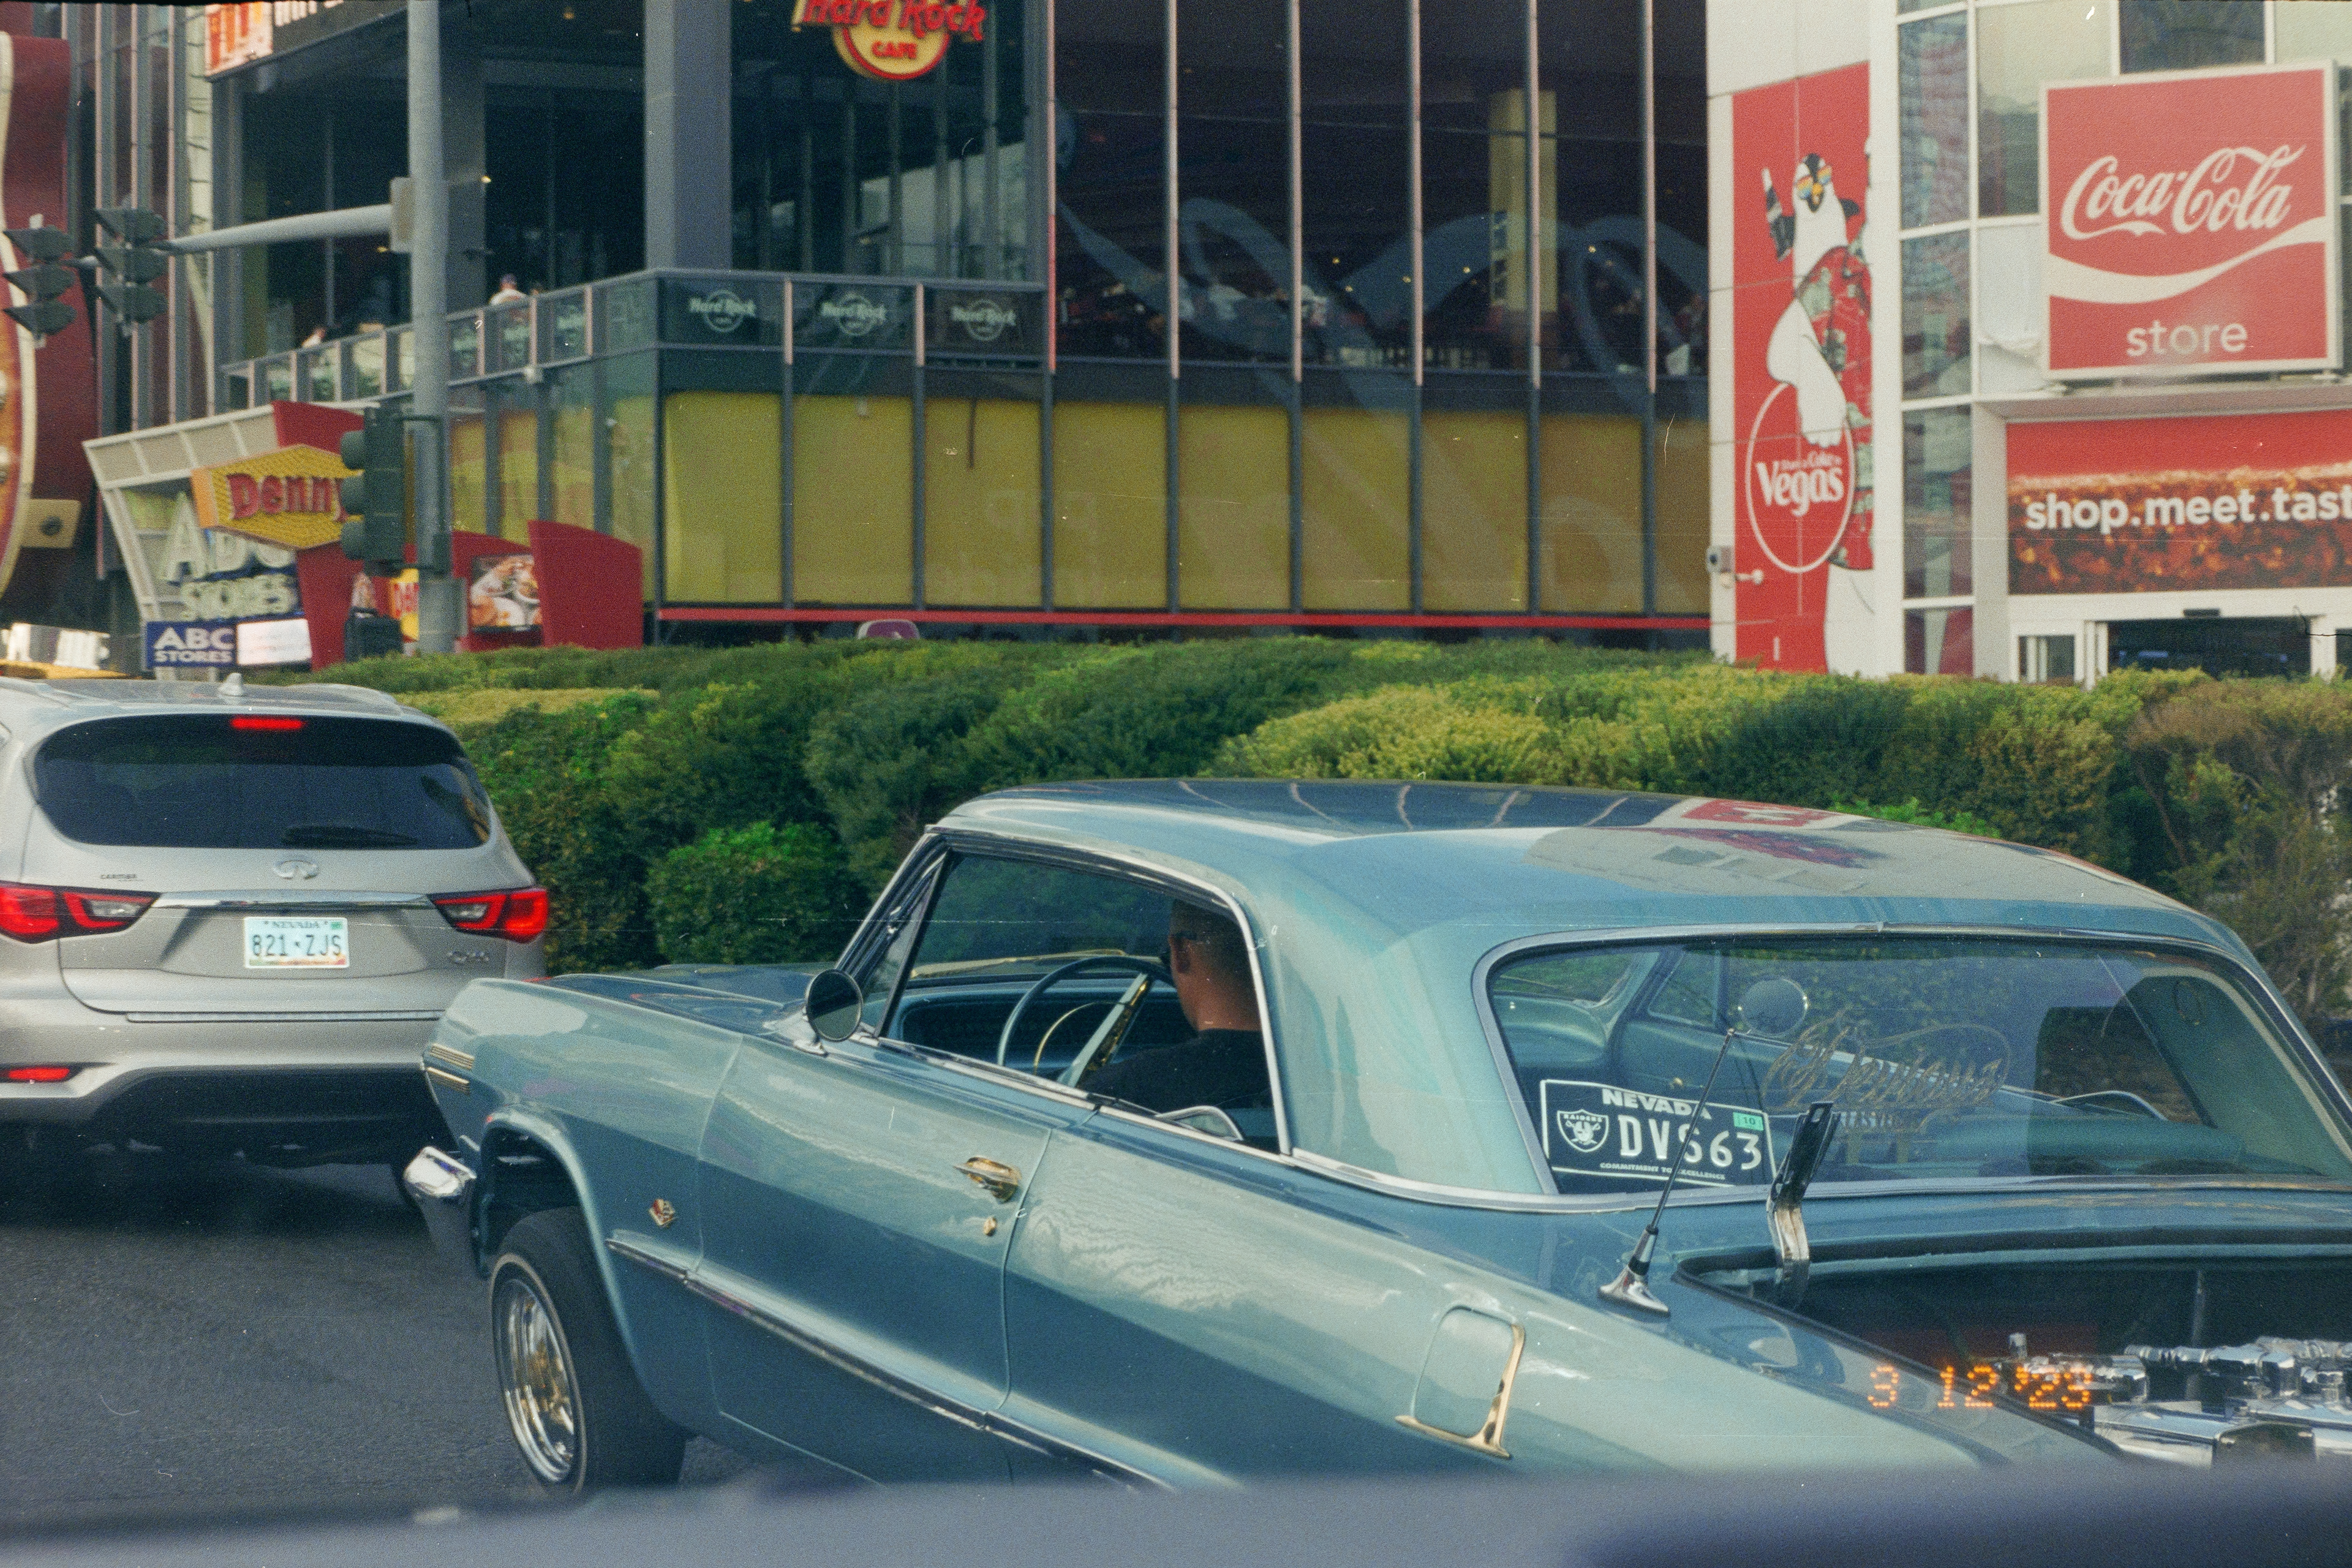
The above images were shot on Fuji 200, a surprisingly nice film in my opinion. For the price, it's great value. Again, the lab scans tend to be a bit toasty. Before re-scanning all of the images, I never would have known that the lab was adding so much warmth to the images. I was usually pleased with them and thought it was just a "film look", but I'd generally take some of the warmth away on quick edits to the jpgs I got back as I'm generally aiming for a very natural, true to what I saw look in my images (such as the cars in Vegas). This warmth also creates some brighter images, which can tend towards some washed out highlights.
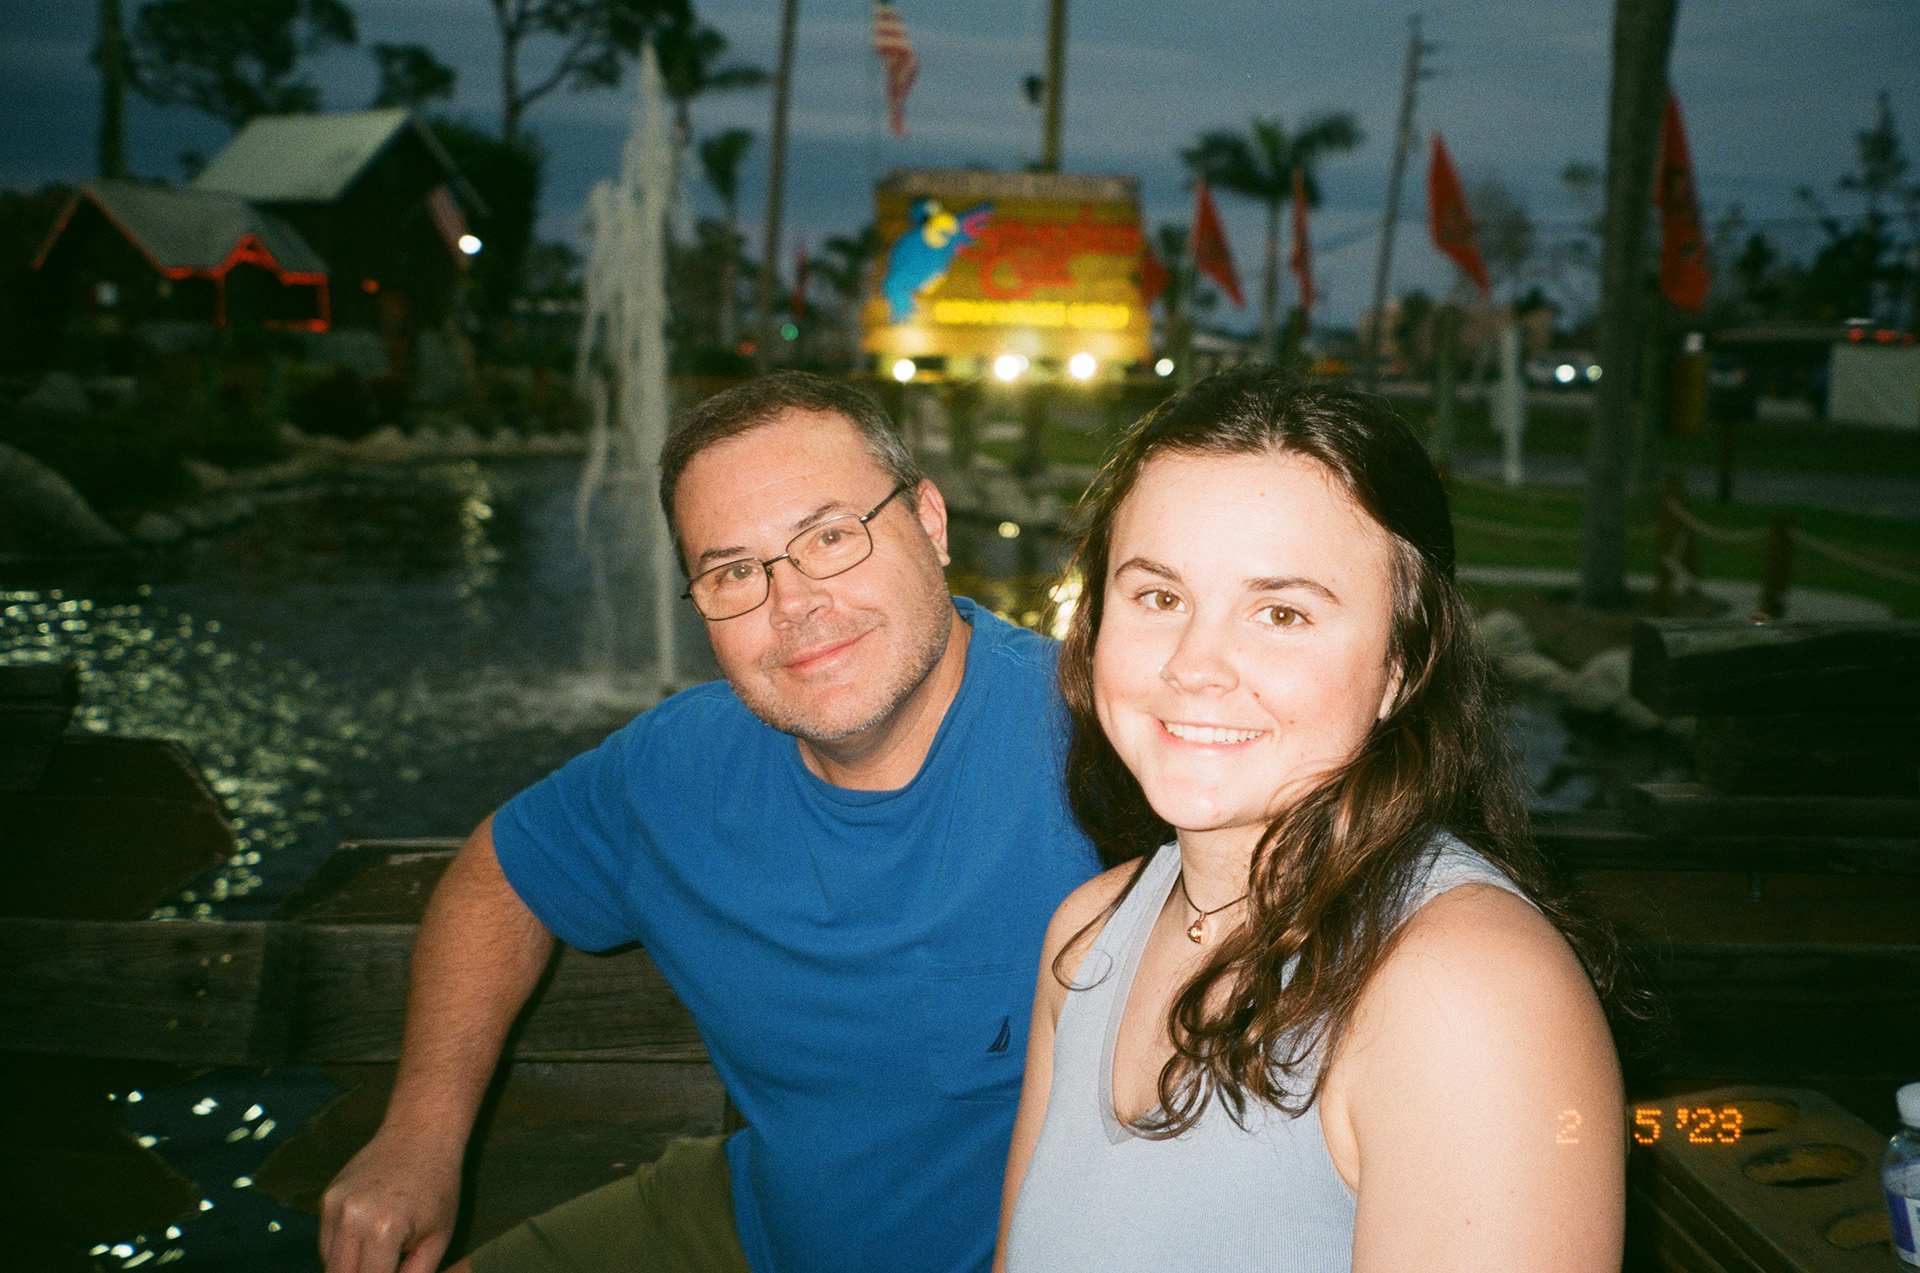
The scans from Photoshop and Neg. Lab Pro generally do a great job hitting close to what I saw when I took the photo. It seems to me that NLP adds a bit more red into the images than I do when I convert in Photoshop, however, this generally enhances the image. The red tint is particularly visible on the NLP conversion of my wife, which admittedly was a nuanced image to edit in Photoshop and could easily be adjusted in NLP on a second go around. The final NLP conversion struggled a bit more, even though I spent some time working with the colors and its editing tools. I imagine a more skilled user could get it rectified but it seemed to me an image that really benefits from the steps in Photoshop of easily removing the tint of the film base and shifting the typical cyan sky of color negative film towards a more natural tone.
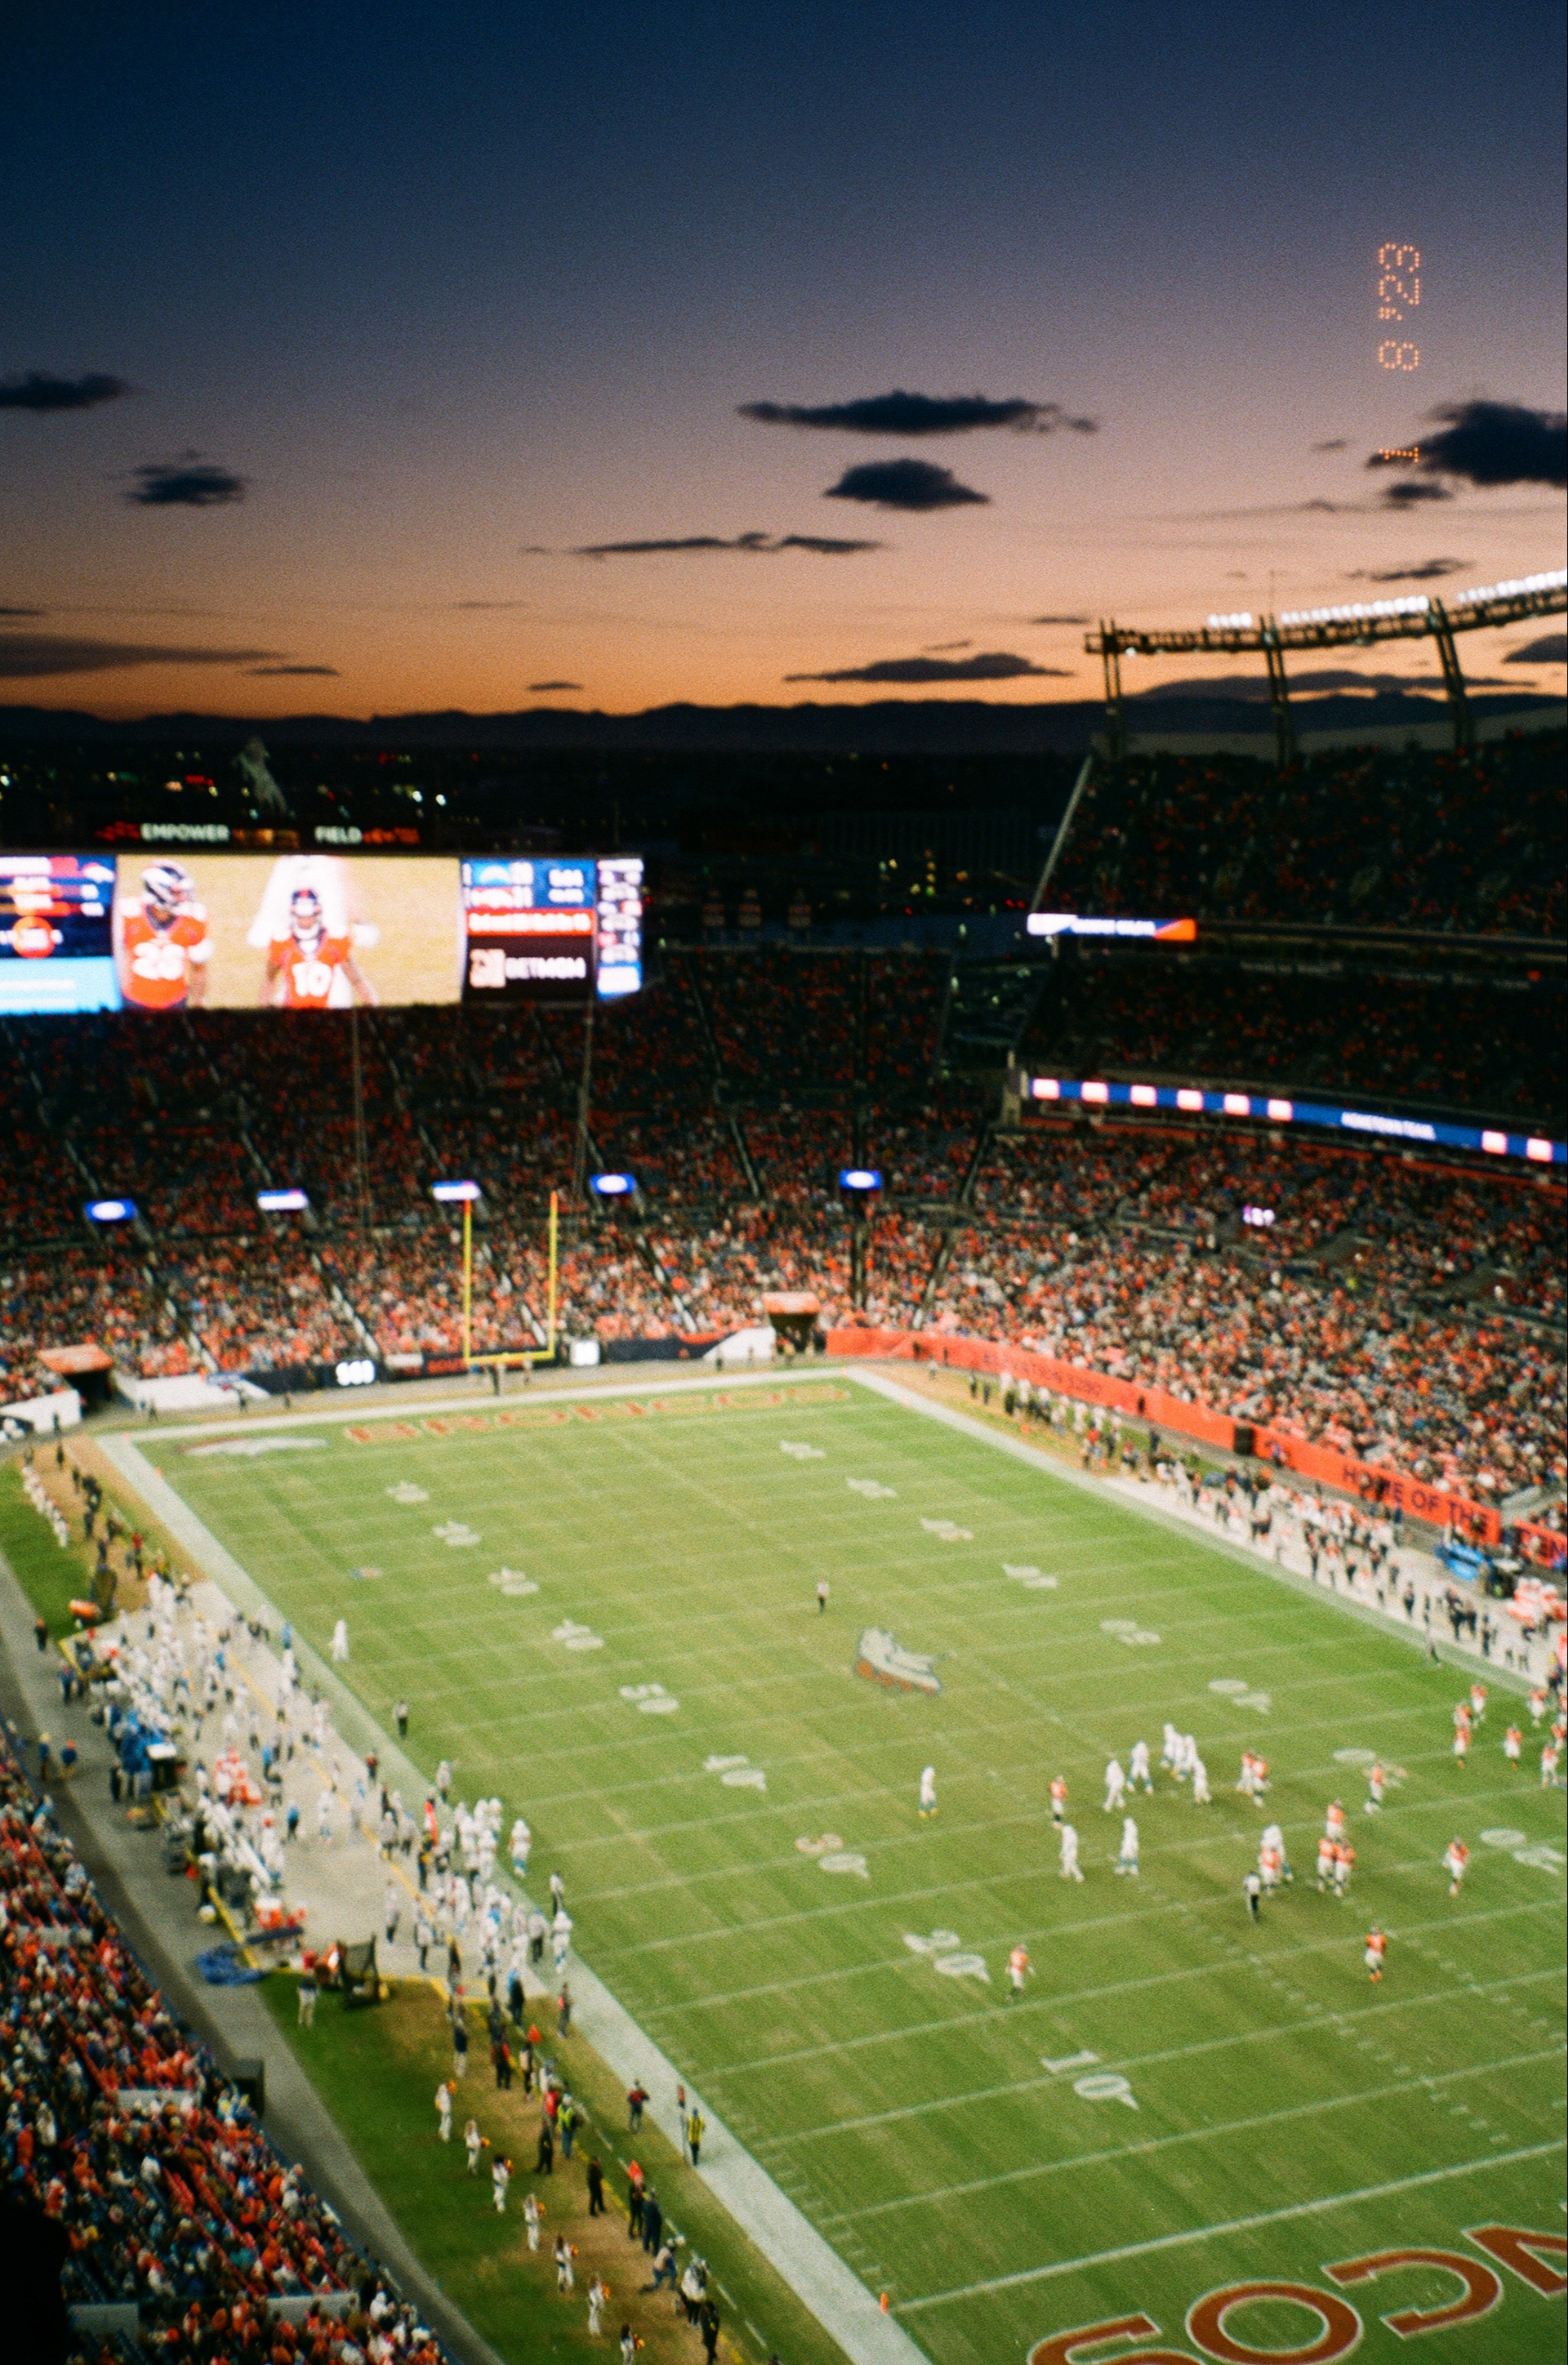
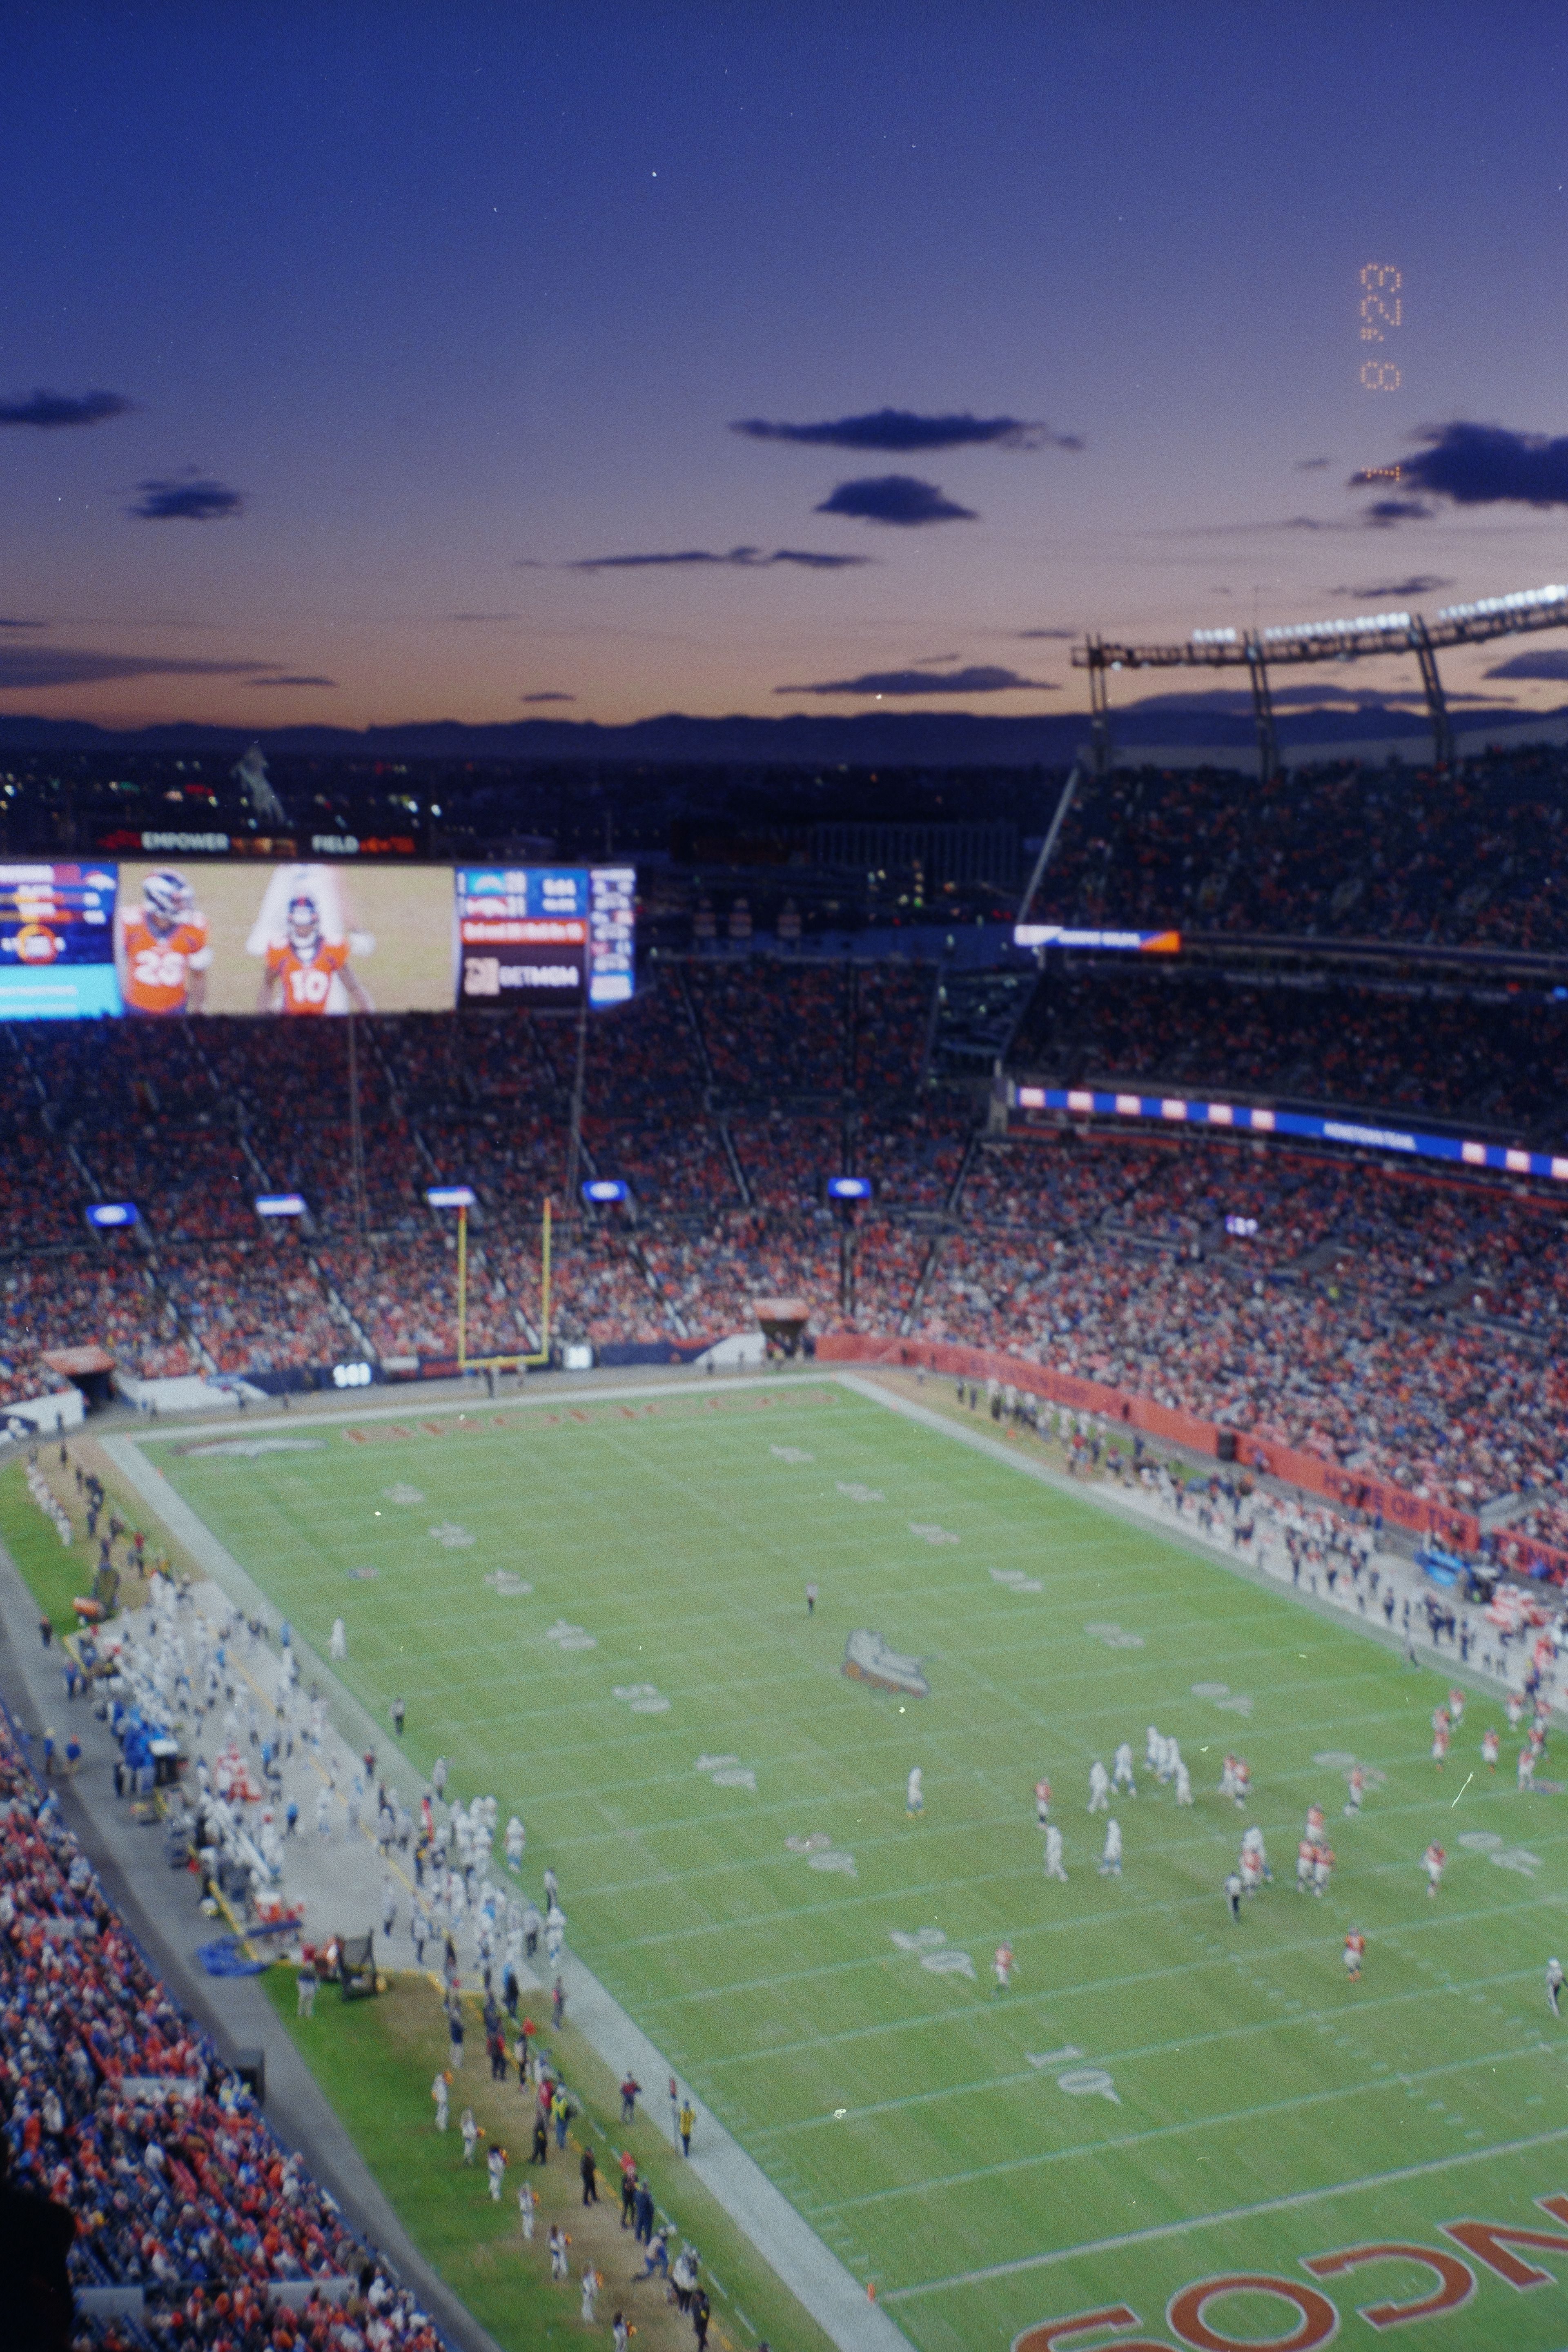
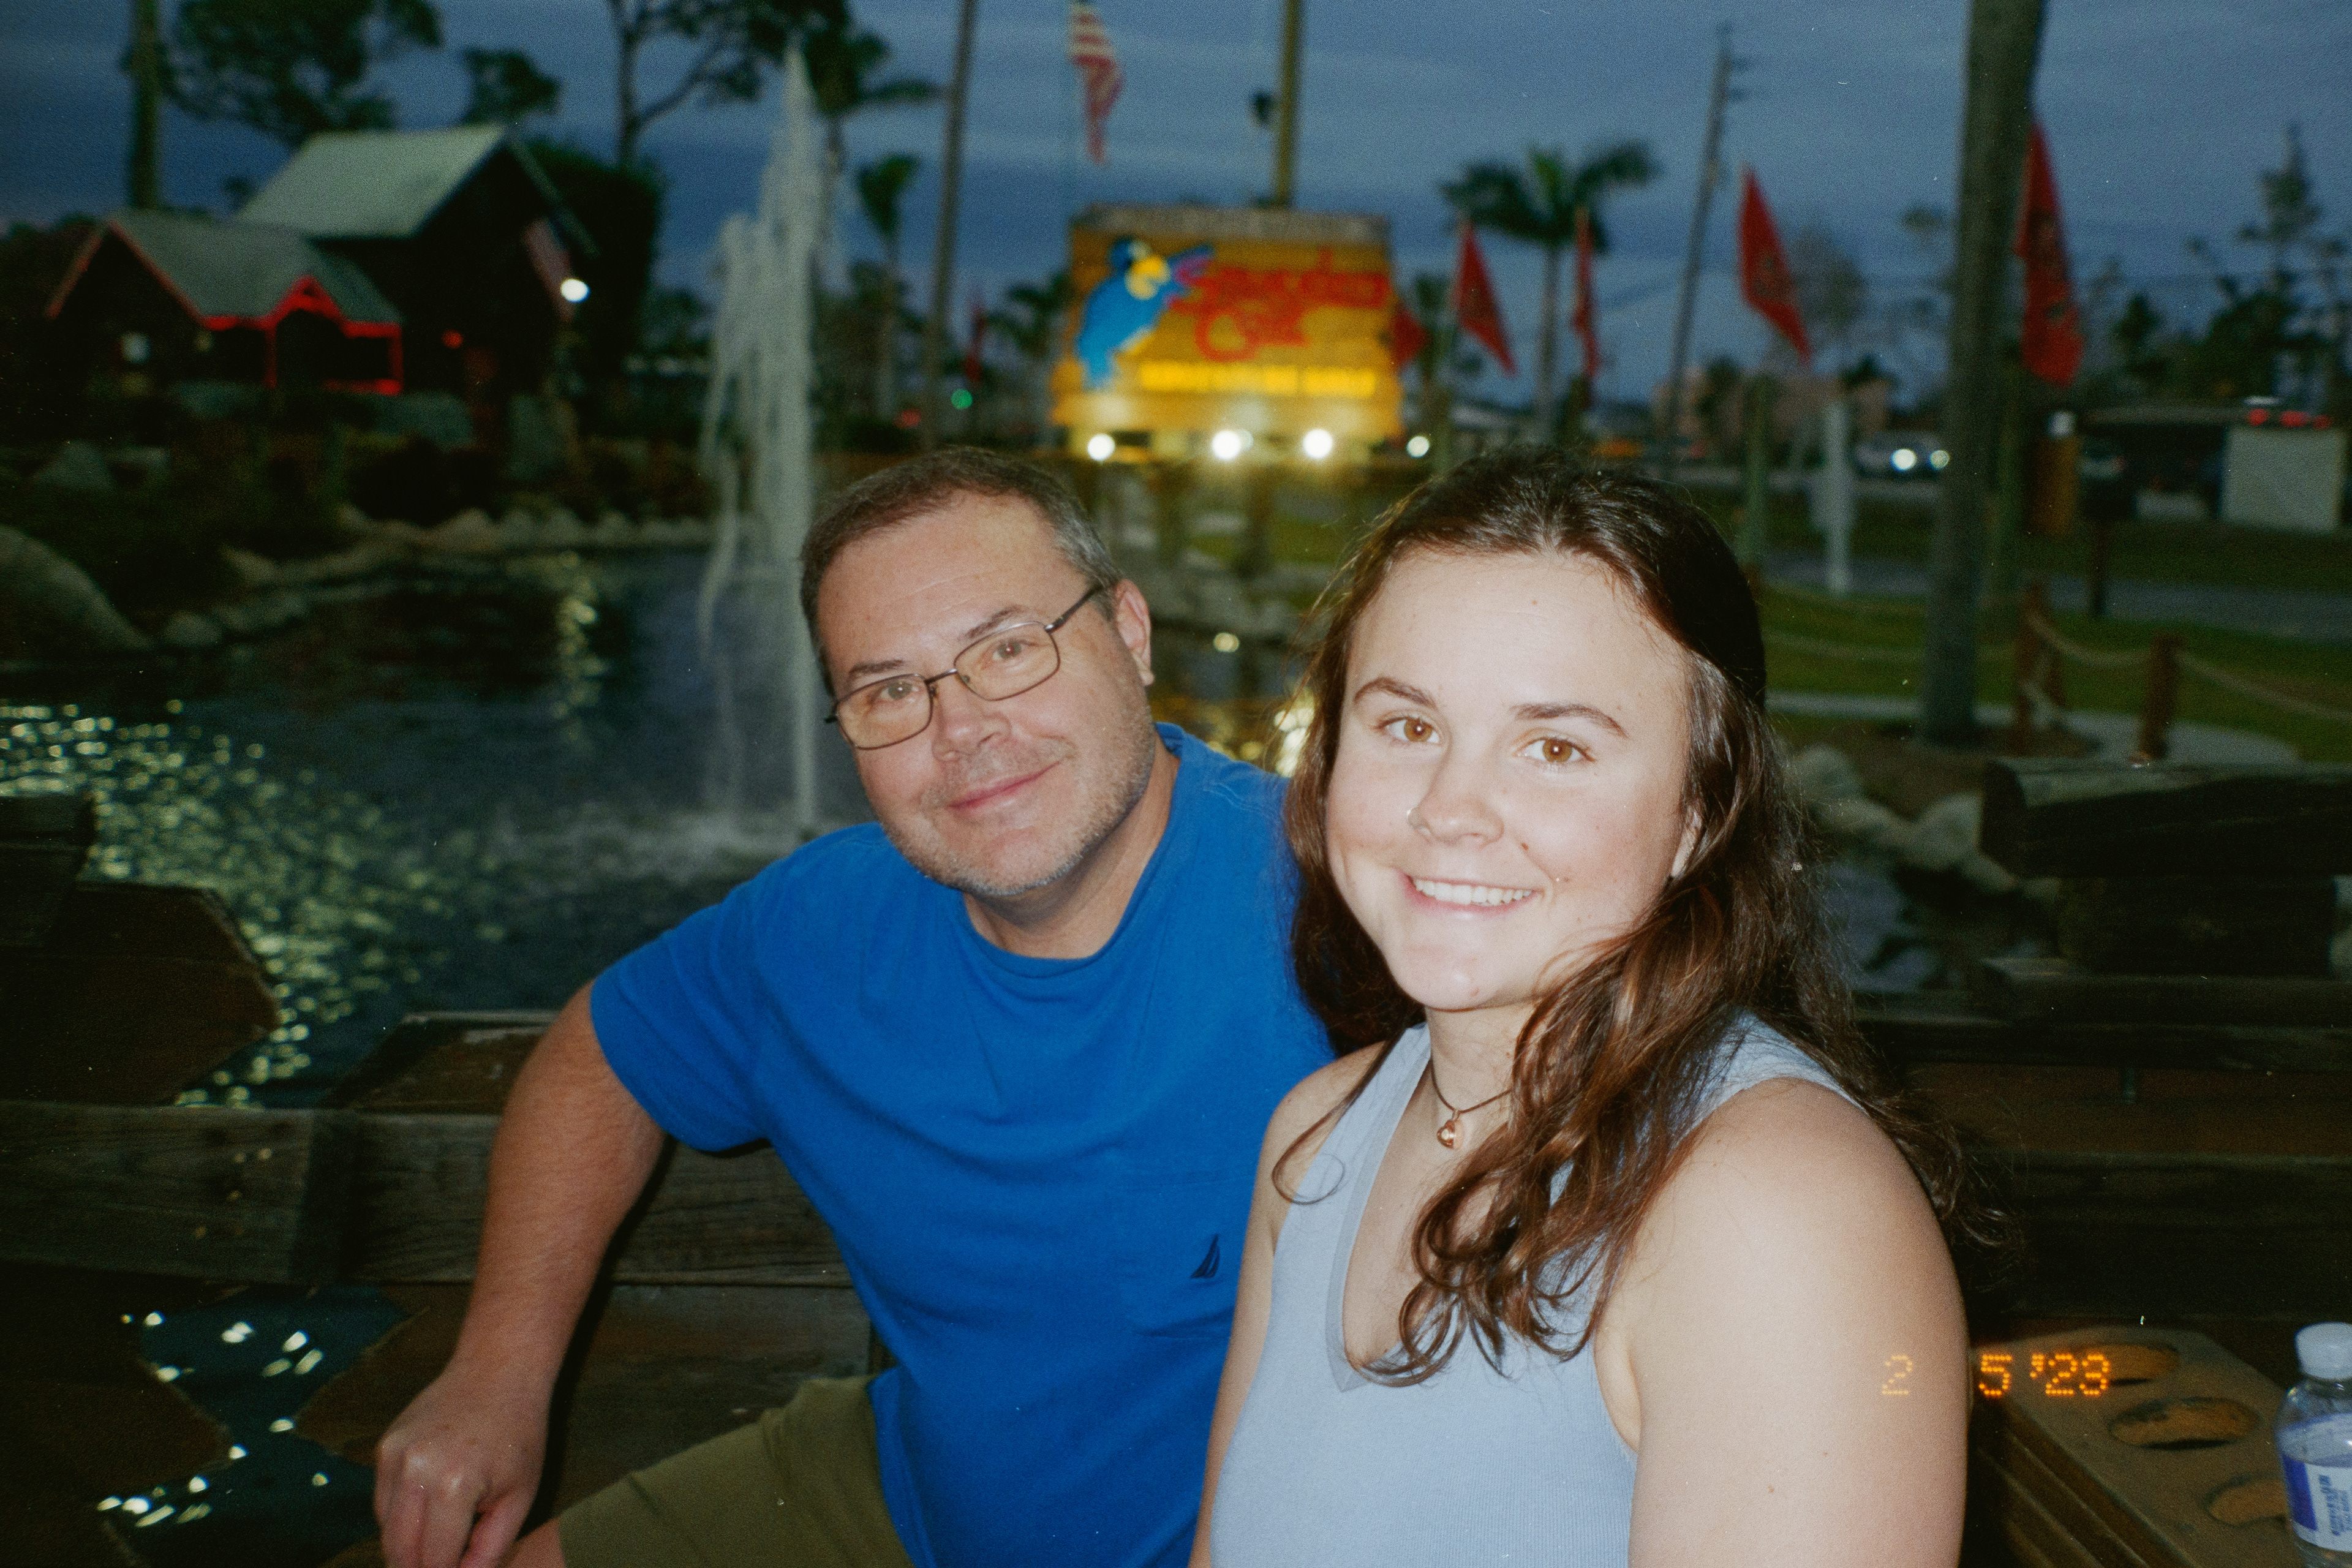
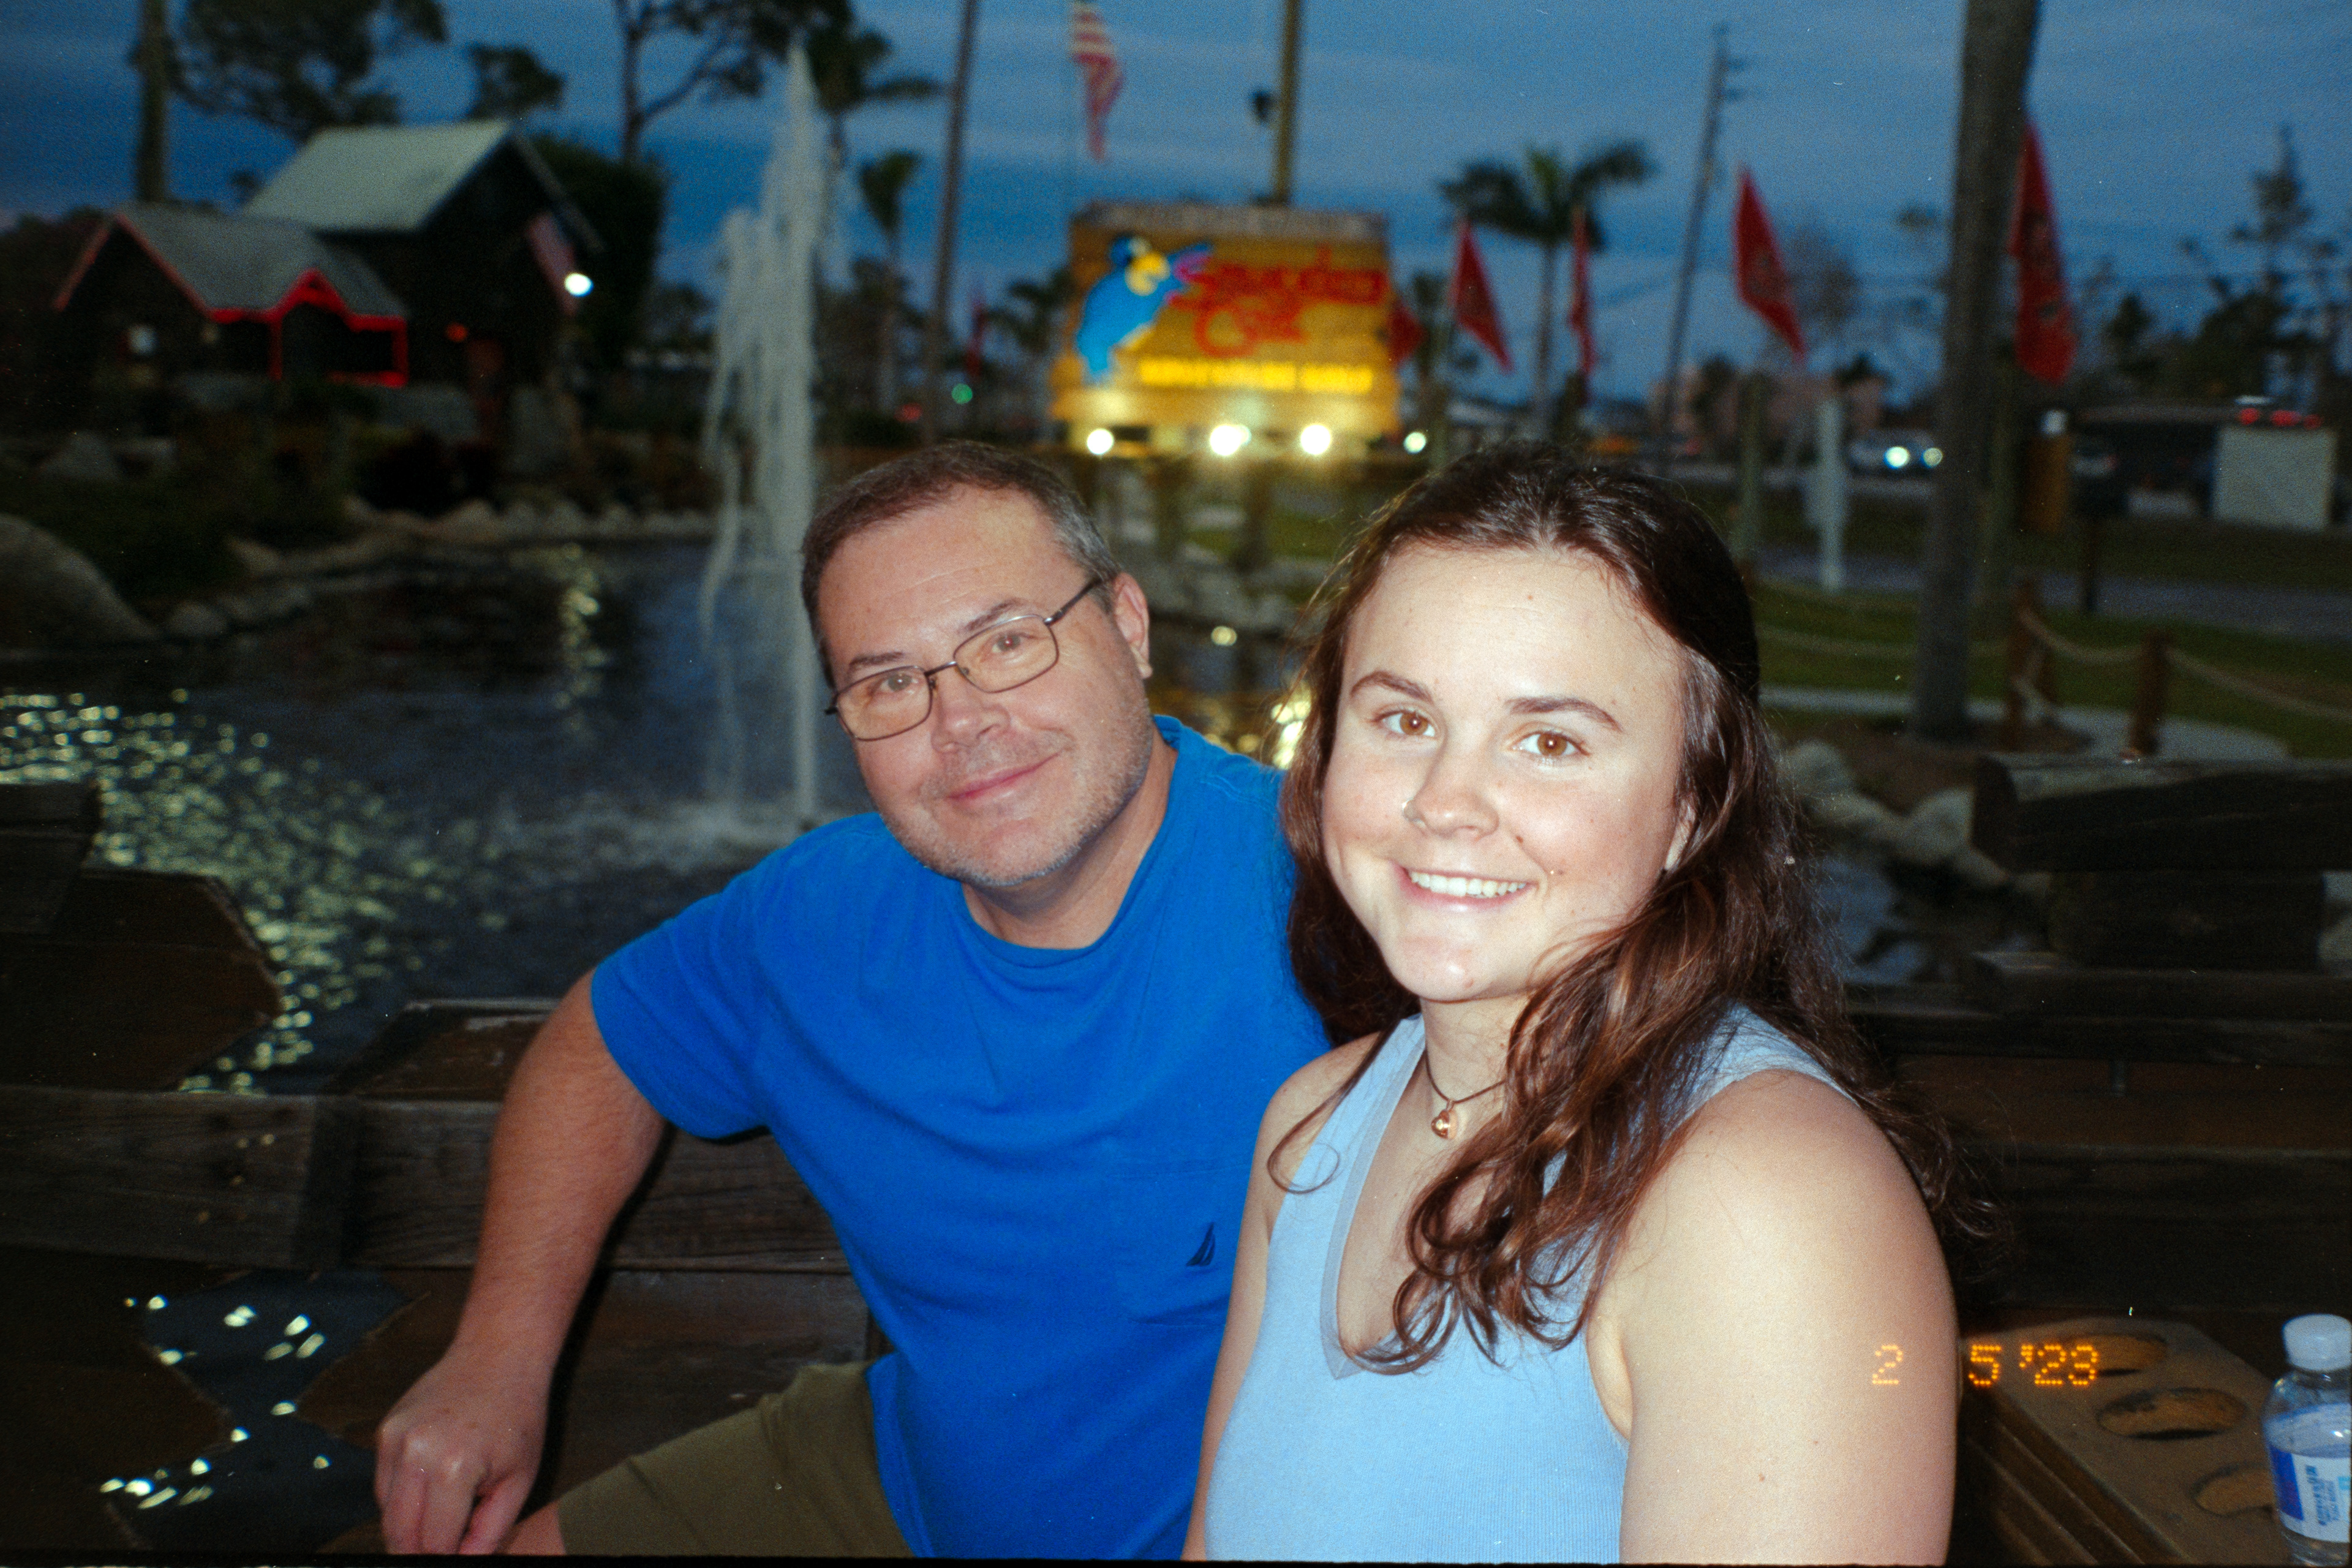
In the same regard, my conversion of the stadium image clearly struggles compared to the NLP and even lab scan. While editing via Photoshop seems to give the most control over your images, it also holds the largest room for error if you're not being careful. It's an image that I liked on it's own but as soon as it's placed next to the others, it becomes clear that it's much too cool and off in its colors.
Lab Scan
PS Scan
NLP Scan
Lab Scan
PS Scan

NLP Scan
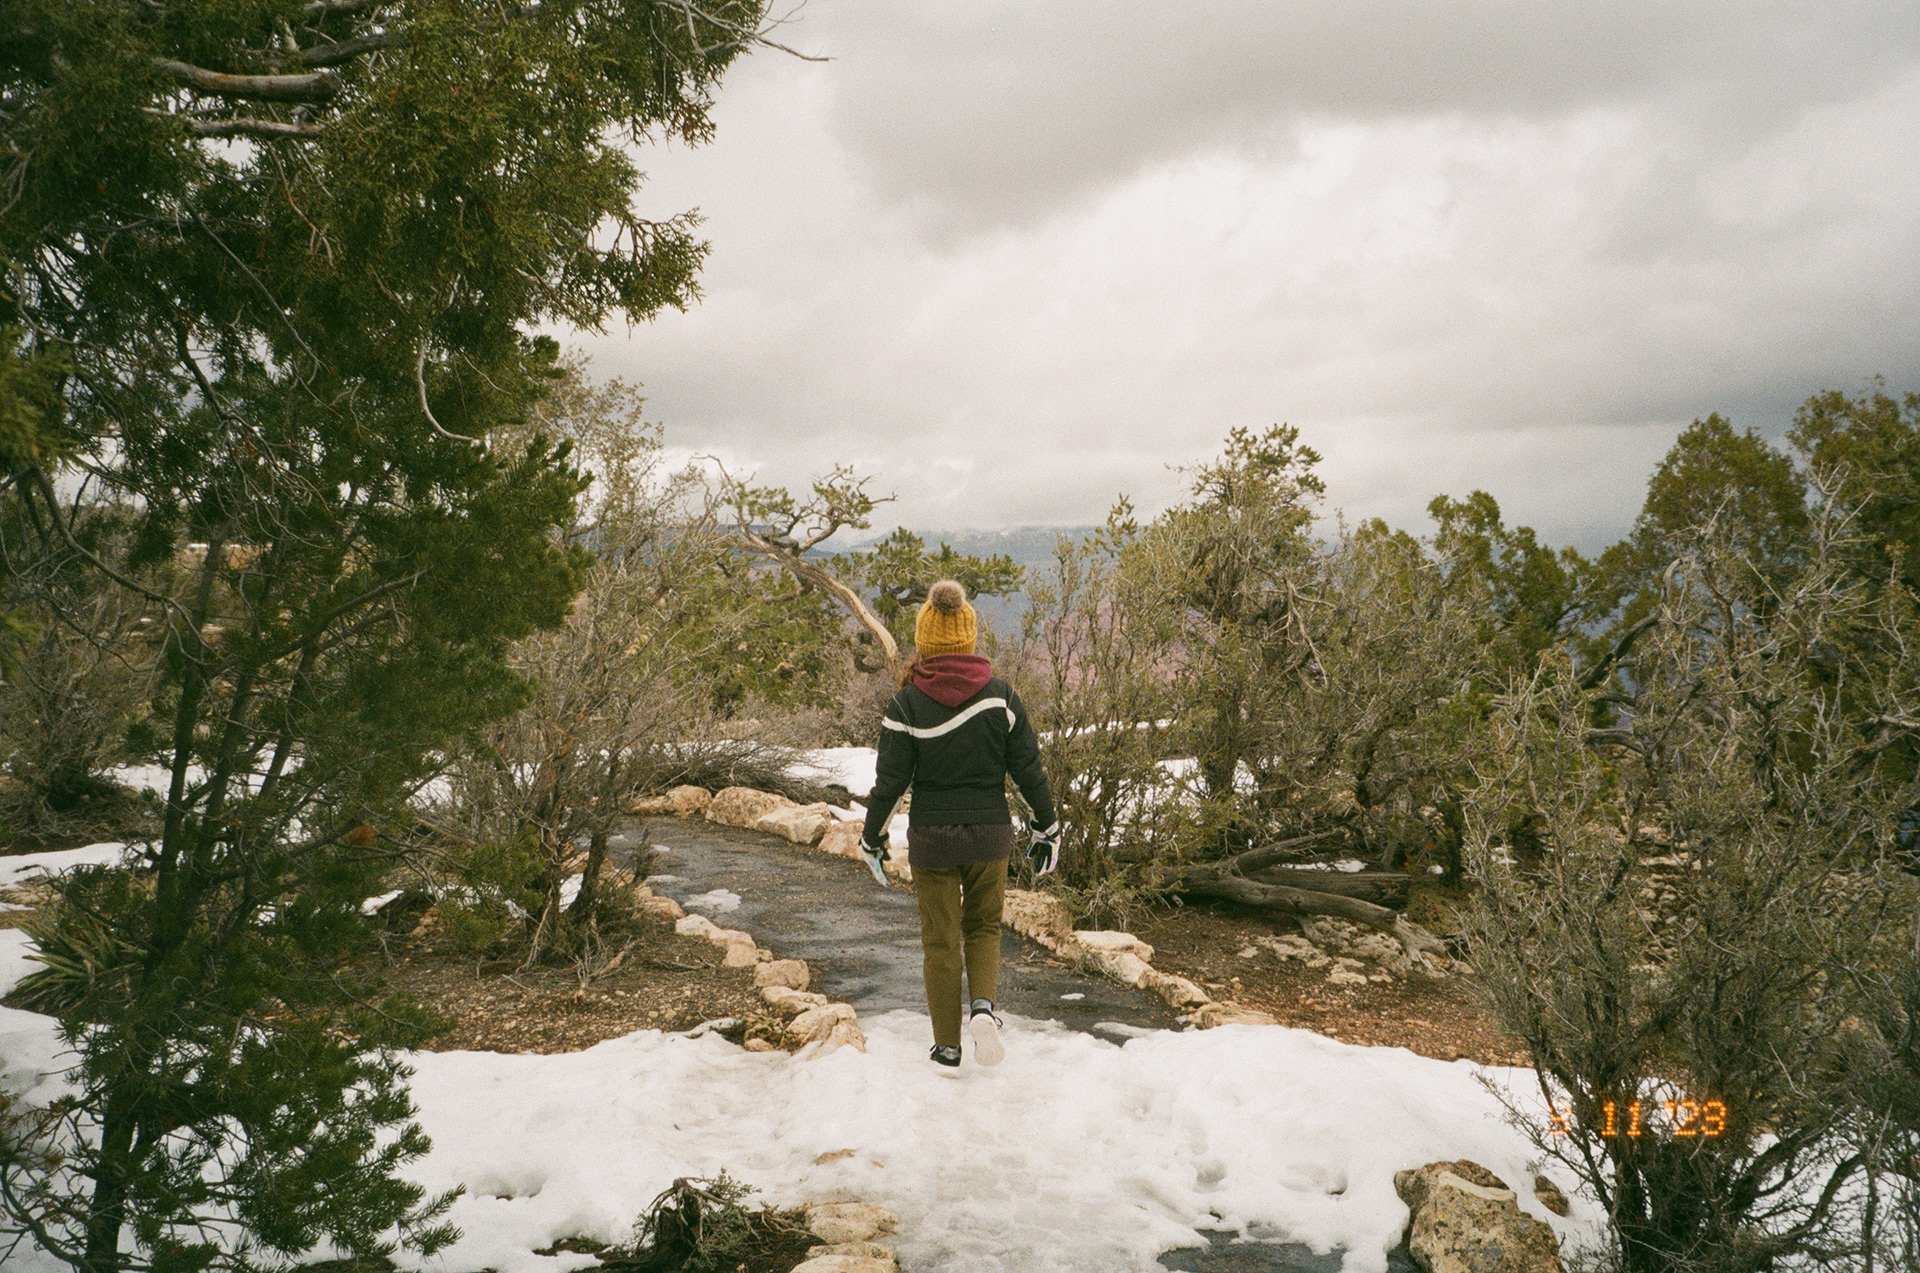
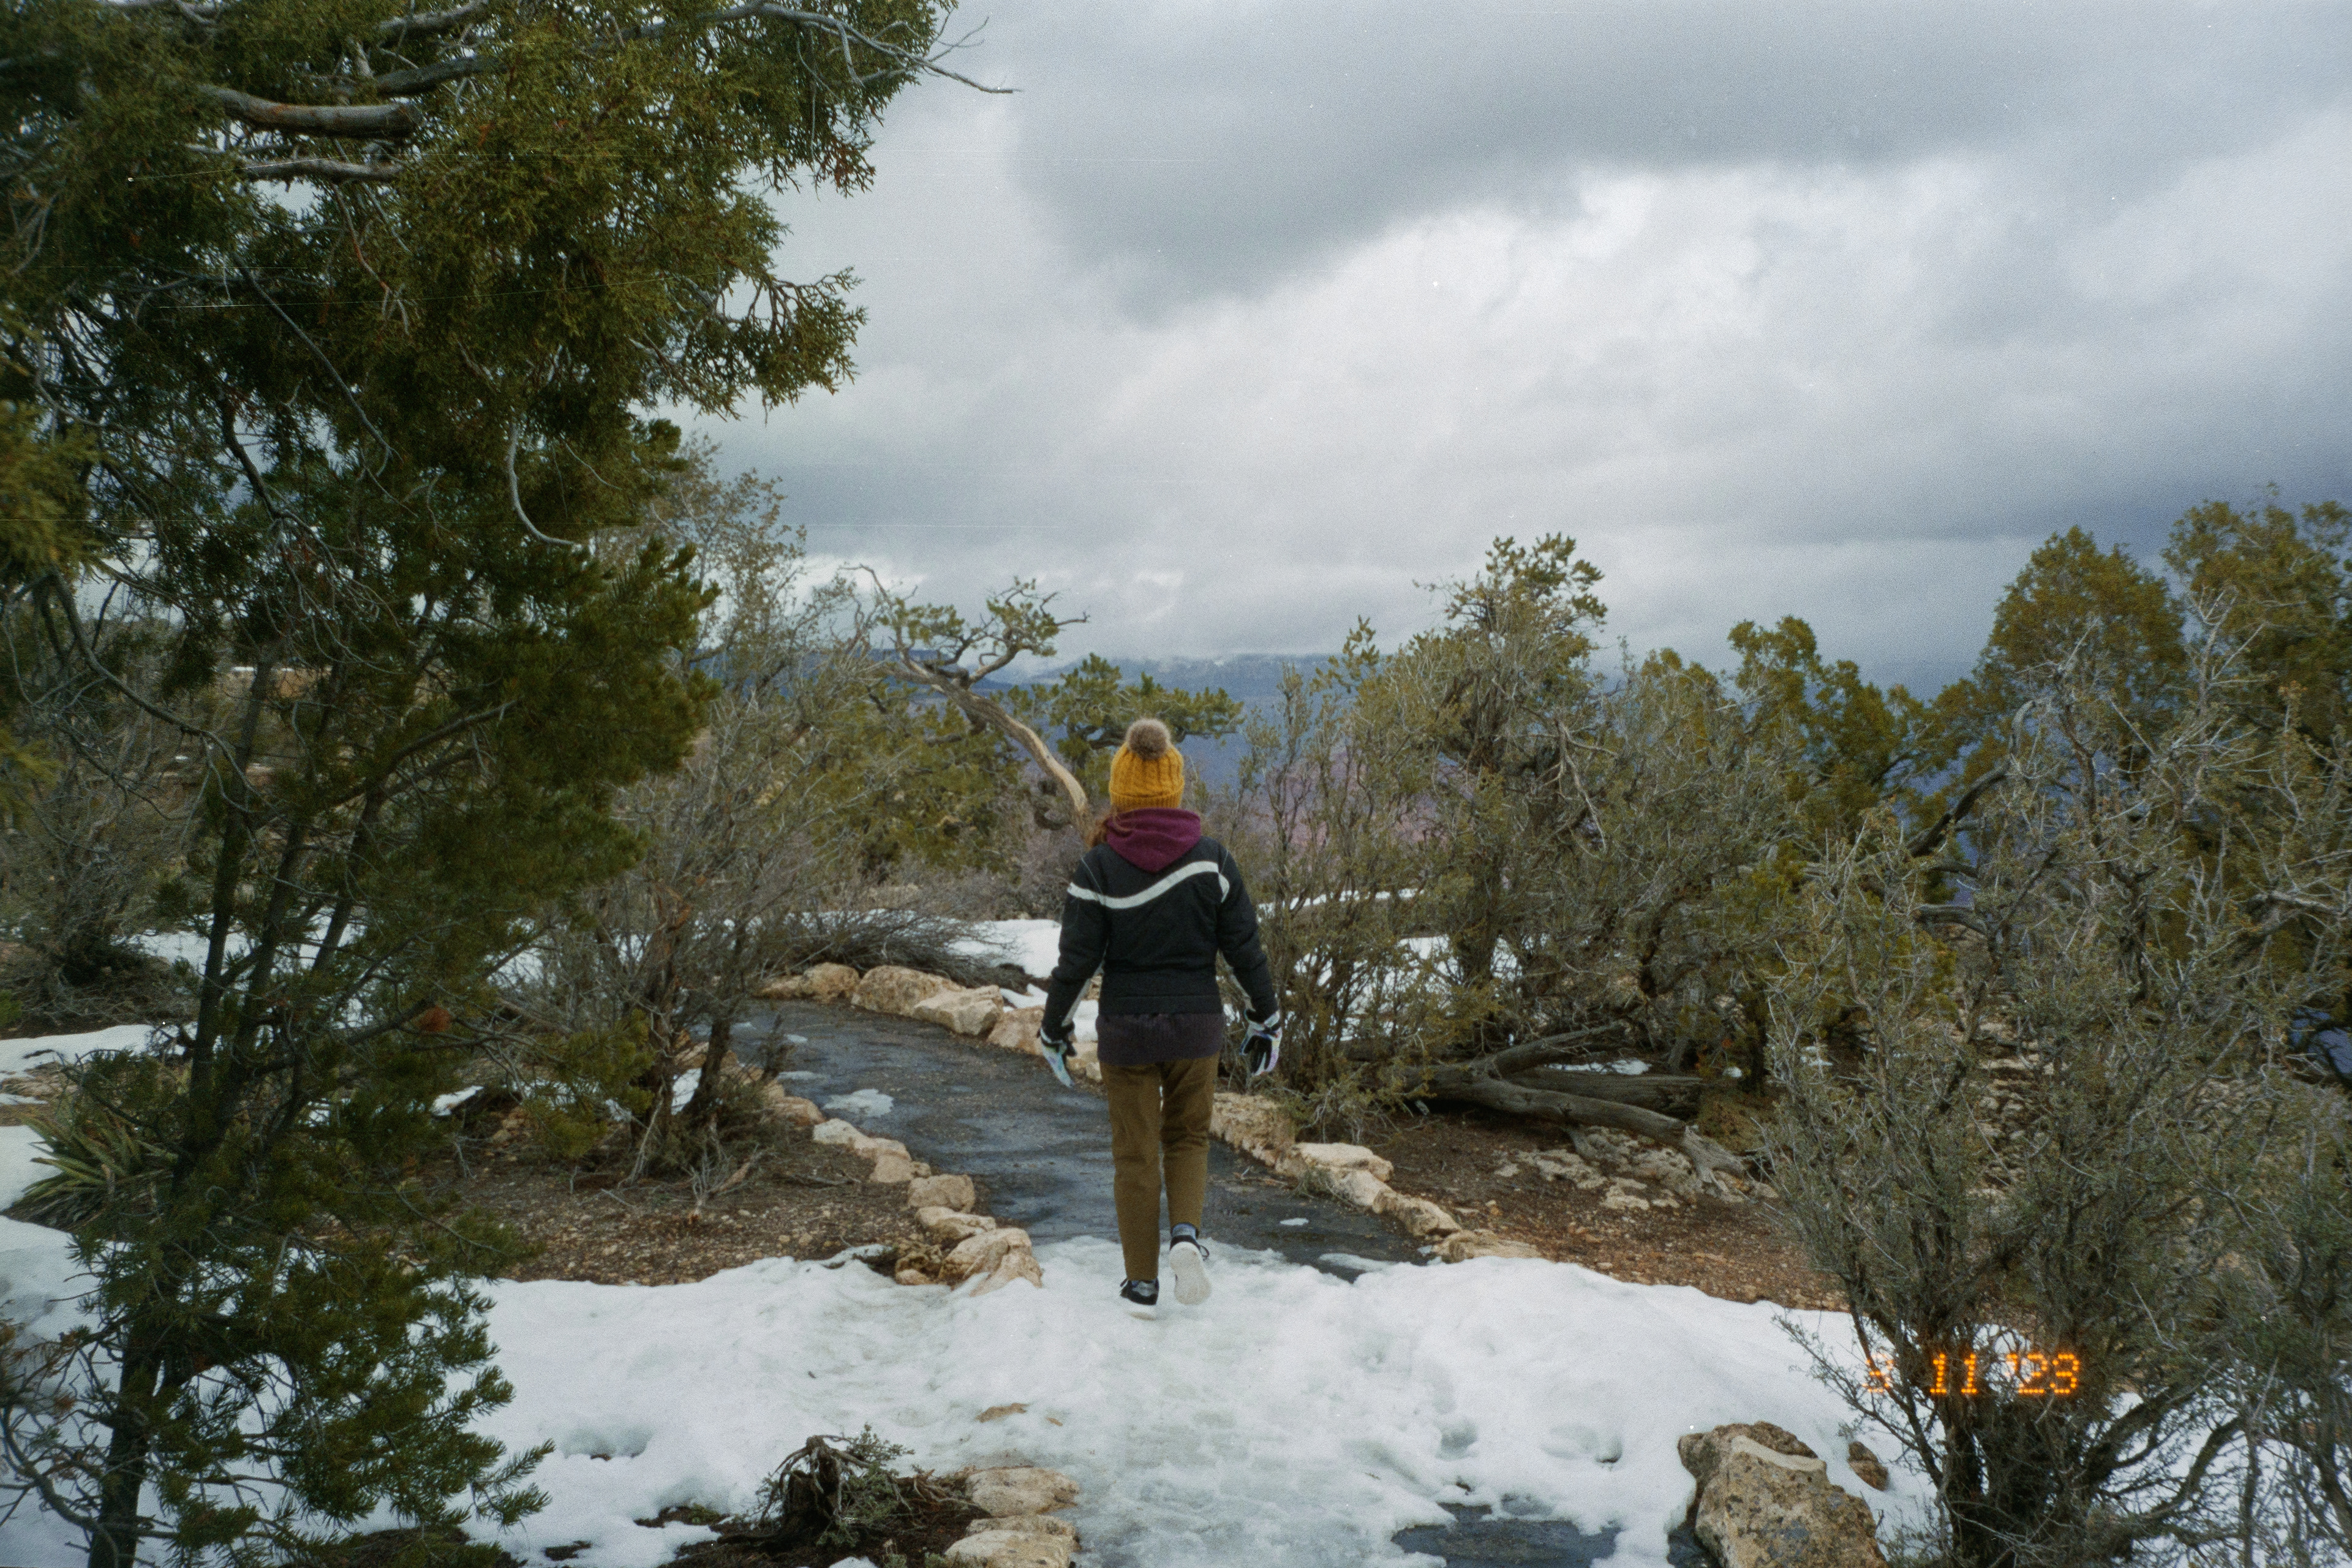
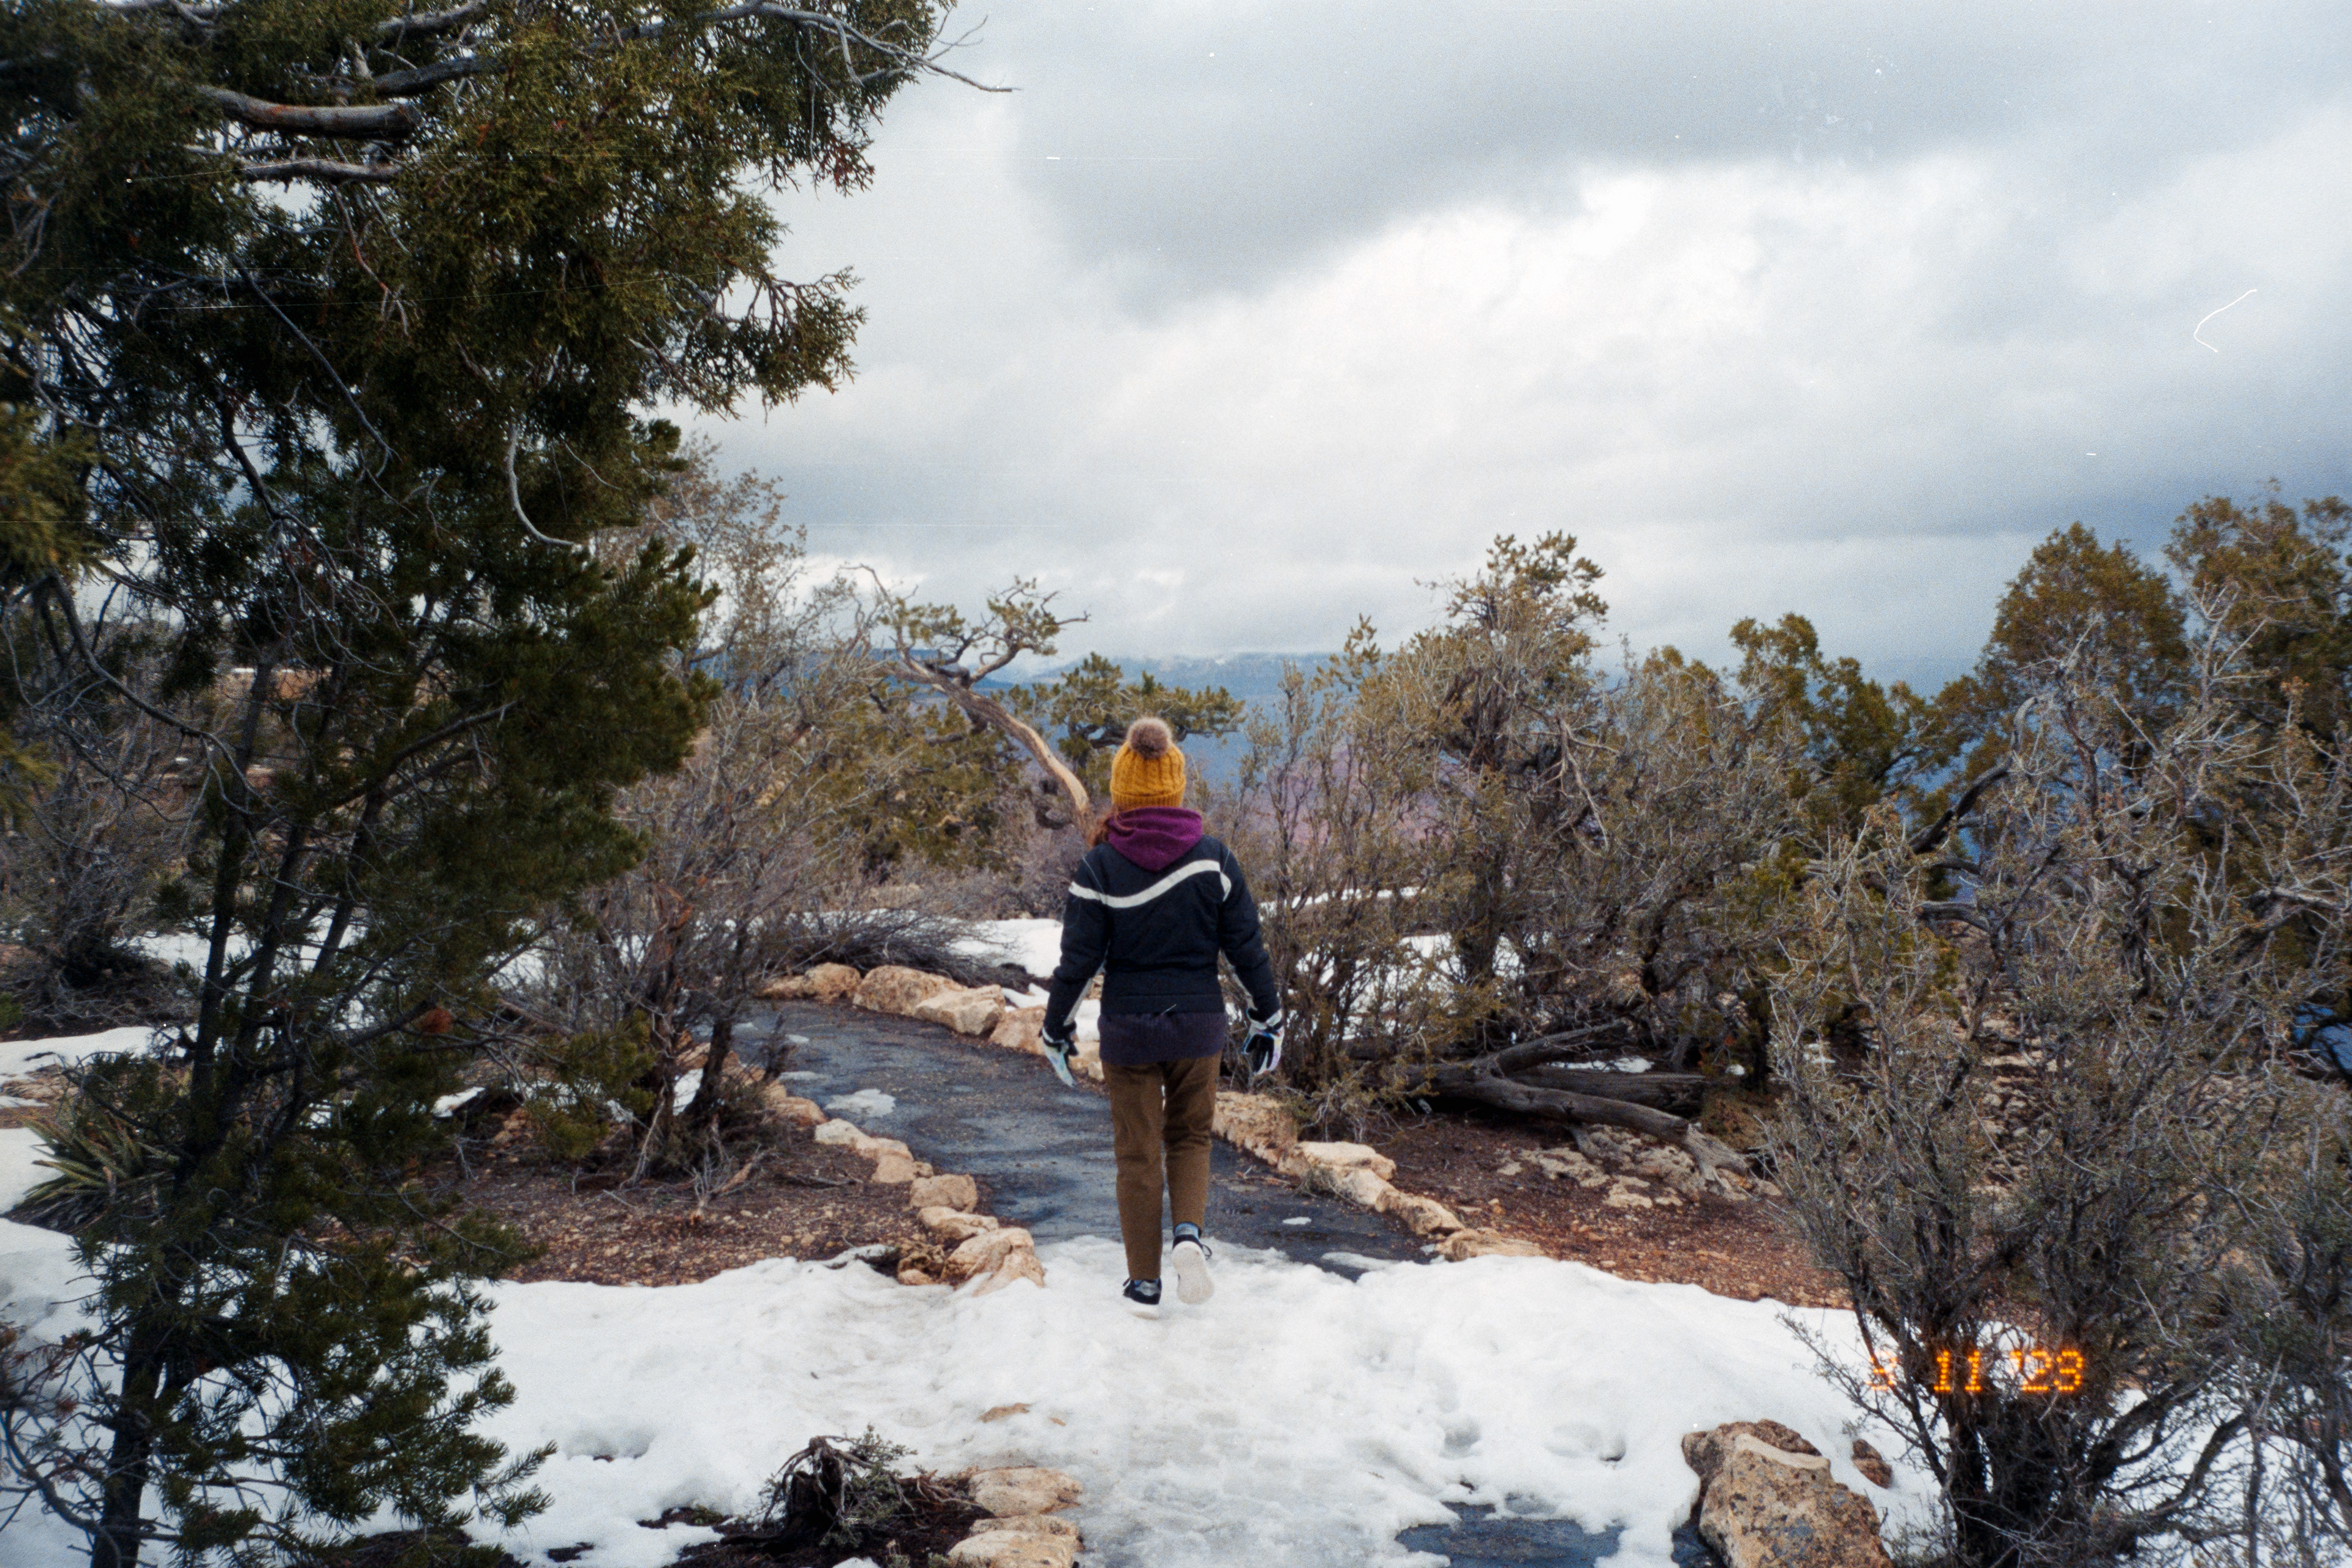
These final two images were shot on expired Ektar and reiterate the points that we've already seen. I was particularly interested to see the differences in the snow and greens of the trees. In both of these, I prefer the results of the Photoshop conversion but find all to be acceptable. The lab scans are quite warm but again produce a certain style that is not displeasing.
Quality, Control, Work Flow, and Cost
My greatest concern with scanning my own images was not the accuracy of the colors in a conversion but if they would actually match the sharpness and quality of the scans I was getting back from the lab. After scanning hundreds of photos with a mirrorless camera, I feel very pleased with the sharpness and quality of the scans I've been making. Rather than the ~6mp (2000x3000) scans I was getting from the lab, I'm getting ~30mp (4500x6750) scans at minimum. Obviously that huge increase in resolution comes from having a high megapixel camera, however, pretty much every modern digital camera is going to at least double the resolution of these lab scans. It is also much nicer editing RAW files rather than JPGs returned by a lab.
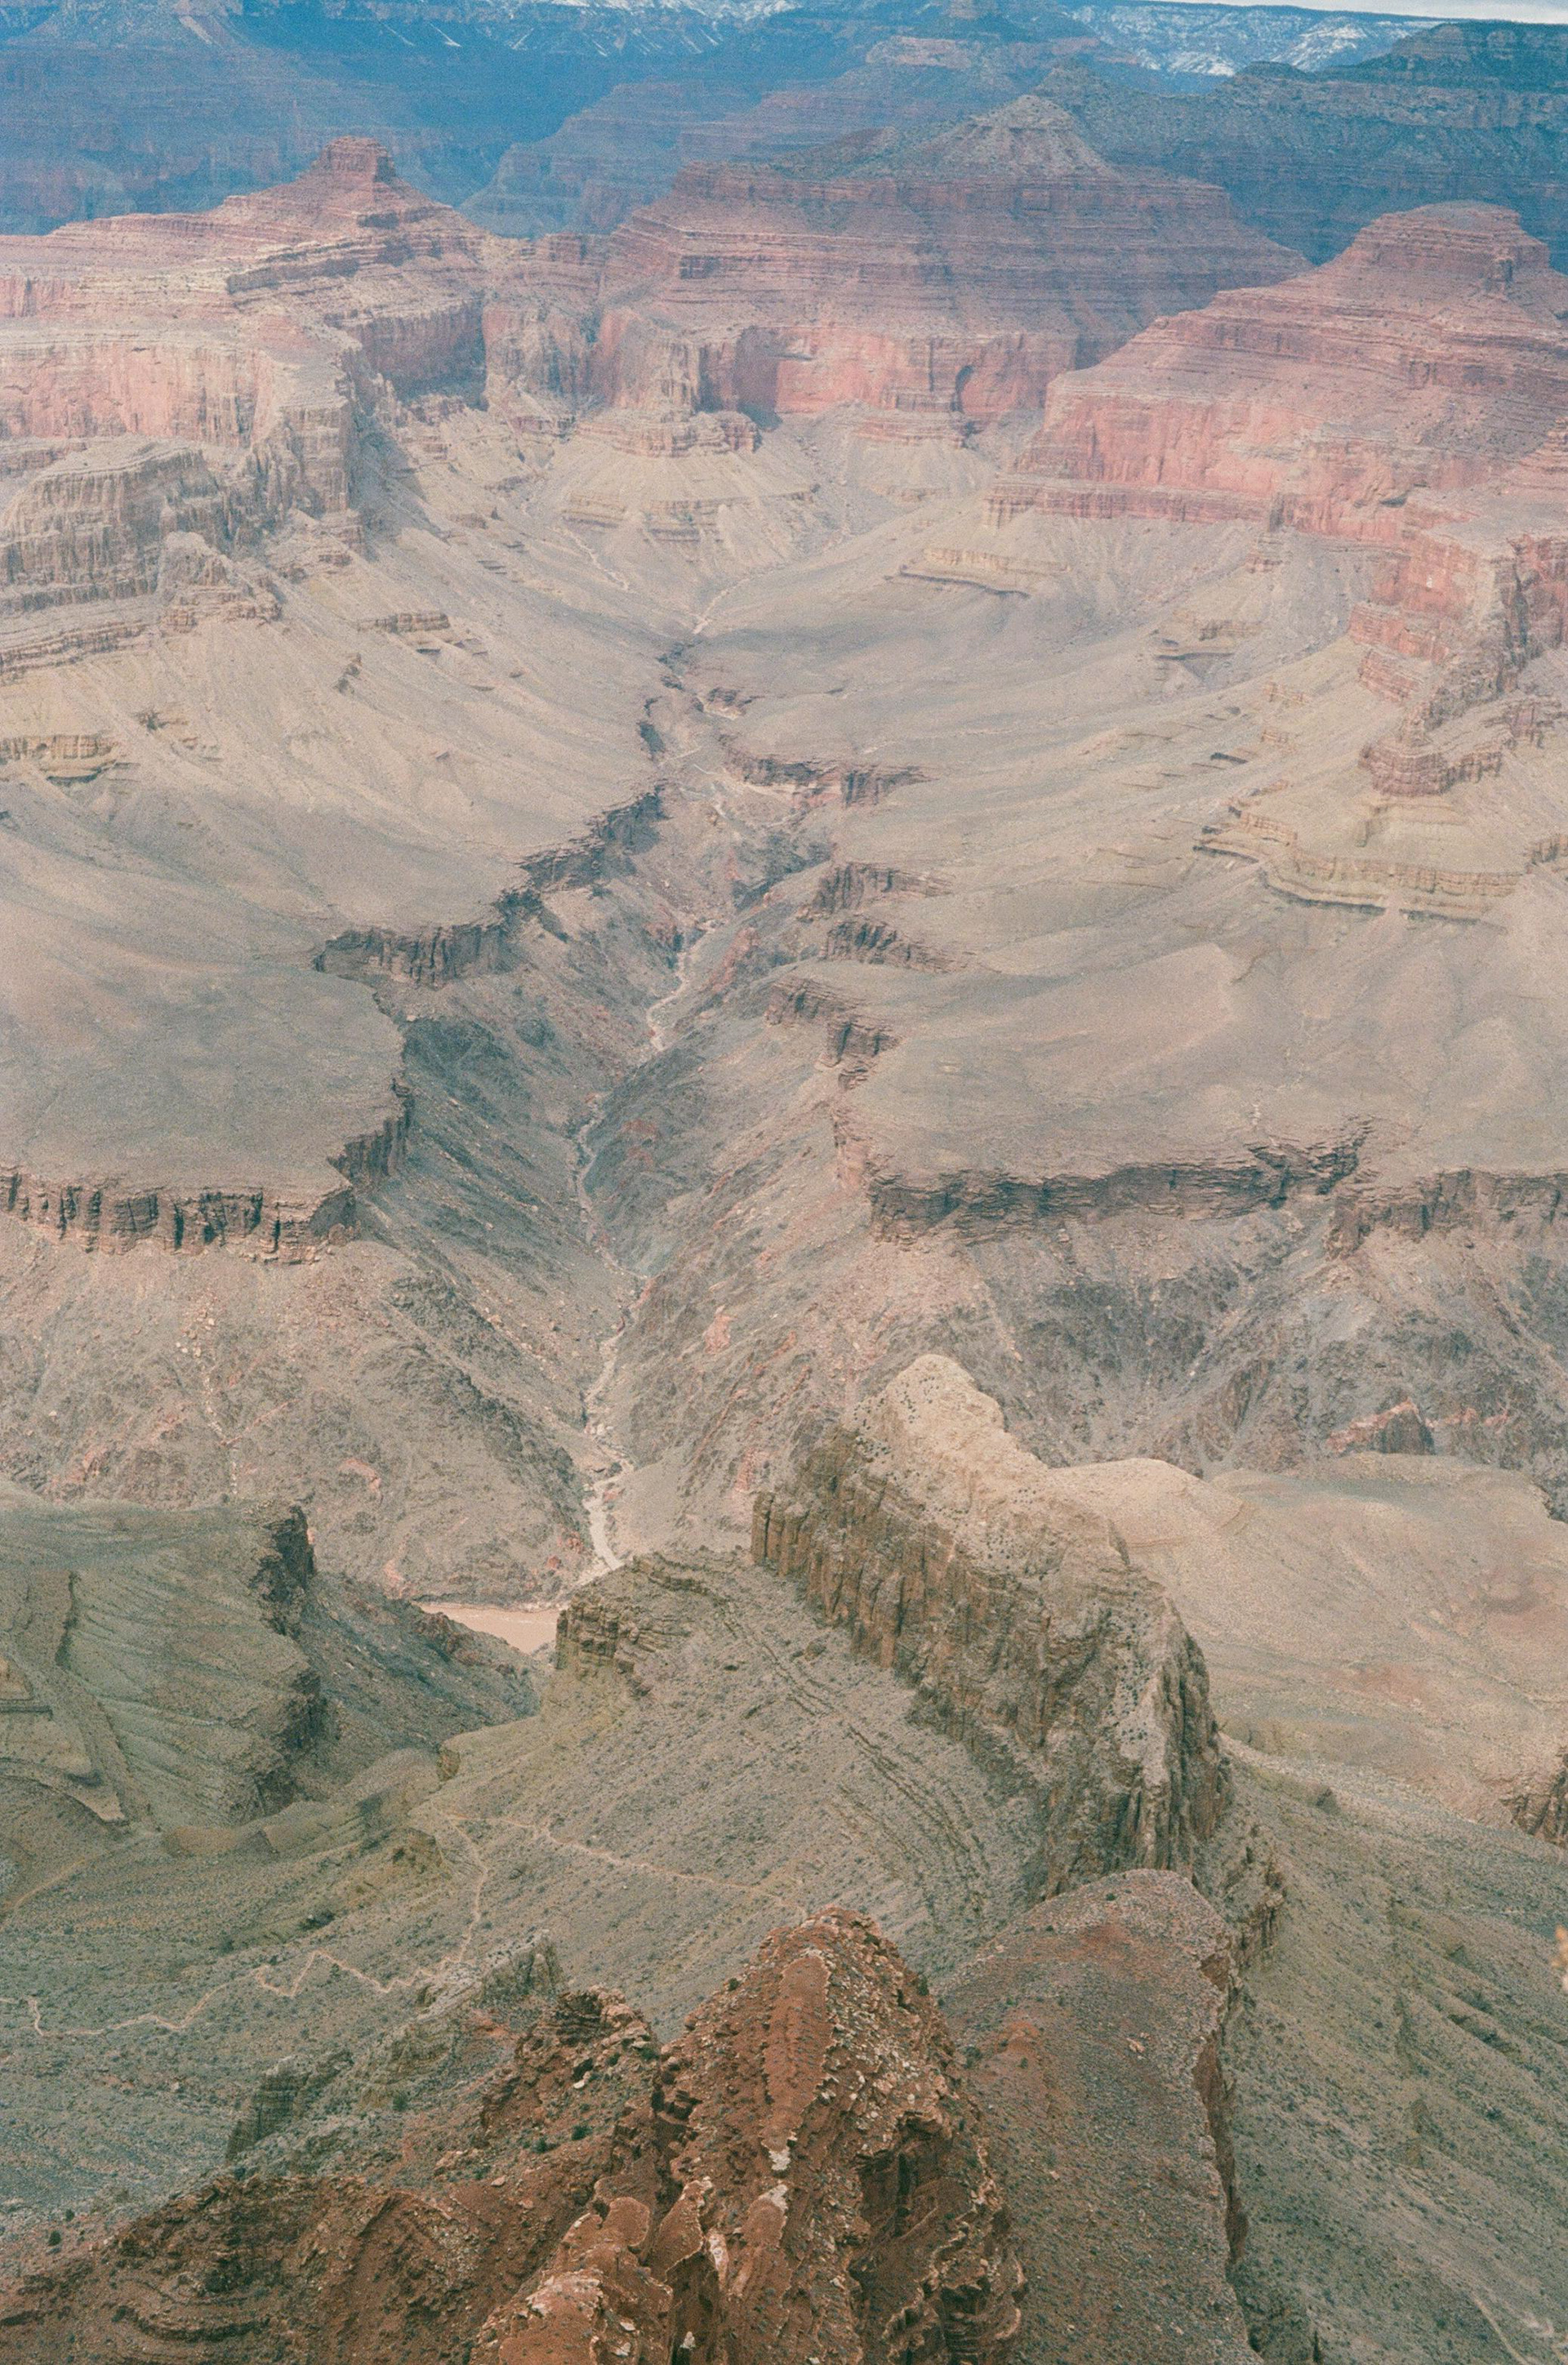
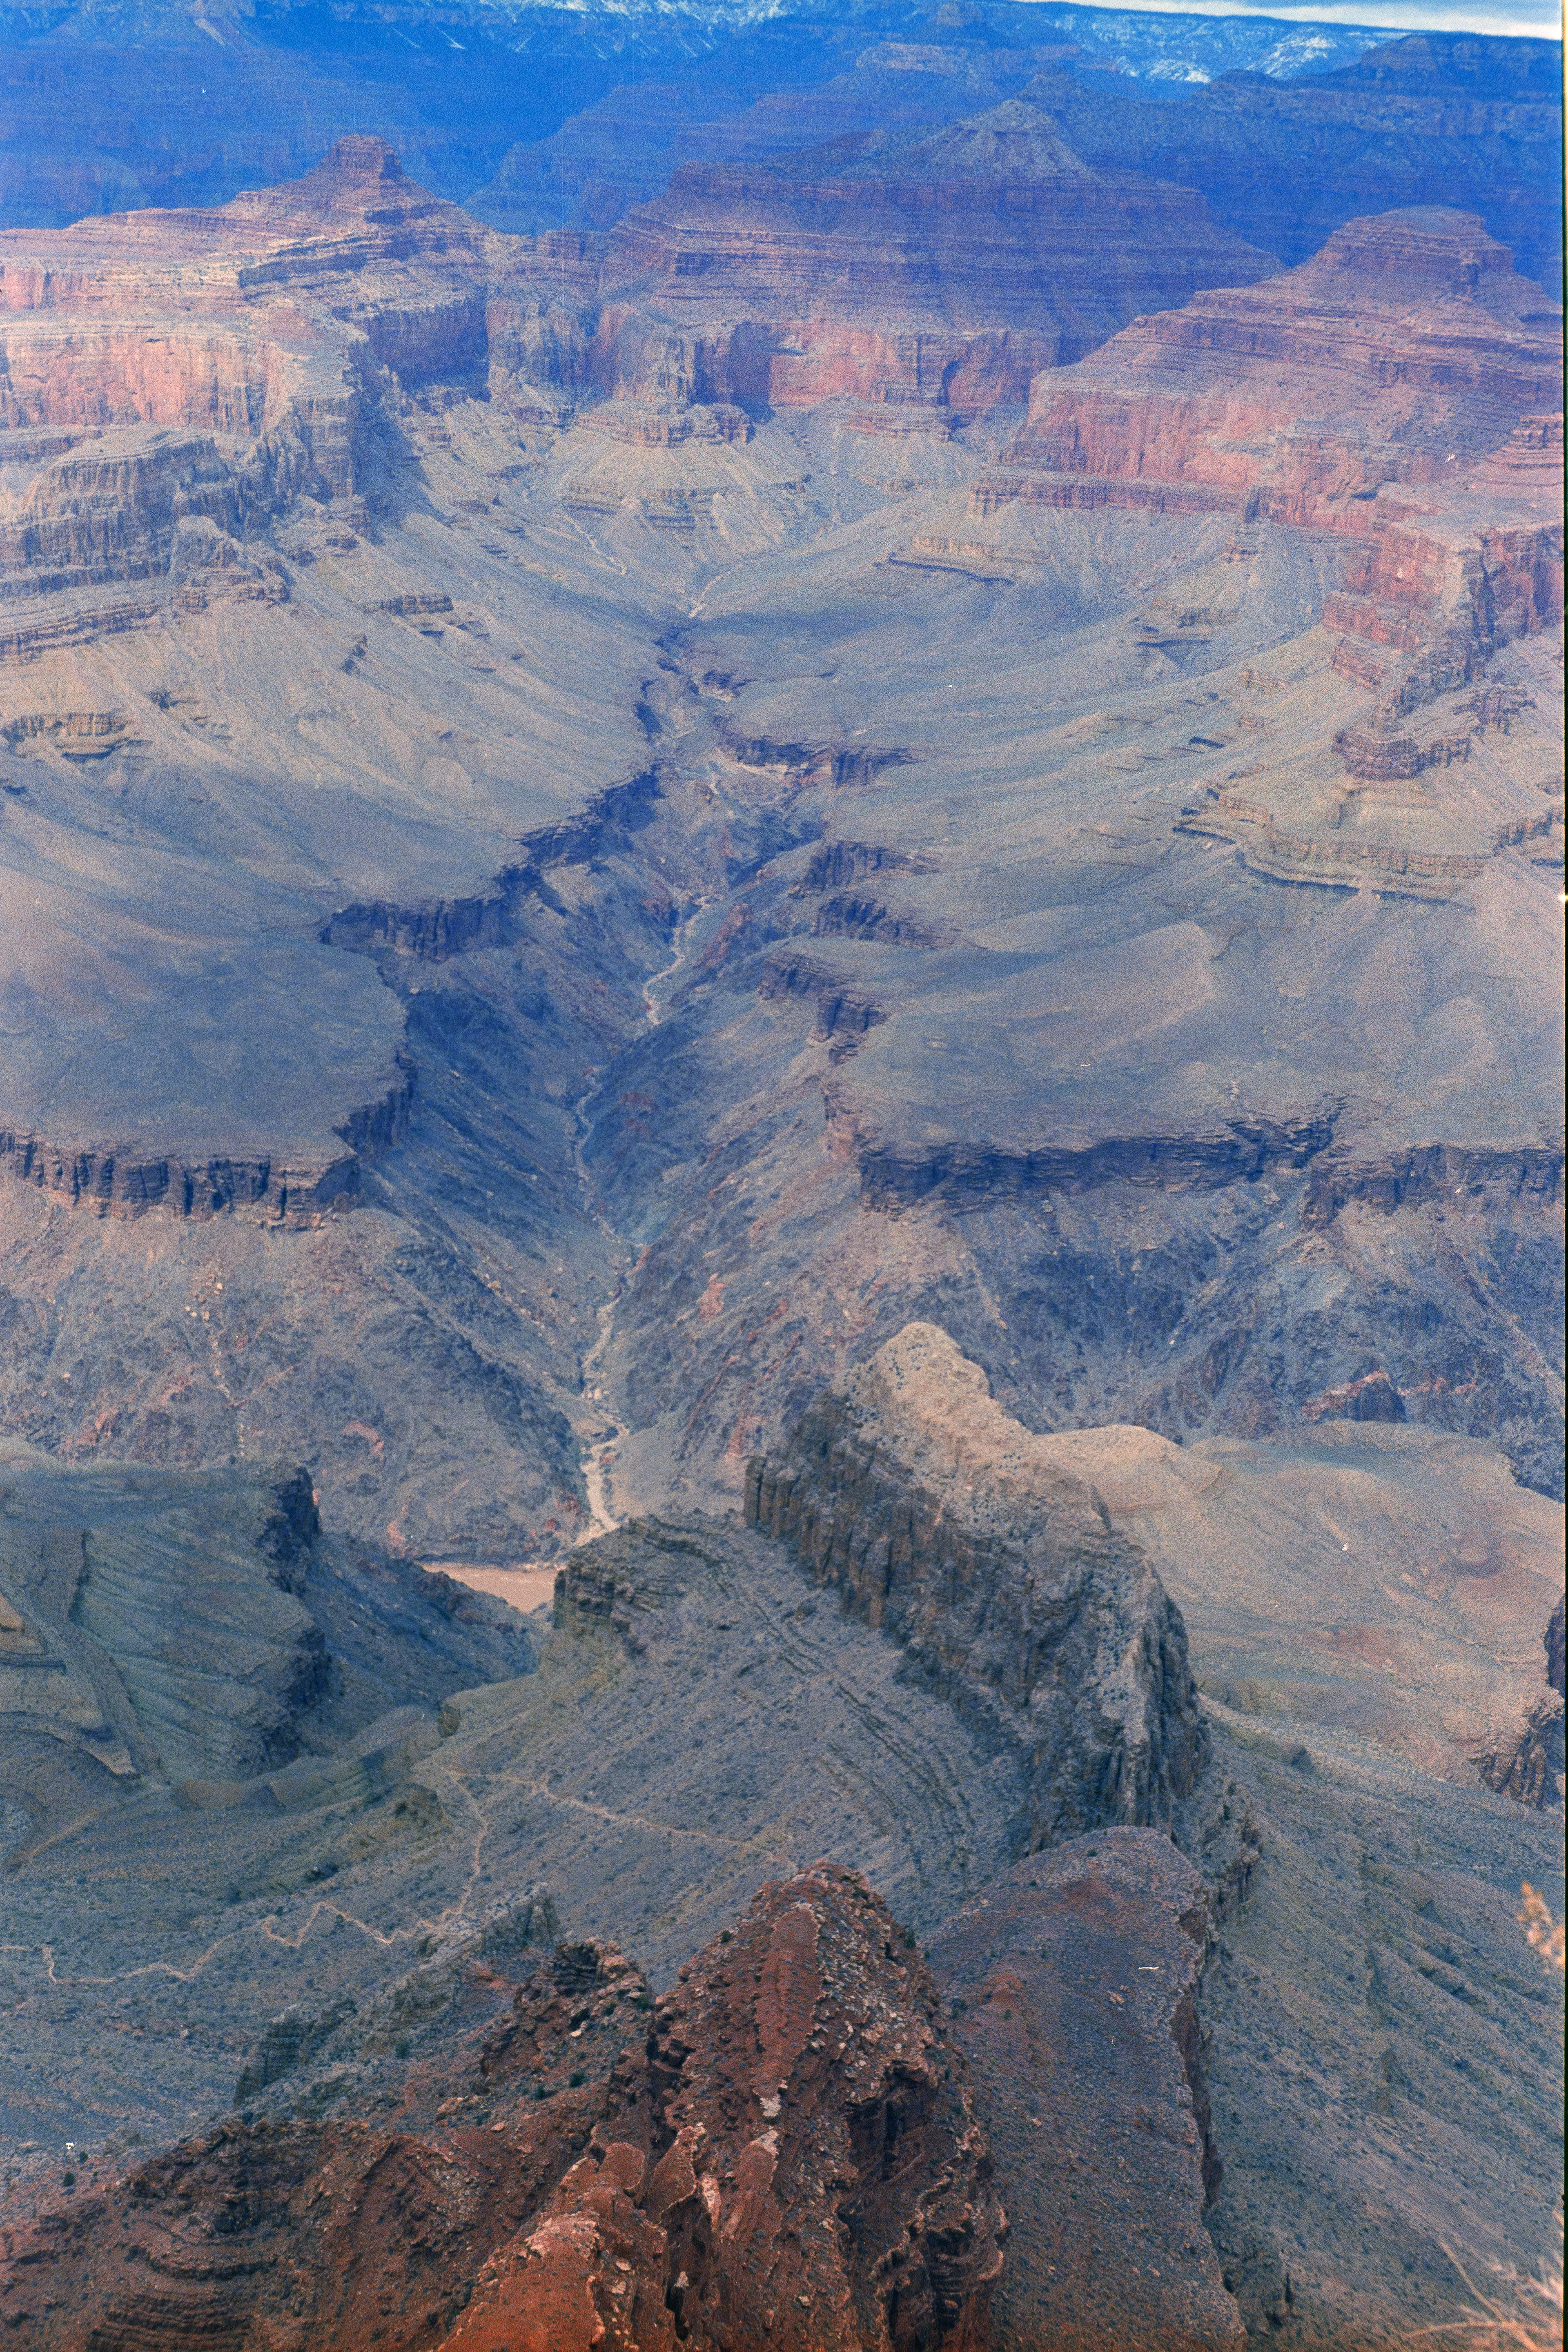
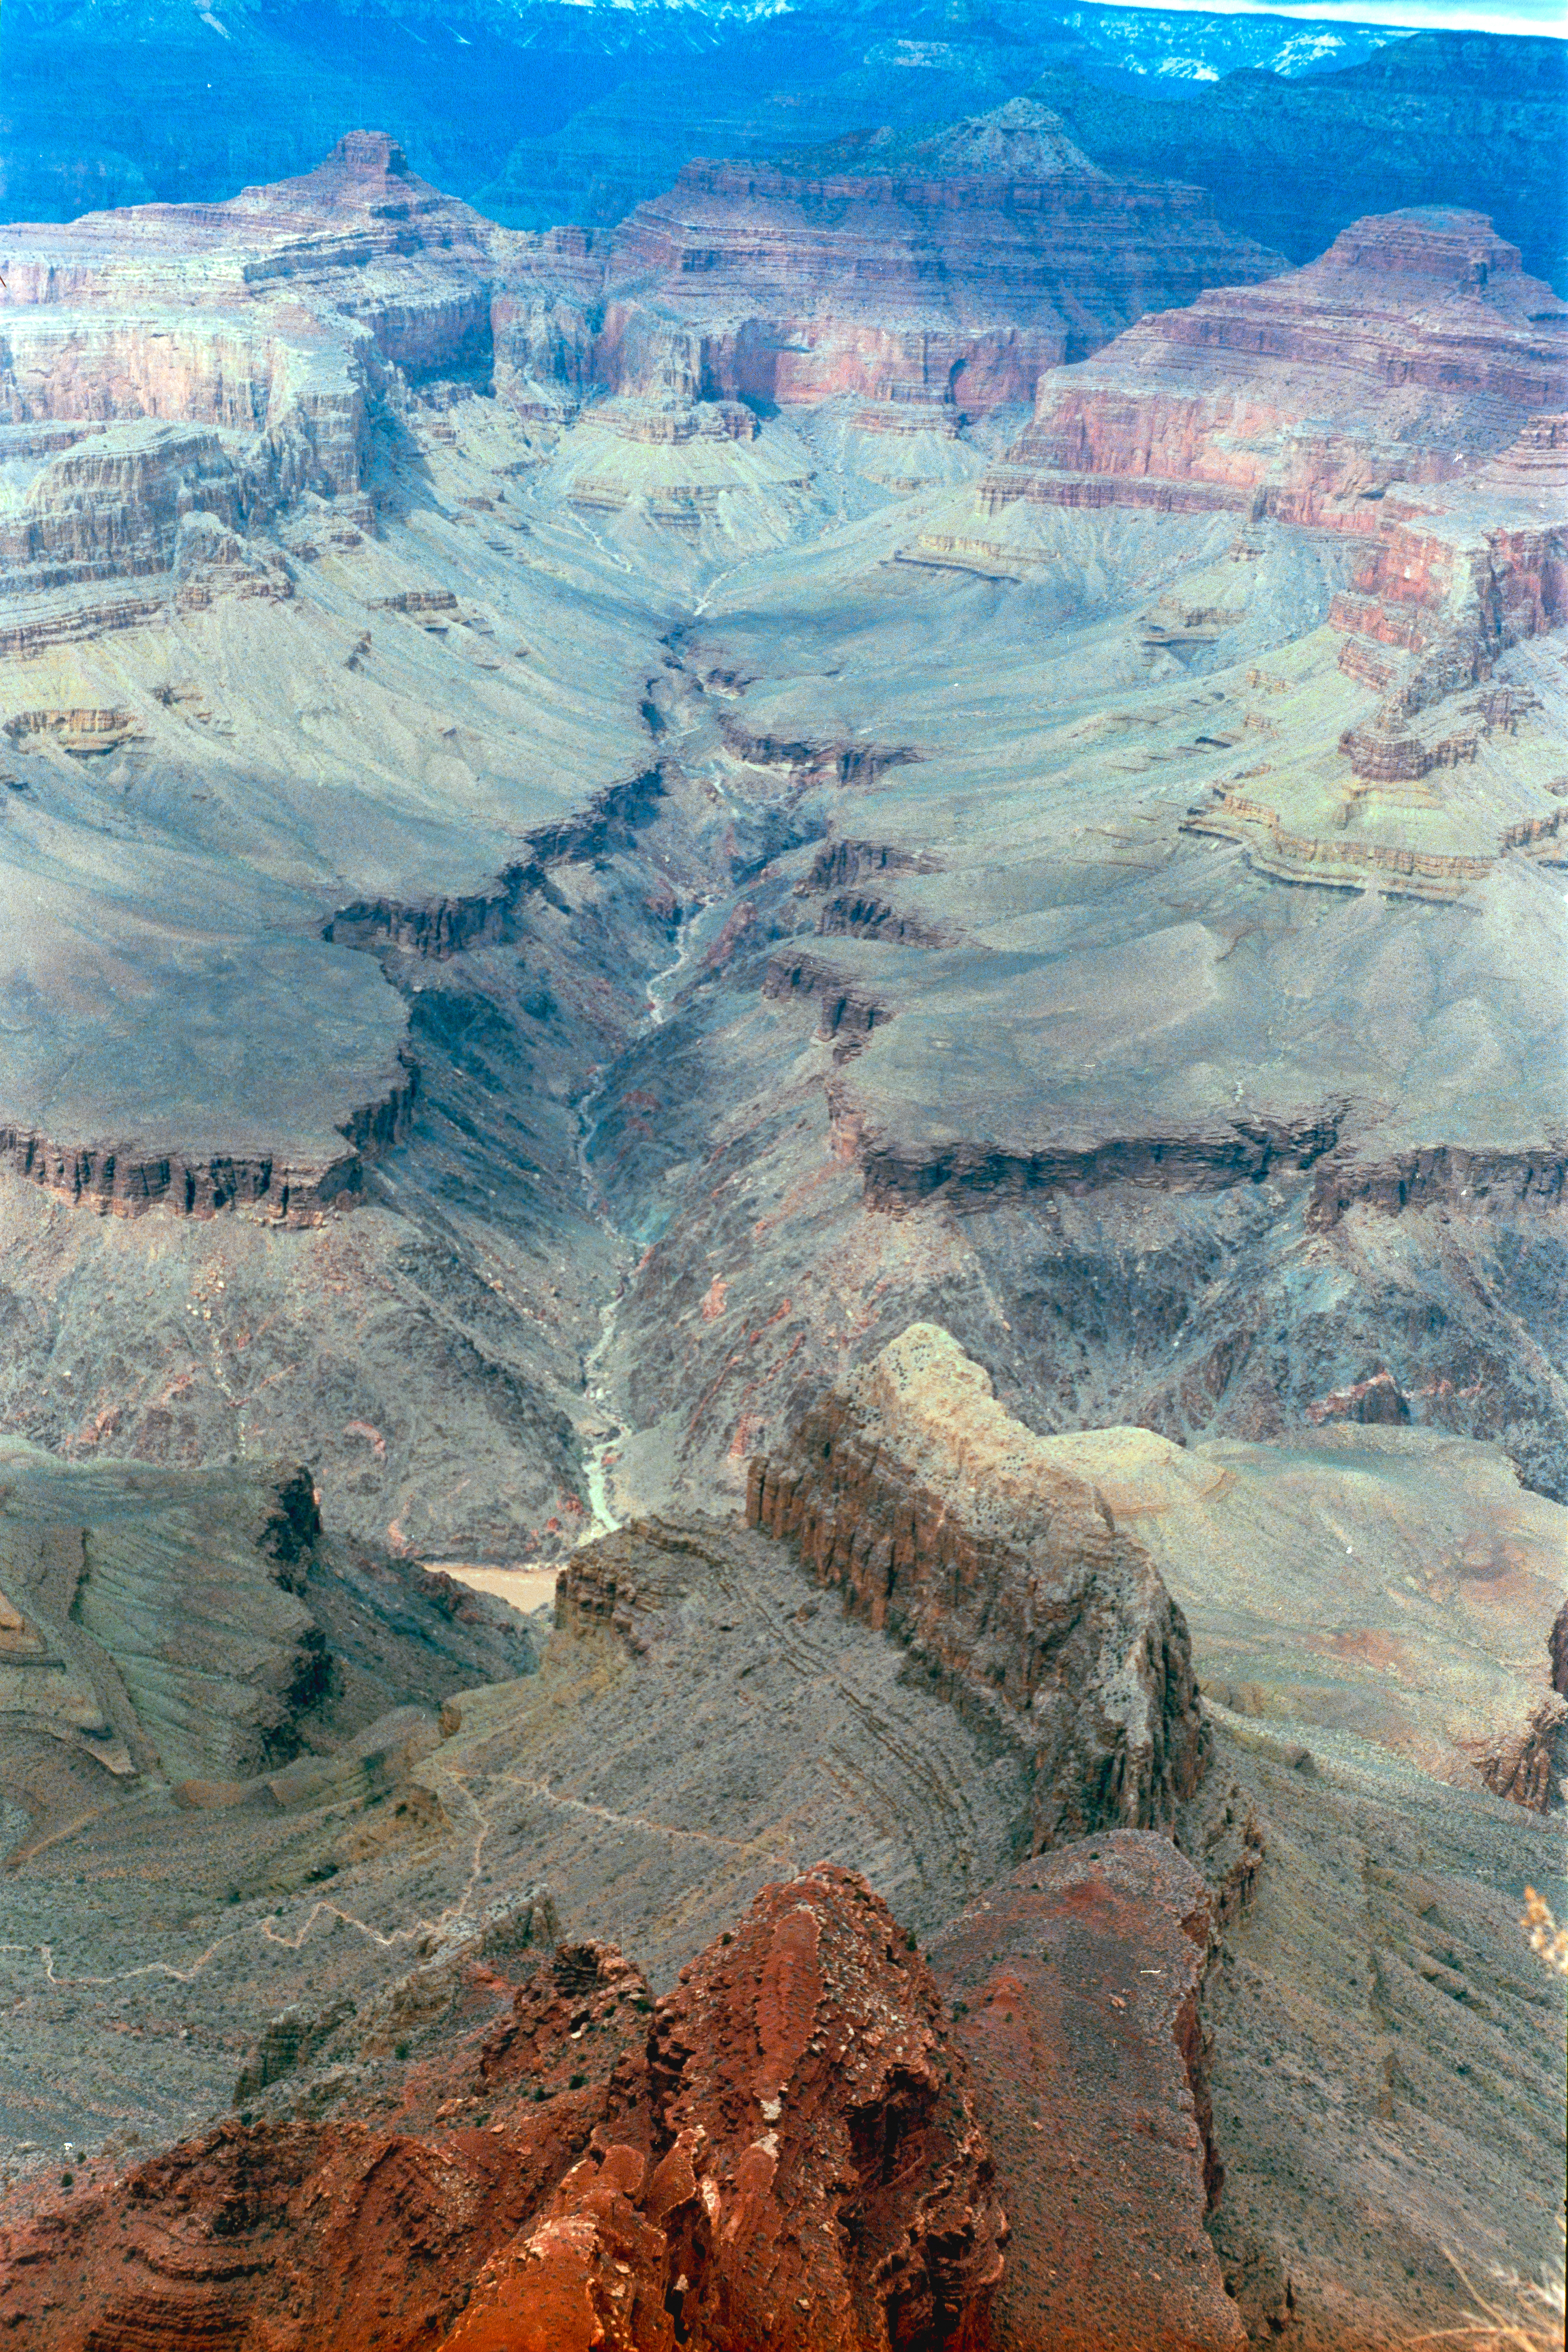
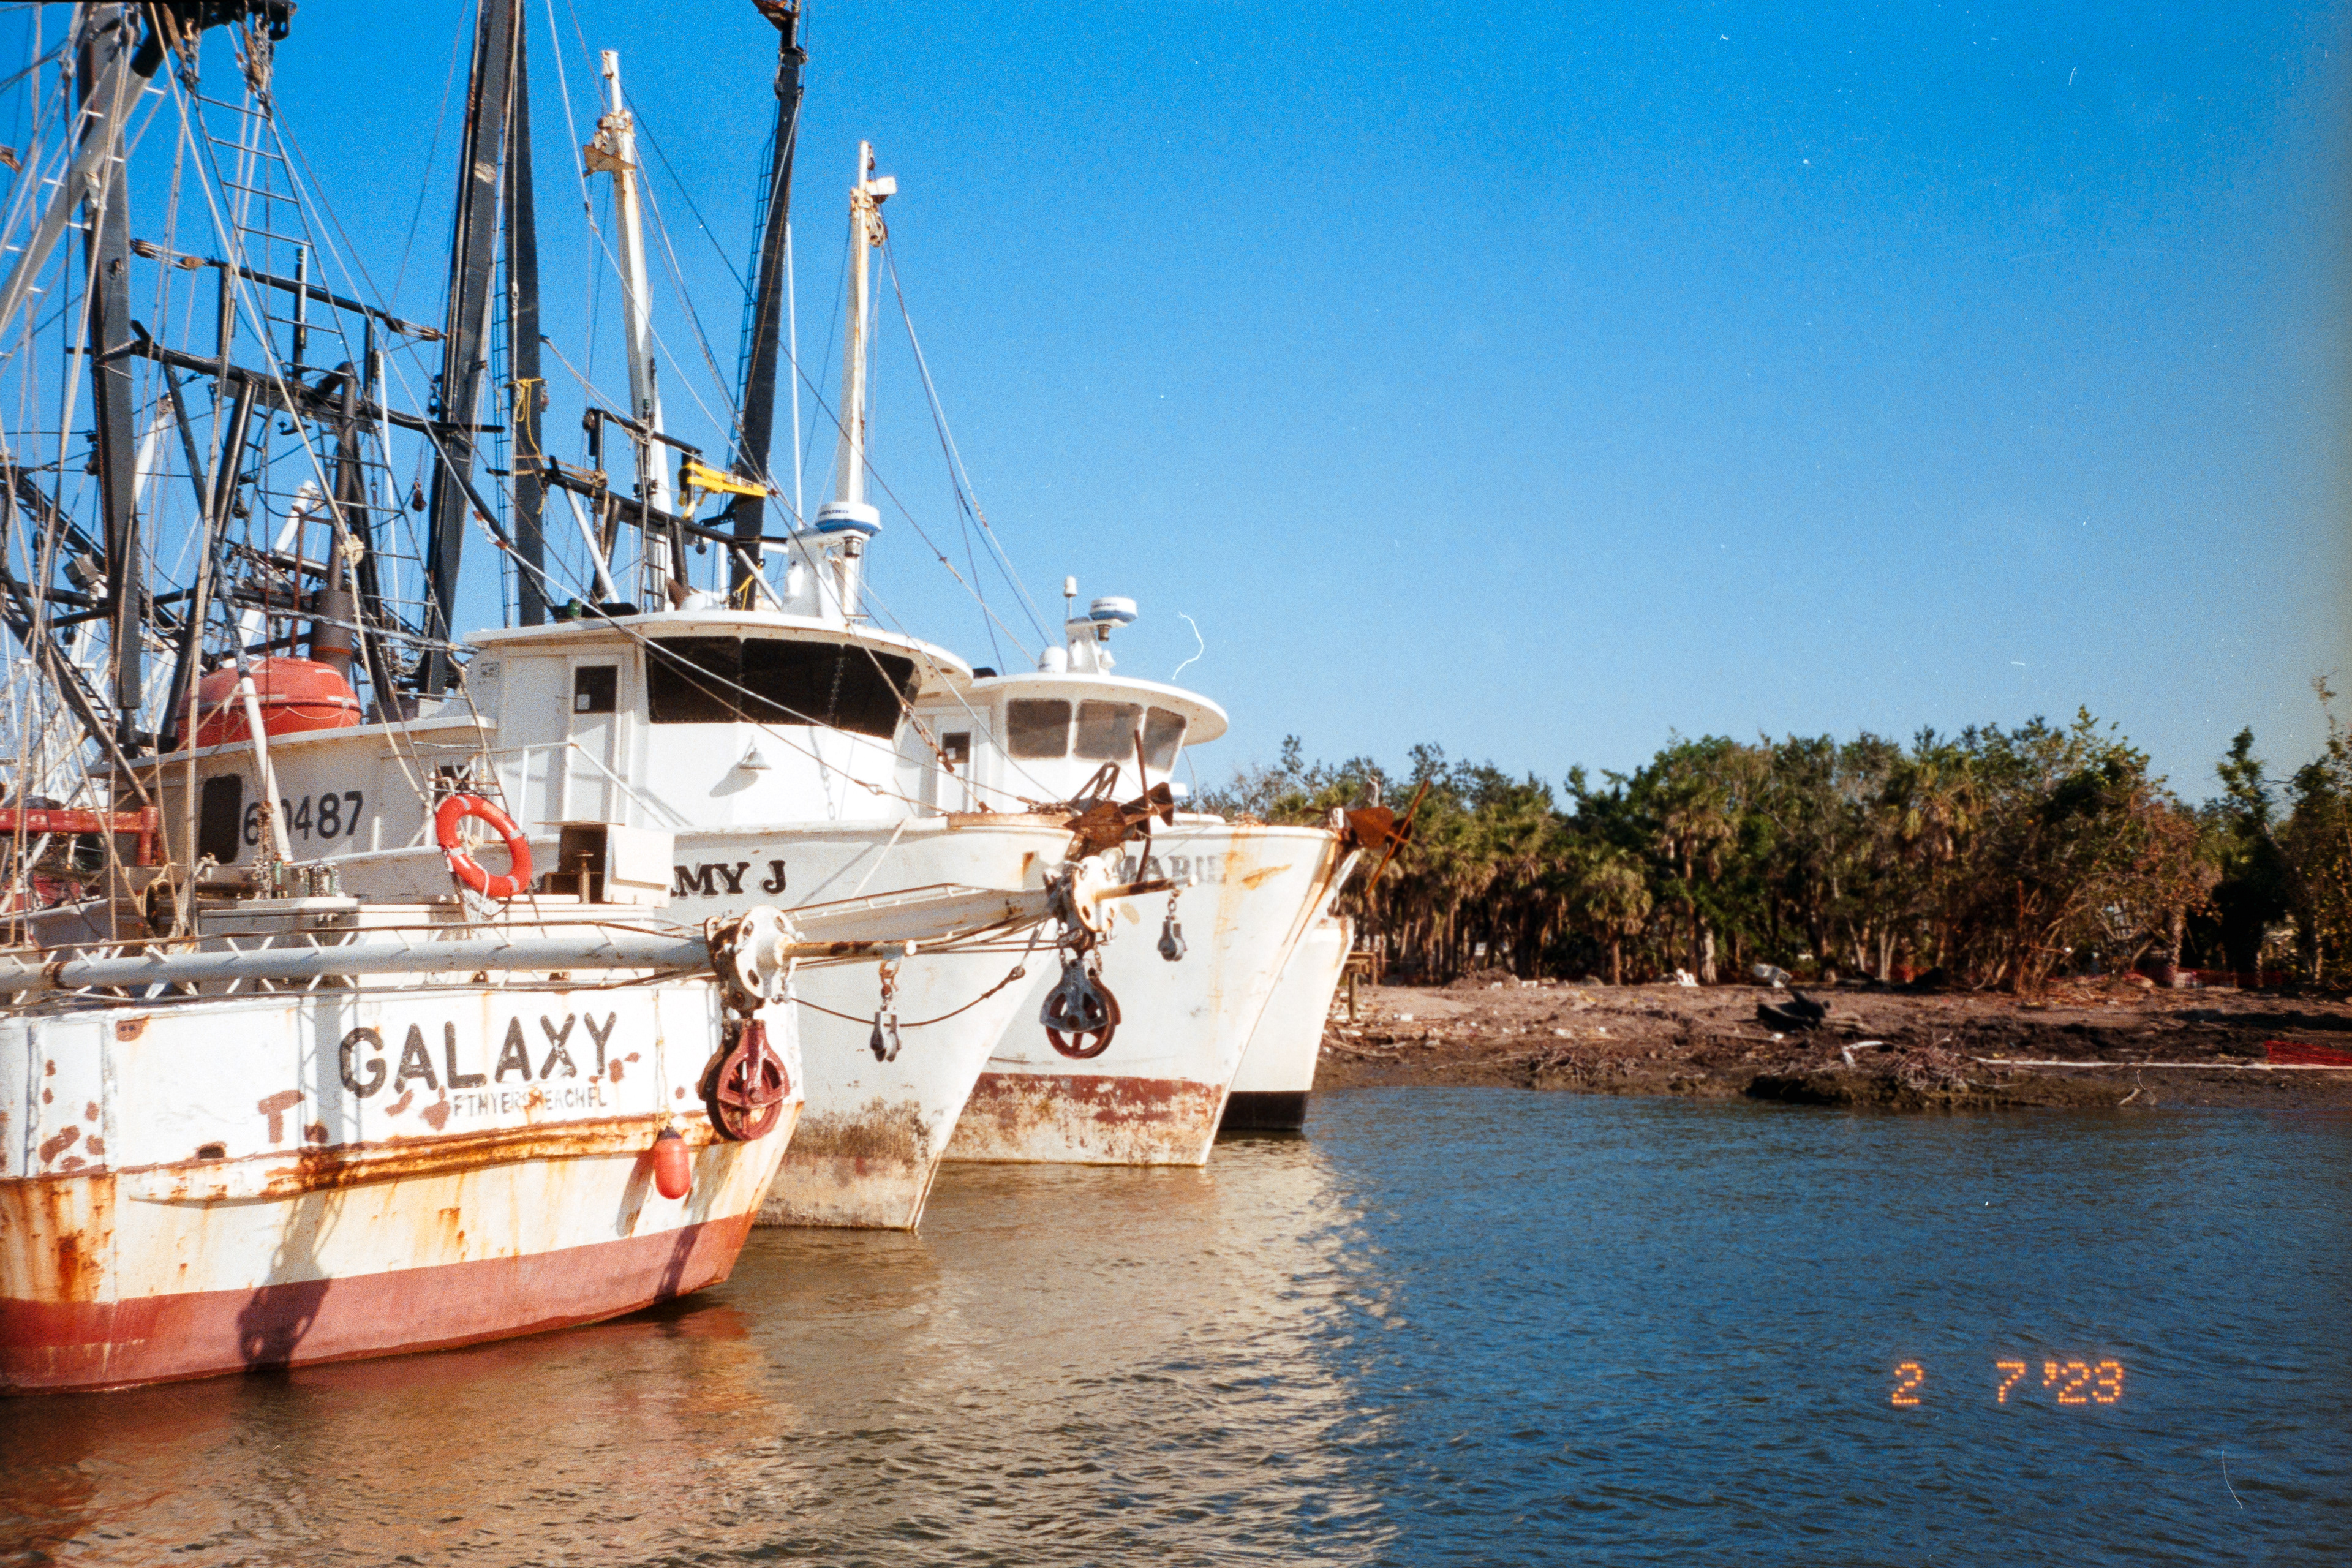
When it does come to the accuracy of converting your own scans versus scans done by a professional lab, I was also quite happy with the results. However, the level of control over my images is the greatest motivator for continuing to scan and convert my own film. I love the fact that when I shoot film, the images never leave my hands whether that's inside the camera, in the developing tank, or when I'm scanning. This benefit rang loud and clear particularly as I scanned one roll from a trip to the Grand Canyon and I realized that the lab had skipped over a couple photos from the roll! This is a rare occasion, obviously, but one that stuck with me. I know for sure that I'm seeing all of my images when I scan them myself.
This idea of level of control and processing every step by hand is complicated by Negative Lab Pro. Of course, you're still scanning your own images, however, I felt that I gave up some level of control by letting a plug-in make a lot of the decisions for me. Every NLP image I presented was still edited and refined though, so it's not like it's an automated process. Still, I found immense value in learning how to convert the images by hand as it gave me a much clearer understanding of each image and the process that was occurring. This wasn't the same experience with NLP. Perhaps that's just the purist in me talking, but so be it.
This idea of level of control and processing every step by hand is complicated by Negative Lab Pro. Of course, you're still scanning your own images, however, I felt that I gave up some level of control by letting a plug-in make a lot of the decisions for me. Every NLP image I presented was still edited and refined though, so it's not like it's an automated process. Still, I found immense value in learning how to convert the images by hand as it gave me a much clearer understanding of each image and the process that was occurring. This wasn't the same experience with NLP. Perhaps that's just the purist in me talking, but so be it.
Let's talk about work flow. Obviously, lab scanning requires the least personal effort but is subject to the longest turn around times (I generally saw ~2 week turnarounds at the time I received these scans). You receive jpgs that are ready to go, if you want to edit at all it's easy to import into Lightroom.
With my Photoshop conversions, it took some time to learn what to do by watching a few different videos and reading different forums. Finding Alex Burke's video was the key. Now that I feel proficient in the conversions, I'd say each image takes 2-3 minutes to convert. After I finish a roll, I take the saved PSD files into Lightroom and do final crops, sharpening, and adjustments. This takes about a half hour or so for an entire roll, resulting in roughly 1.5-2 hours worth of processing for a roll. I imagine there are ways to make this process more efficient as I keep learning, but for now that's what it looks like.
I expected Negative Lab Pro to be a massive upgrade in terms of time and speed. While it does significantly simplify workflow as everything is done in Lightroom with the original RAWs, I still spent a couple minutes with each image playing around with different options and sliders. I think it'd be reasonable to process a roll within 1-1.5 hours, which is still a lot of time saved. The other really attractive option NLP presents is the ability to batch process. My photoshop workflow can drag on having to do every single image, whereas NLP allows you to convert multiple images at once and then do individual edits.
The final consideration underpinning this conversation is the cost. After having a lab process a few rolls, most photographers realize that this isn't what some may call a cheap hobby. In general, most labs I've seen are charging between $10-20 for their scans. The nearest lab to me in Edmonton asks $12 for scanning each roll (plus from my location I'd need to mail so add whatever that costs).
When scanning at home, the main costs involve having a digital camera, macro lens, tripod or copy stand, light panel, and a film holder (I'll assume you have a computer & Adobe editing software). There are so many different ways you can go, including some great budget options (a very nice video here done by Kyle McDougall shows this). Using the gear I already had, I only needed to buy a light and film holder. These were $85 USD for me. Negative Lab Pro runs an additional $99 USD but offers a 24 image trial for free. Full disclosure, I only used the free trial for the purposes of this post. I do not plan on purchasing the full license currently, however, I also do not mind spending more time editing photos at this stage of my life. If you're looking at editing from a purely time-cost perspective rather than one also of leisure and enjoyment, NLP would pay for itself within 5-10 rolls I think.
Final Thoughts
One of the wonders of film scanning and converting is that there isn't one correct look for images. There have always been so many different stylistic avenues you can take with your images, whether its a very light, airy aesthetic or one that rich in tone and heavy in contrast. My point being that this comparison isn't to say that my preferences aren't more correct than images you prefer. You may disagree with me and conclude that the lab scans are much better than my conversions. What really matters is that as photographers, we are finding delight in our own photos and not in the fact that they look like others or how it's supposed to look.
The merit of converting your own RAWs (whether by hand in Photoshop or via NLP) is that I can match the style of the lab quite easily or I can differ and seek my own stylistic preferences. I have learned so much more about editing negatives, balancing colors, and my images than I ever would have through lab scans, which to me is one of the greatest benefits. This is not a hands off approach in the slightest, which is why I am shooting film and developing it in the first place.
This post was greater in breadth than what I've done previously on this site and took some more time preparing for, while also requiring a lot of learning on my end. I'd like to make space to thank two photographers that I greatly respect and admire:
- Alex Burke for sharing his methods of converting negatives and being a great resource to the photographic community. If you haven't seen Alex's work before, he is a fantastic photographer based in Colorado who continues to inspire me. I highly recommend checking his work out at www.alexburkephoto.com.
- Kyle McDougall for his continual exploration of film scanning and sharing his findings. He is another great influence in the photographic community while also creating some really beautiful photographs. You can find his work at www.kylemcdougallphoto.com/